|
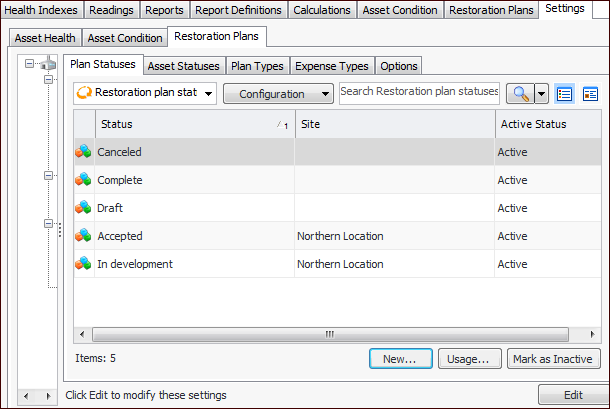
Setting up Asset Restoration Plan Statuses
The status can also control whether or not the plan is included in lists. For example, plans with the “Accepted” status would usually be included in table configurations that show spending plans by financial period. These configurations are shown in the site’s or asset’s Asset Health view, Restoration Plans tab.
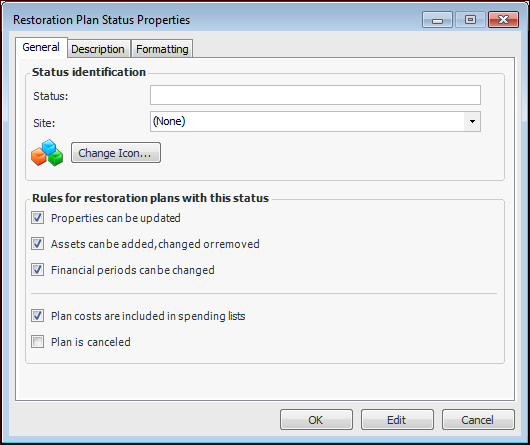
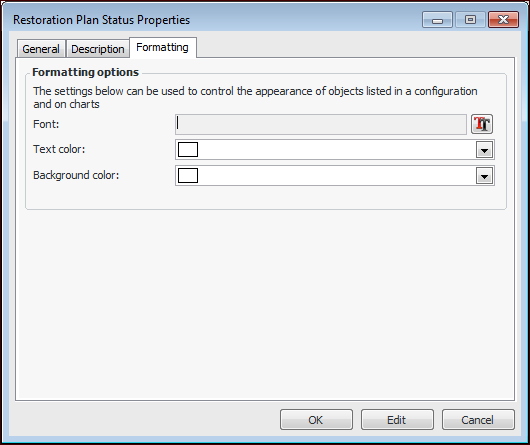
To Set up a restoration plan status
1. On the site’s Asset Health view, select the Settings tab, the Restoration Plans tab, and the Restoration plans settings node in the tree.Tip: You can also select the site’s Administration menu, Asset Health Settings, and then Restoration Plans. The Asset Restoration Plans Settings dialog appears.
2. Select the Plan Statuses tab. This tab lists the plan statuses provided with APM and created for your organization.
3. Click New. The Asset Restoration Plan Status dialog appears:
4. Provide a descriptive name in the Status box.
6.
Allows the plan’s costs to be displayed in the spending plan lists available in table configurations on the Restoration Plans tab in the asset’s and site’s Asset Health views.
8. Select the Description tab to add more information about the status.
9. Select the Formatting tab if you wish to distinguish the status from others when it appears in tables and charts.
11. When you have finished defining the status, click OK. The status is added to the Plan Statuses table.