|
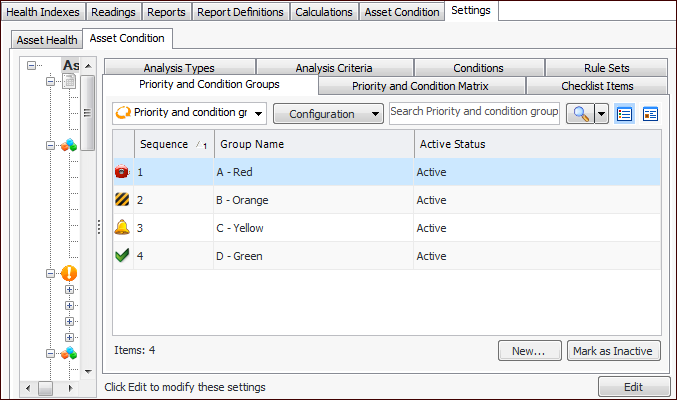
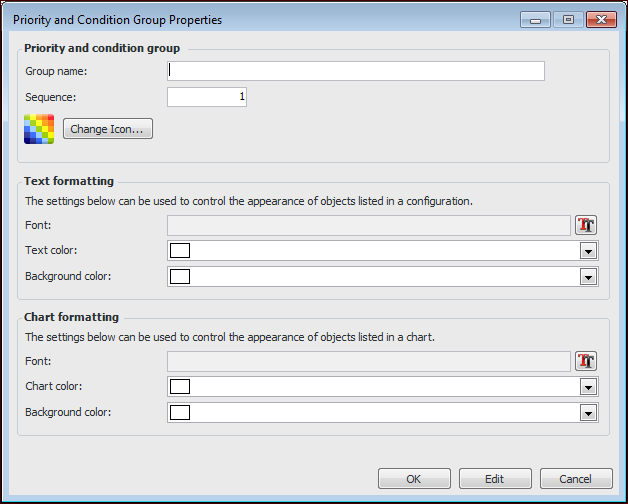
Setting up Priority and Condition Groups
In the Site window, Asset Health view, Asset Condition tab, the Analyses tab offers configurations for viewing assets by priority and condition group as well as the priority and condition group summary.To Set up a Priority and Condition Group
1. On the site’s Asset Health view, select the Settings tab, the Asset Condition tab, and the Asset condition settings node in the tree.Tip: You can also select the site’s Administration menu, Asset Health Settings, and then Condition Analyses. The Asset Condition Analysis Settings dialog appears.
2. Select the Priority and Condition Groups tab. This tab shows the groups at your enterprise. For example:Tip: While you are developing a group, you can mark it as inactive until it is ready to be used. Select the group in the table and click Mark as Inactive. The Mark as Inactive/Active dialog appears, where you can enter a comment. When you click OK, a confirmation message appears. Click OK. When the group is ready for use, select it in the table and click Mark as Active.
3. Click New. The Priority and Condition Group dialog appears:
6. To change the icon that represents the group, click Change Icon, select a different graphic, and click OK.
9. Click OK. The group is added to the table.