|
Setting up the Priority and Condition Matrix
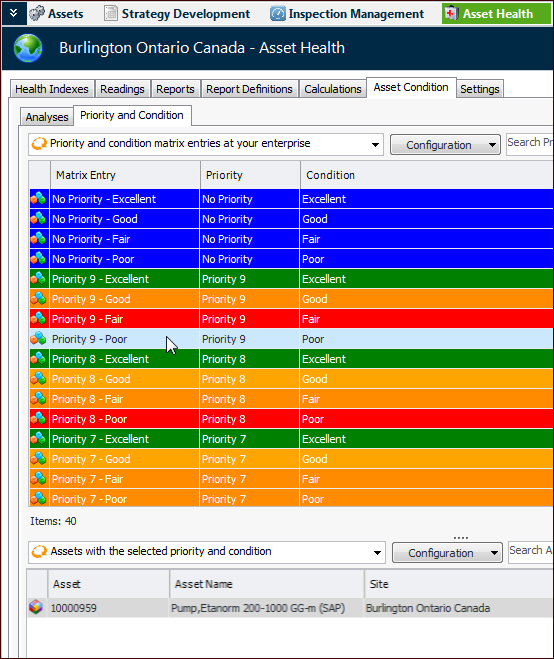
The priority and condition matrix allows you to view matches between asset priority numbers and asset conditions. In the Site window, select the Asset Health view, Asset Condition tab, and Priority and Condition tab. In the configuration list, select “Priority and condition matrix entries at your enterprise”. Select an entry in the table to display assets with that priority and condition in the table below. For example:To Set up the Priority and Condition Matrix
1. On the site’s Asset Health view, select the Settings tab, the Asset Condition tab, and the Asset condition settings node in the tree.Tip: You can also select the site’s Administration menu, Asset Health Settings, and then Condition Analyses. The Asset Condition Analysis Settings dialog appears.
2. Select the Priority and Condition Matrix tab. This tab displays the matrix provided by APM.
3. If you have added asset priorities, priority and condition groups, or conditions, click Generate. A message appears listing the entries that were generated. For example:
4. Click OK. Click
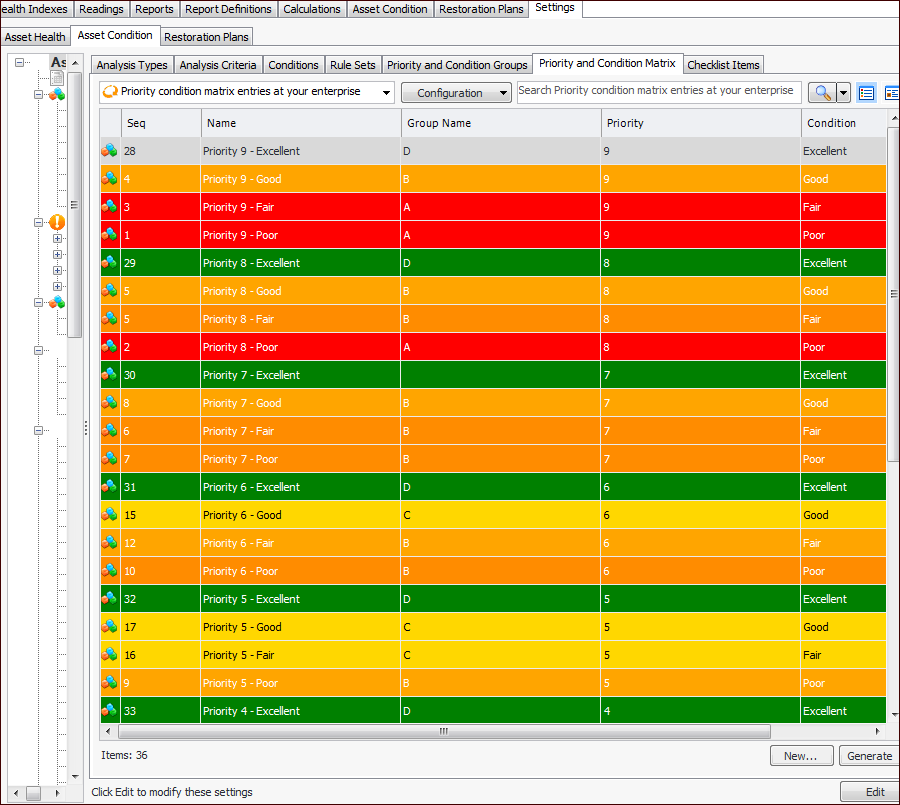
to refresh the table with new entries. You can now open each new entry to set its color or adjust its label, as explained next.
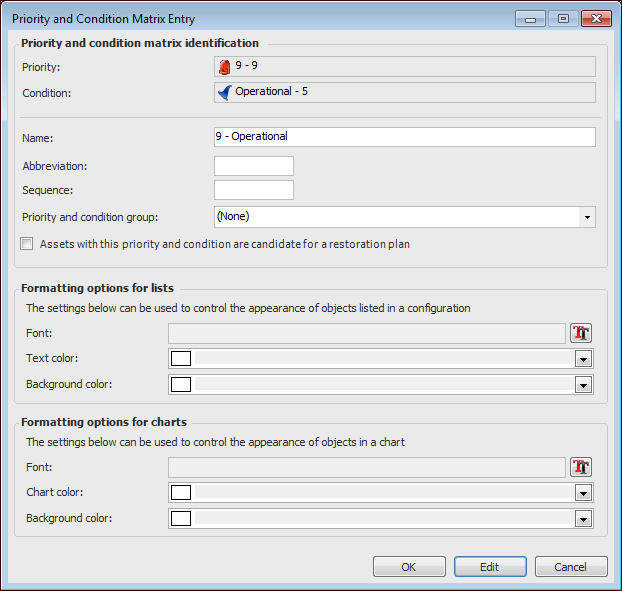
To Work with a Matrix Entry
1. Double-click an entry or click New. The Priority and Condition Matrix Entry dialog appears. If you opened an existing entry, click Edit. Here is an example of a newly generated entry:
3. In the Abbreviation box, provide a short form for the label. The abbreviations are shown in the small version of the matrix.
8. Click OK.