|
|


Adding Inspection Tasks and Indicators to MTA2 Action Plans
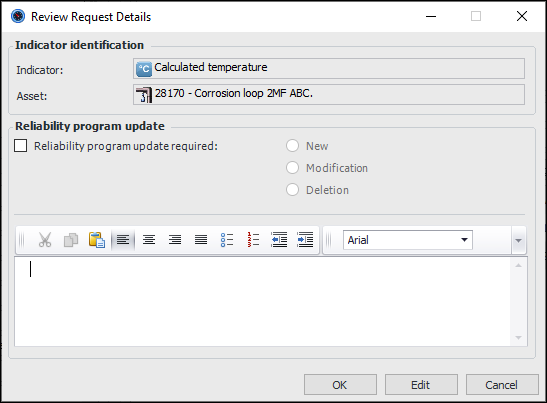
Tip: After you have added an indicator to an action plan, you can right-click it in the table and click Review Request Details. The Review Request Details dialog appears:Tip: To view consolidated information about an analysis’ action plans, recommended actions, indicators, corrective tasks, and projects, select the Implementation view in the Strategy Development Analysis window.Tip: You can also add an inspection task to one or more action plans at the same time from the context of the standard task. See Linking a Standard Task to Action Plans.To Add an Existing Inspection Task to an Action Plan
), select the task, and click OK. The task number and title are displayed in the Inspection task boxes. The Inspection Task tab is added, where the task, next inspection date, and description are displayed.
To Add a New Inspection Task
To Add Indicators to an Action Plan on an Analysis or Template
 is enabled.
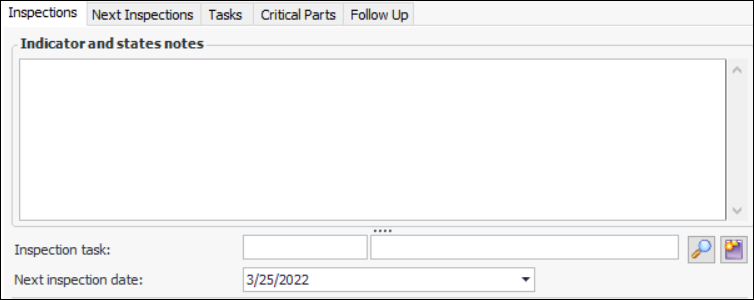
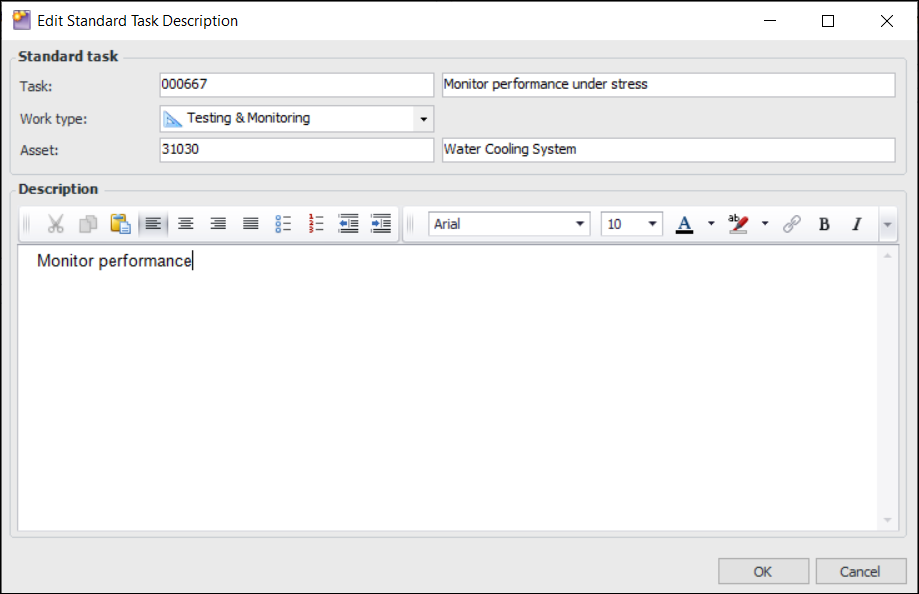
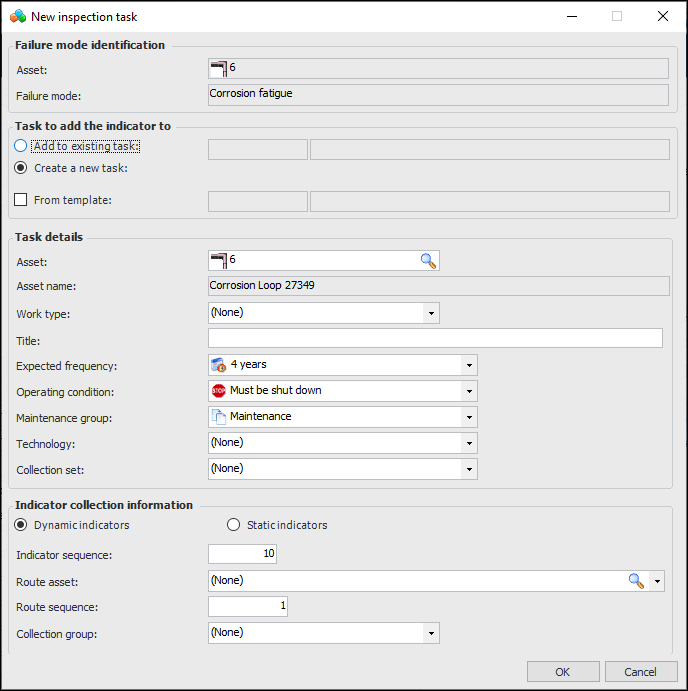
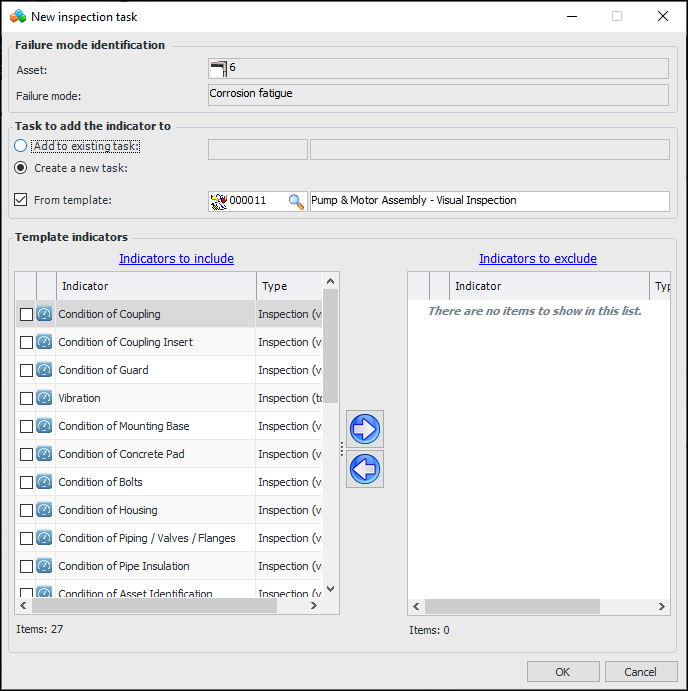
 . The New Inspection Task dialog appears.