|
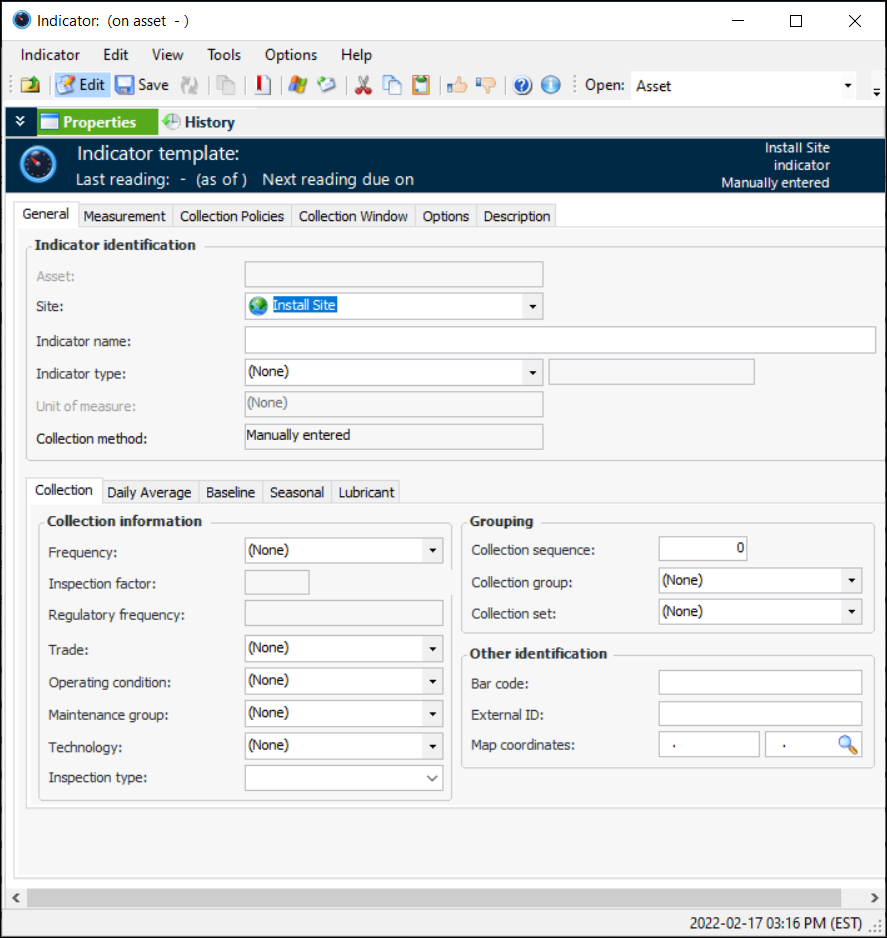
Creating a Numeric Indicator Template
APM provides many standard indicator templates, which you can use and revise as needed. To view templates, select the site’s Inspection Management view, Indicators tab, and Templates tab.This topic explains how to create a template for a numeric indicator. To create a calculated indicator template, see Creating a Calculated Indicator Template.To Create a Numeric Indicator Template
1.
2. Select the Templates tab. By default, the table lists the indicator templates for the site and above.
3. Click New. The Indicator template window appears.
4.
• Select a numeric indicator type from the Indicator type list. When you select a numeric indicator type, the Type of value box says “numeric.” The window changes to reflect the value type.
6. Make a selection from the Collection method list:
•
• If they are to be entered automatically by online collection devices, select Collected from an on-line source. The Online Data Source tab is added. See Configuring Indicators for ODC.
• If they are to be calculated, select Calculated using a formula. The Calculation tab is added. See Creating a Calculated Cumulative Indicator.
7. On the Collection tab, you can enter values that determine how often readings are expected and the next collection date. You can also enter information to make it easier to select this indicator when adding indicators to a work order task or standard task, when copying indicators to another asset, when setting up dynamic inspection routes, or when implementing reliability programs.
8. To specify the months during which readings should be taken, select the Seasonal tab. Click This indicator is collected seasonally and select the starting and ending dates. For example:
9. Select the Measurement tab and the Limits tab to set limits on the values that users can enter in readings. For example, if you enter a minimum value of 0.000 Celsius, a user who enters a negative number when recording a reading will receive the message, “The value entered cannot be less than 0.000 Celsius.” To set limits on readings:
• Select Minimum value is enforced on manual readings and Maximum value is enforced on manual readings, as appropriate.
10. Select the Instructions tab to select collection requirements and enter instructions for taking readings.
11. Select the Calculation tab. This tab is only available if you selected “Calculated using a formula” in the Collection method list. To create a calculation for the indicator template, define the calculation inputs (other indicator templates) and enter the mathematical formula in the text box provided. For detailed instructions, see Creating a Calculated Indicator Template.
12. Select the States and Alarms tab. To have APM trigger warnings or alarms for the indicator, you must set up states. For detailed instructions, see Adding States and Alarms to an Indicator or Template.