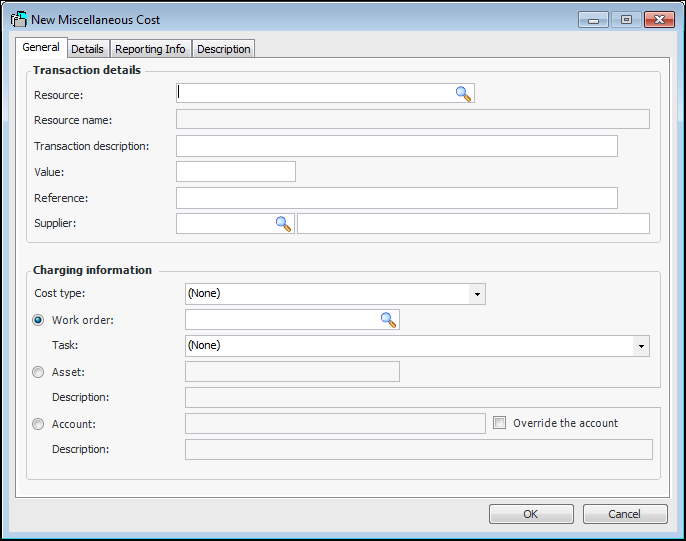
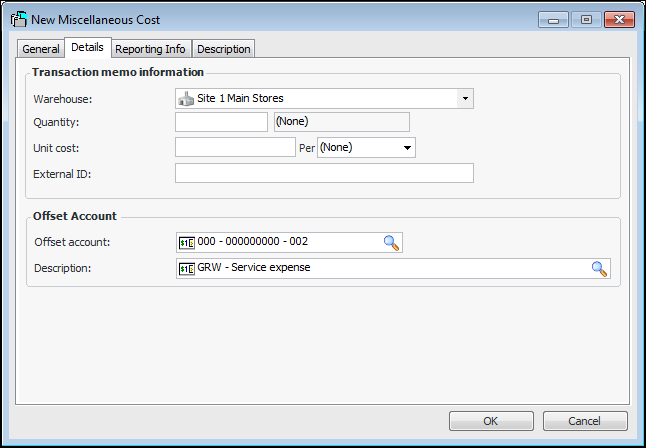
Creating a Miscellaneous Maintenance Cost Transaction

Miscellaneous maintenance cost transactions can be entered directly in APM. Typically, you will use this type of transaction within APM for one of the following reasons:
To create a miscellaneous maintenance cost transaction, you must have a cost type to which you can charge the transaction. Miscellaneous transactions can only be charged to cost types where the Miscellaneous expenses option is set to Available for use.

To Create a Maintenance Miscellaneous Cost Transaction

1.
Select the site’s Resource Transactions view, Miscellaneous tab.
2.
Click New. The New Miscellaneous Cost dialog appears.
3.
On the General tab, in the Transaction details area, select the resource involved in the transaction, enter the value of the transaction, the reference that will identify an external document with the transaction, and a short transaction description.
4.
5.
In the Charging information area, select where to charge the cost and the cost type.
6.
Select the Details tab.
7.
In the Transaction memo information area, you can provide the following information:
Labor: Hours worked.
Material: Adjustment quantity, invoiced quantity, issued quantity, return quantity, or received quantity (purchase and transfer).
Service: Received hours or invoiced hours.
Tool: Adjustment quantity, invoiced quantity, issued quantity, return quantity, or received quantity (purchase and transfer).
Adjusting an Item: If you have selected Quantity Adjustment as the adjustment type, enter the quantity by which to change the inventory.
Issuing an Item: Enter the quantity issued.
Entering a Physical Count Adjustment Transaction: APM automatically enters the quantity when the transaction is posted.
Note: A resource transaction imported using the Miscellaneous Transactions data loader is identified by a unique external identification number.
Note: A resource transaction originating from the data loader is posted to the transaction site. This differs from a transaction entered manually in APM, which is posted to the work order site.
8.
In the Offset Account area, select the offset account for the transaction.
9.
On the Reporting Info tab, you can select the employee and date that the reporting information was entered.
10.
On the Description tab, a more detailed description can be entered if needed.
11.
When the transaction information is complete, click OK. The system saves and posts the transaction.