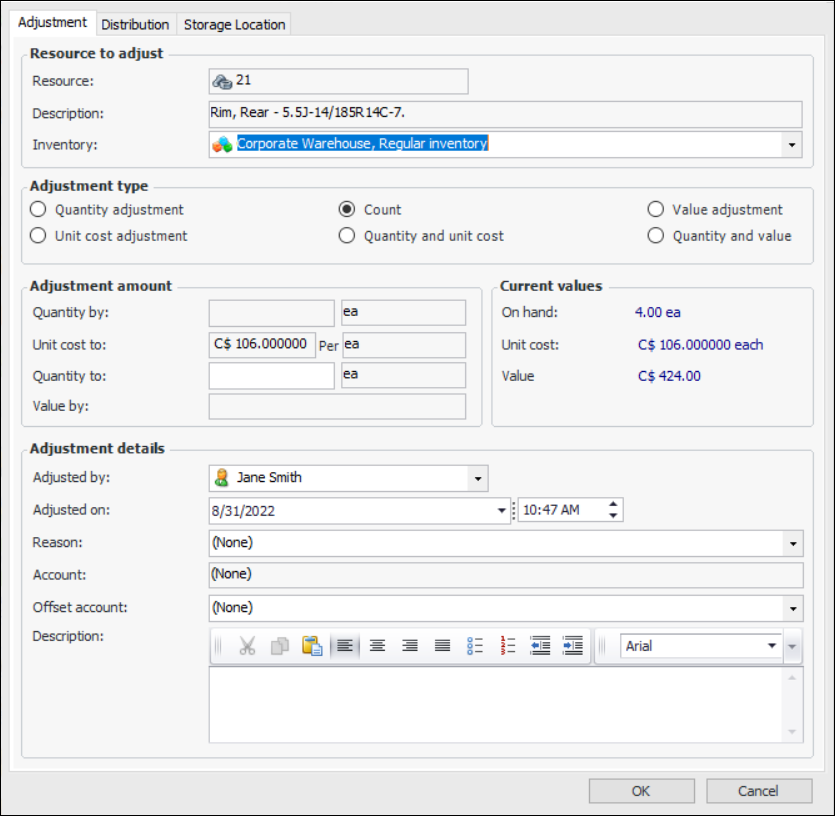
Adjusting Inventory

From time to time, you might need to adjust the amount of stock that the APM says is in inventory. For example, if you have just created a new warehouse item, you might want to adjust the inventory to enter the initial balance.
When you create an adjustment transaction, you can change any of the following:
If you are adjusting inventory for a consignment item, see Adjusting Consigned Inventory.
When you select the adjustment reason for the transaction, APM derives a default GL account to which the transaction will be charged. This account (and the consignment responsibility) can be site-specific. Depending on the properties of the warehouse, you might be able to change the charging information for the transaction. For example, you might want to charge the adjustment to a work order, an asset, or to a different GL account. Select the Distribution tab to make these adjustments, if available.

To Adjust Inventory for a Warehouse Item

1.
In the Site window, select the Resource Management view and then the Inventory tab.
2.
On the Warehouses tab, select the warehouse where you want to adjust items. The warehouse items stocked in this warehouse are displayed in the table on the right. For example:
Tip: You can also open the Warehouse window, select the Transactions view, and the Inventory Adjustments tab. Click New.
3.
Right-click the item that you want to adjust and click Adjust Item. The Inventory Adjustment dialog appears:
4.

Resource to adjust

Inventory: Select the warehouse inventory group that holds the balances for the item. For example, if you are adjusting inventory for a consignment item, select the appropriate consignment inventory group.

Adjustment type

There are six types of adjustments that you can make to the inventory data for the part. The options available will change depending on the selected adjustment type.
Quantity: The entered quantity is added to or subtracted from the warehouse item’s current on-hand balance. This type of adjustment is typically used when a known quantity of an item must be added to or removed from inventory. For example, if a number of items were found to be defective, an adjustment quantity of x is adjusted out (or down). The unit cost is not affected.
Unit Cost: Adjusts the warehouse item’s current cost per unit.
Count: Updates the quantity of items on hand to reflect the physical count of items in the warehouse. Enter the number of items that are currently in the warehouse. The difference between the original value and the replacement value is calculated, and the appropriate adjustment made.
Quantity and Unit Cost: Adjusts both the on-hand quantity and the cost per unit.
Value: Adjusts the total value of all items in stock and spreads the adjustment out over the total on-hand quantity. For example, you can adjust the total value when a late charge comes in that applies to all of the items.
Quantity and Value: Adjusts both the on-hand quantity and the total value of all items in stock.

Adjustment amount

Current values:

Adjustment Details

Adjusted by: The person adjusting the inventory.
Adjusted on: The date and time the inventory was adjusted.
Reason: Select the reason that the inventory was adjusted from the list. If you are making the adjustment for a consignment inventory item, you must choose a reason with the “supplier is responsible for adjustments” option selected.
Note that adjustment reasons can support site-specific settings, so the consignment responsibility can differ depending on the transaction site.
Account: APM displays the account to be credited or charged to reflect any change in the inventory’s value. This information is not relevant for consignment adjustments and will not be editable.
Offset account: The offset account for the transaction. The system generates this account number based on the accounting settings for the site.
5.
If available, select the Storage Location tab:
6.
Optionally, select Update storage locations and revise the text in the Primary box, Secondary box, or both. When the adjustment is processed, the warehouse item is updated.
Note: The update storage location functionality is generally available. You must first enable feature 105 to use the functionality in APM. In the Enterprise window, select the Features view and the Enabled Features tab. Click Browse, select “Support the ability to update a warehouse item’s storage locations when counting the item” and click OK. If APM is running as a smart client, click Refresh Enabled Features on the server. Then restart the client to use the functionality.
7.
When you are finished entering information, click OK. APM posts the new transaction and makes the appropriate inventory adjustments in the warehouse.