|
Launching APM, Selecting a Time Zone, and Creating Users
To learn more about APM user privileges, logging on as an APM administrator, and security profiles, see Security.
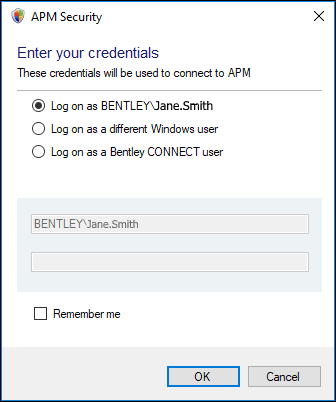
• End-user: This is the basic privilege for all users. Users can do everything in APM except customize the software, create custom reports, create customer-level table configurations, create purging rules, and use the Security Setup mode.
• Administrator: This privilege is used by APM administrators and personnel who need to customize the software, create custom reports, activate CMMS integration, or set up and assign security profiles. Users with this privilege can perform Customer-level customizations, create shareable table configurations, work with purging rules, and use the Security Setup mode.To Log on to APM
• Log on with your current Windows domain, login name, and password using Windows authentication. You can also click Remember me to save your credentials for the next time you launch the product. Click OK.
• Log on as a Bentley CONNECT user. You can also click Remember me with this option. Click OK. The Manage Permission page appears. Click Yes, Allow.Note: The first time that you log on to APM as a Bentley CONNECT user, the client requests access to your information. Click Accept. The Bentley Sign In page opens, where you can enter your email address and password and click Sign In.Tip: For APM client and server instances, Bentley CONNECT and OpenID Connect information is shown in advanced settings in the Settings Editor, under the Mandatory Settings node.Tip: If you wish to exit APM and log on as a different Windows user, click the Enterprise or Site menu (depending on which main window is active), and click Switch User. The APM client logs you out and shuts down. Your credentials are removed from memory (if you selected Remember me when logging on). The APM Security dialog appears, where you can log on as a different user.
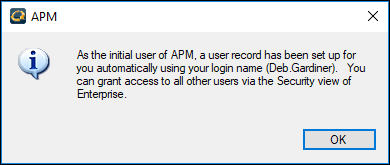
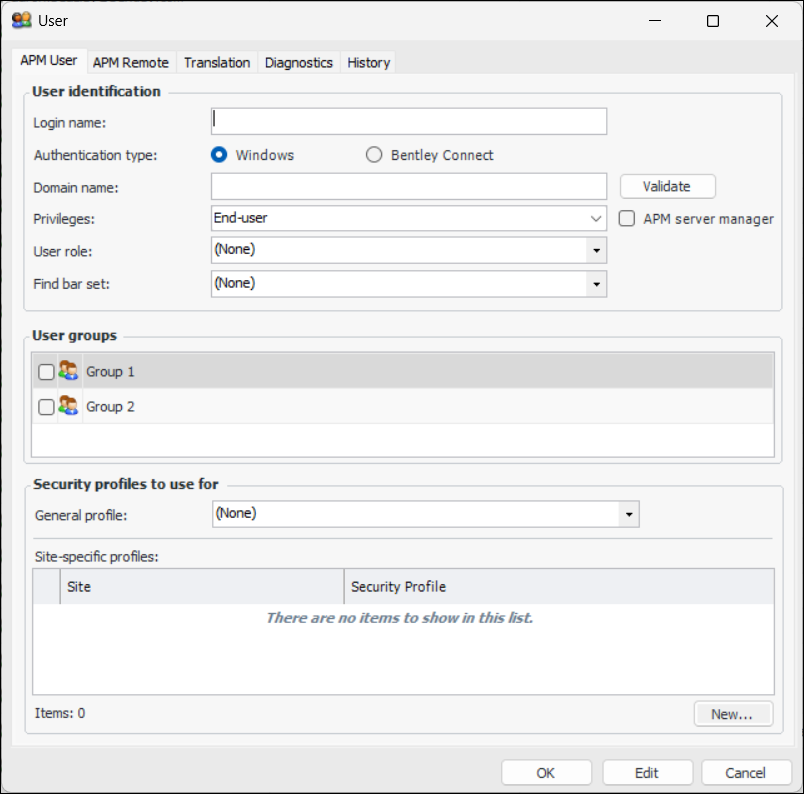
To Create the Initial APM User
2. Click OK. The Get Enterprise Time Zone dialog appears.For instructions, see “Activating APM Software” in APM Installation Guide.
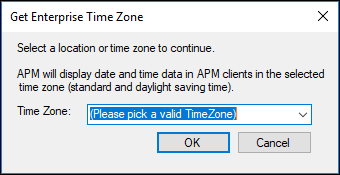
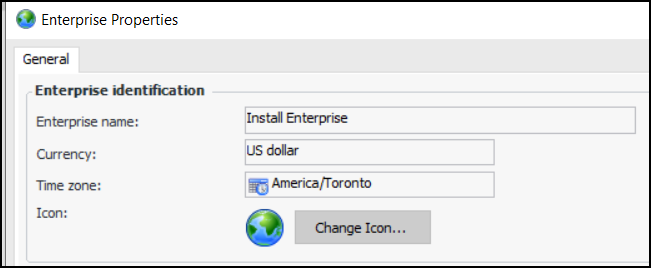
To Select the Enterprise Time Zone
1. When you click OK in the initial user message, the Get Enterprise Time Zone dialog appears. Select the location that you wish to use for the enterprise. This location’s time zone (for example, standard and daylight saving time) will be used to display date and time data in APM clients.Note: You might find more than one value in the Time Zone list that you can use to set the enterprise time. For example, you could select by continent/city (America/Toronto) or country/time zone (Canada/Eastern). APM uses your selection to determine the top time zone for that location.
2. Click OK. The Enterprise window appears.Tip: You can view the enterprise time zone after logging on to APM. In the Enterprise window, click the Enterprise menu and then Properties. The top time zone appears on the General tab. For example:To Add APM Users
1.
2. Click New. The User dialog appears.
3. Enter the login name. This name must be the same as the user’s Windows login name or Bentley CONNECT login name (username@domain.com).
4. Note: For on-premise installations with users who login with Bentley CONNECT authentication, each user can receive a Bentley welcome email to encourage them to sign in. For instructions for setting this up, see “Setting up Email” in APM Installation Guide.
6. In the Privileges box, “End-user” is selected by default. If you are adding a user who needs to create and assign security profiles, create table configurations, or customize the software, select “Administrator” from the list.
7.
8. Note: After you have created security profiles, you will need to add the appropriate ones for each user. Users who are not linked to any security profile have full access to the system. For more information, see Security.You will also need to link each user to an employee record. To create employee records, see Adding an Employee.