|
|


Exporting and Importing Checksheet Readings
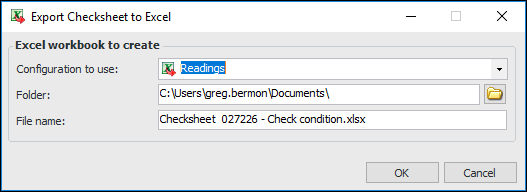
You can export the indicator readings and measurement points on a checksheet to a Microsoft Excel® workbook that can be used to record readings for the purpose of importing them back into APM. This is especially useful when an inspector does not have access to APM but is required to record indicator readings while completing a route.
To Export a Checksheet to Excel and Enter Readings
Tip: You can also select the checksheet in the Checksheets tab, click the Selected list at the bottom of the tab, and click Export to Excel.
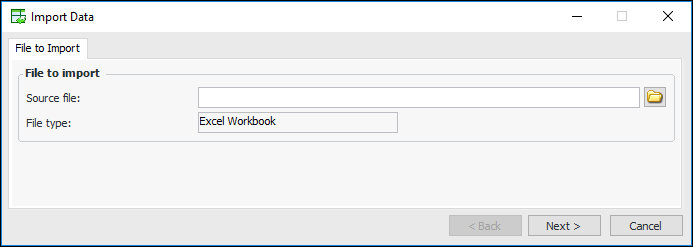
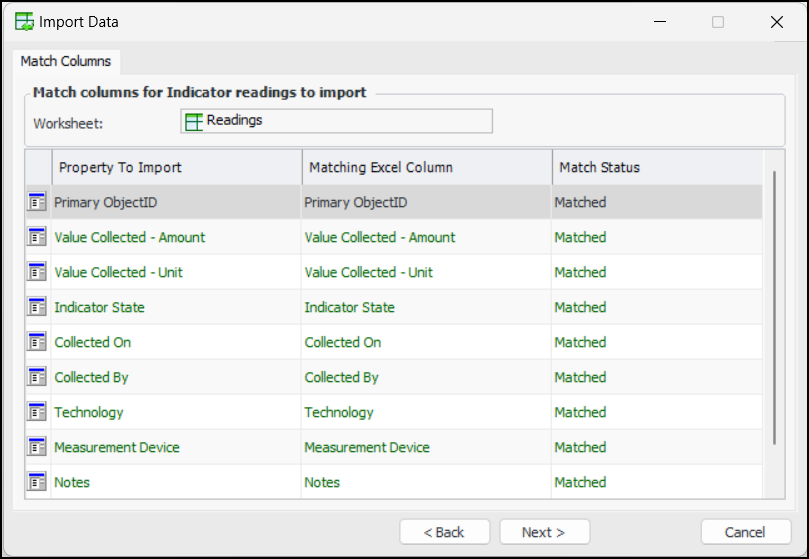
To Import Indicator Readings from a Single Worksheet
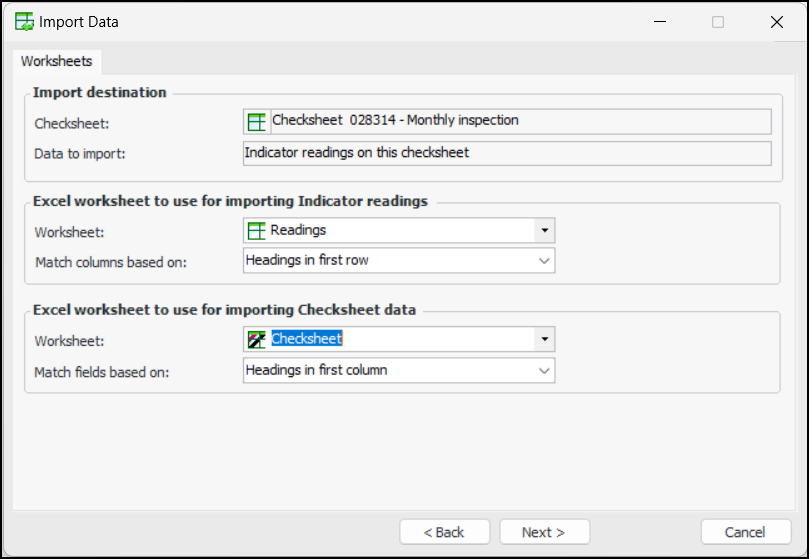
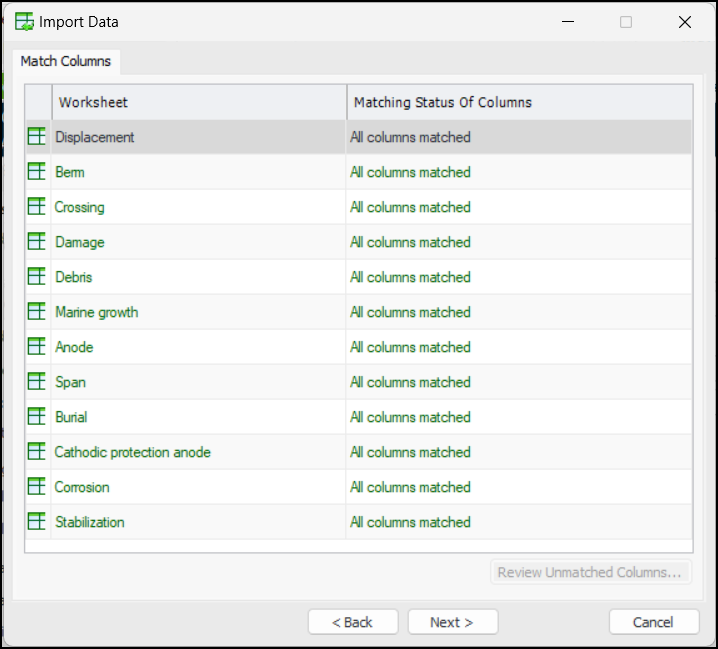
to find and select the Excel file to import and then click Next. The Worksheets tab appears, for example:
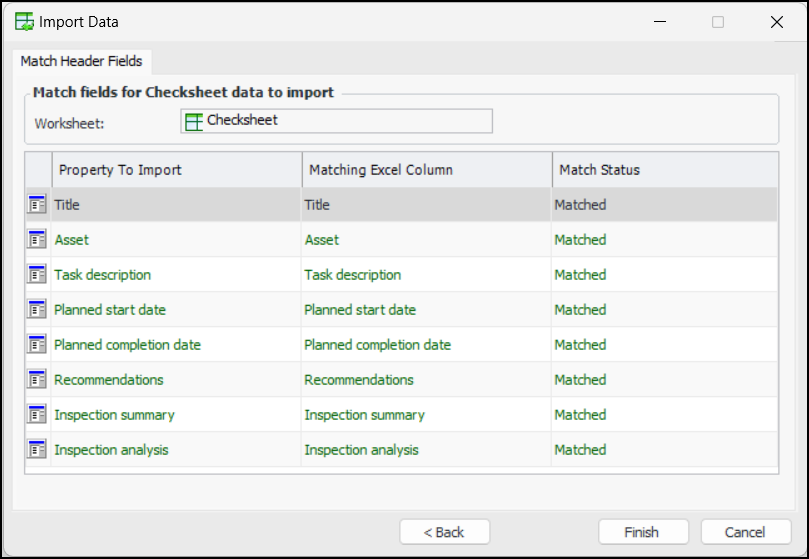
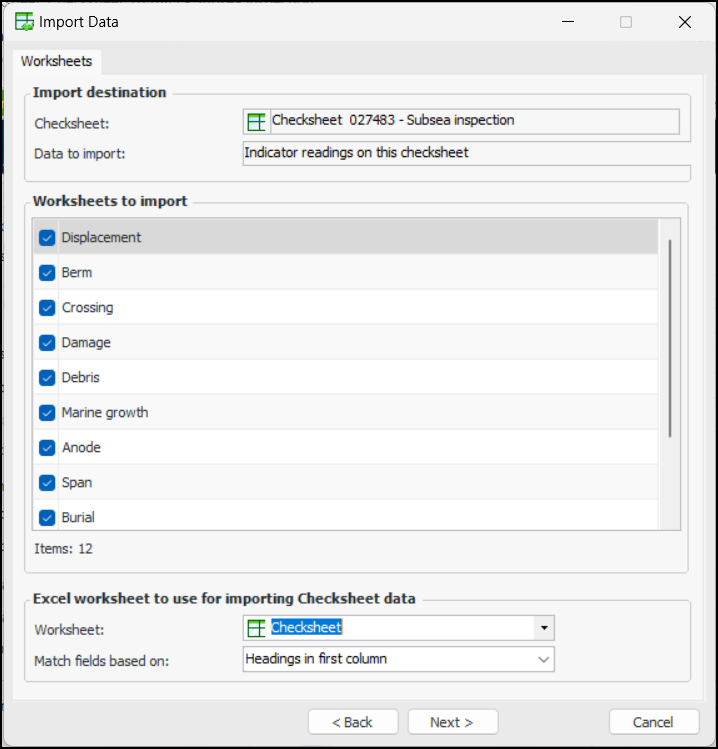
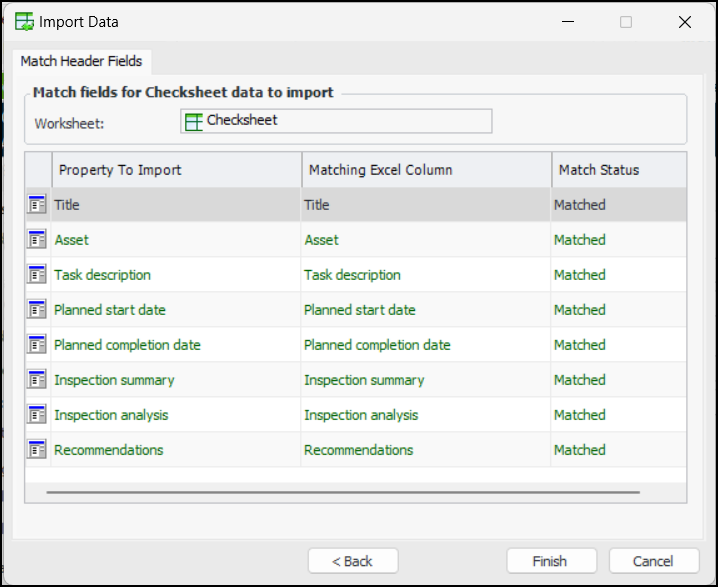
To Import Indicator Readings from Separate Worksheets