|
|


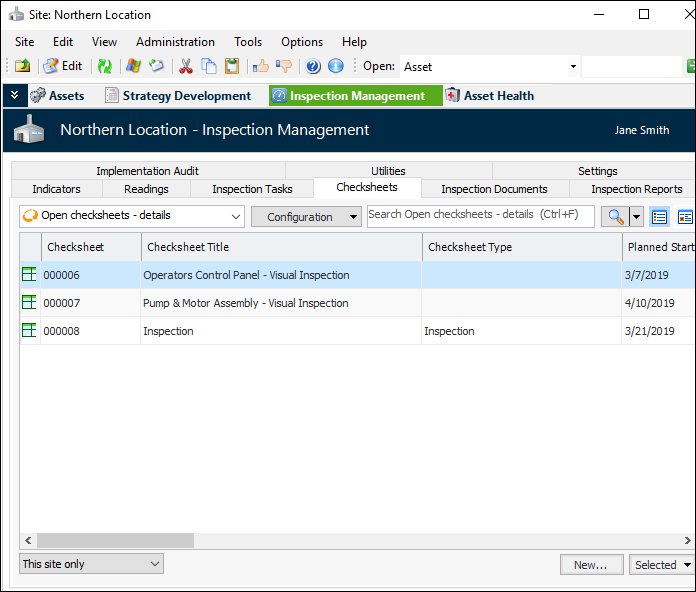
Creating Checksheets
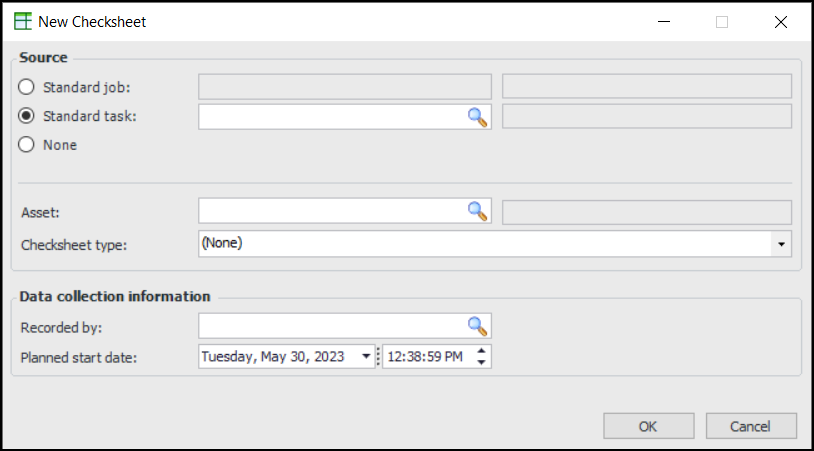
A checksheet is a form that allows you to enter a set (or sample) of indicator readings in APM. The checksheet form contains information about the origin of the indicators, the list of indicators to be read, and space to record readings, make notes, and add inspection photographs and documents. You can create checksheets from a standard task, standard job, PM route, or work order task. You can also create ad hoc checksheets from a Site or Asset window and add the indicators to read.Tip: You can create a checksheet from a work order task, standard task or template, or standard job by opening the source document’s window, clicking the Tools menu, Indicators, and then Create Checksheet.Tip: Checksheets can also be generated from standard tasks at regular intervals. For more information, see Generating Checksheets from Standard Tasks.Note: Indicator readings cannot be entered directly for a standard job that contains a task template.If you have not yet collected the indicator readings and want a printed form to record readings, see Printing a Checksheet Form or Inspection Summary Report.For information about changing a checksheet’s status, see To Set Properties for the Checksheet in this topic.To Create a Checksheet
. The Standard Job Selector dialog appears. Select the standard job and click OK.
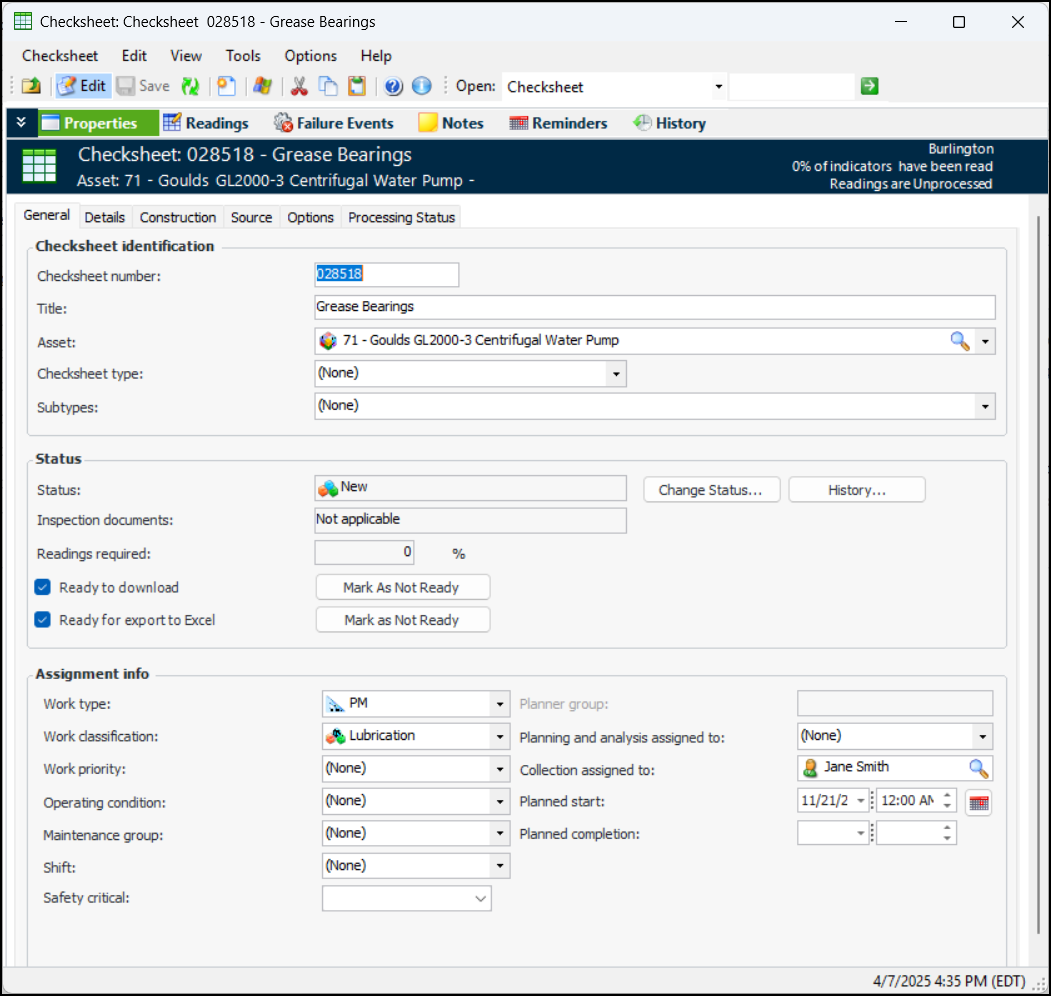
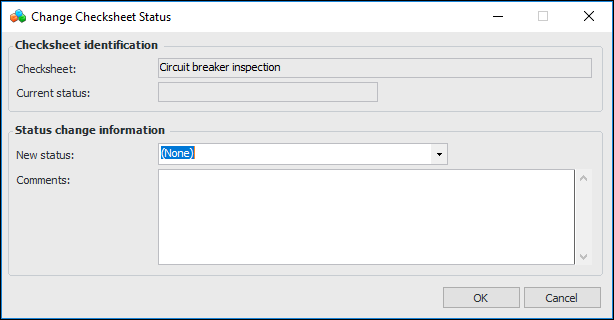
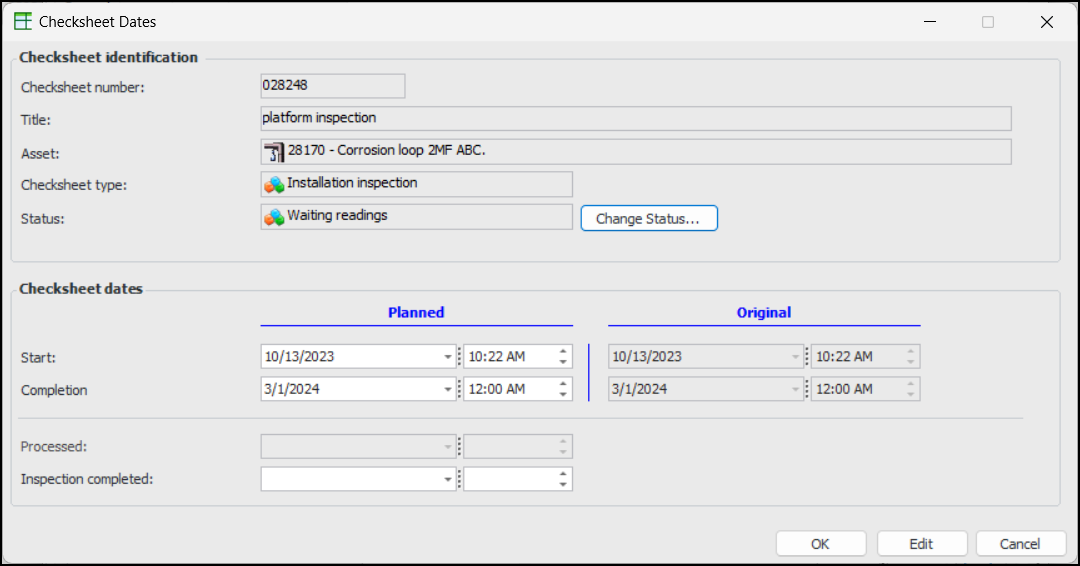
To Set Properties for the Checksheet
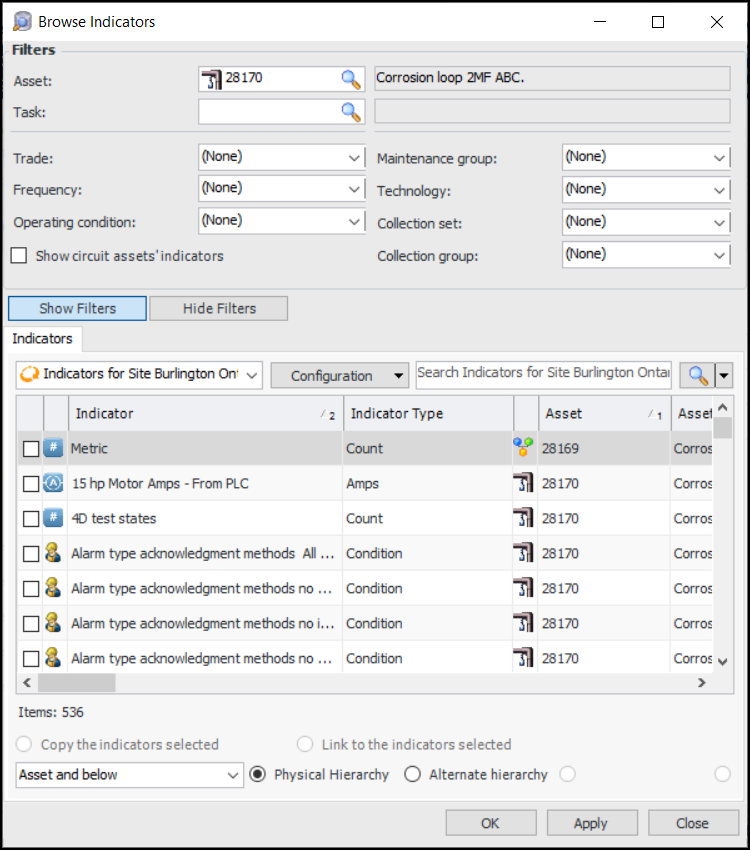
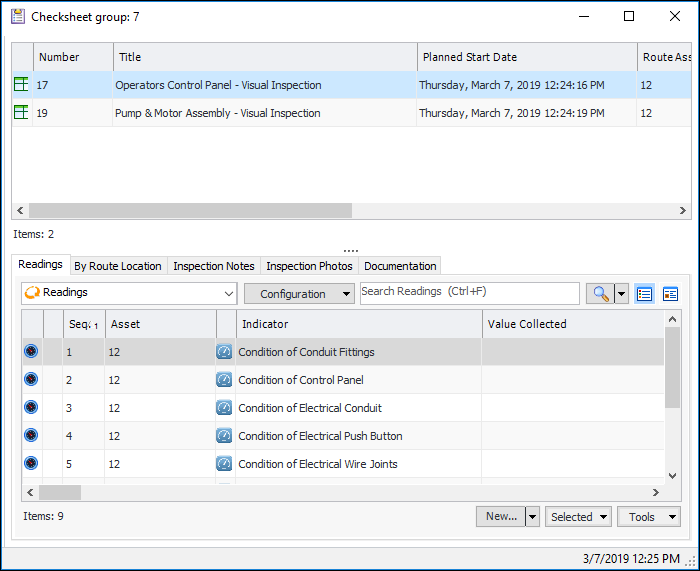
To Add Indicators to a Checksheet
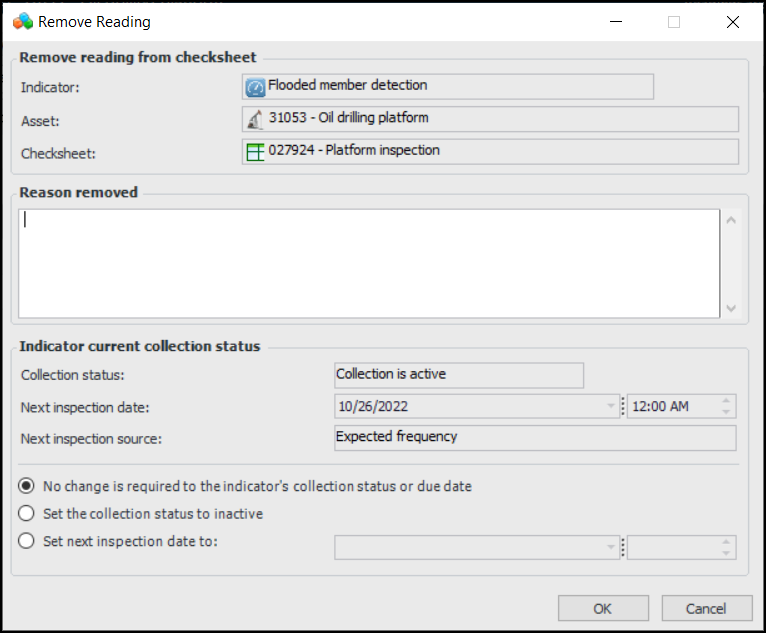
To Remove an Indicator Reading from a Checksheet
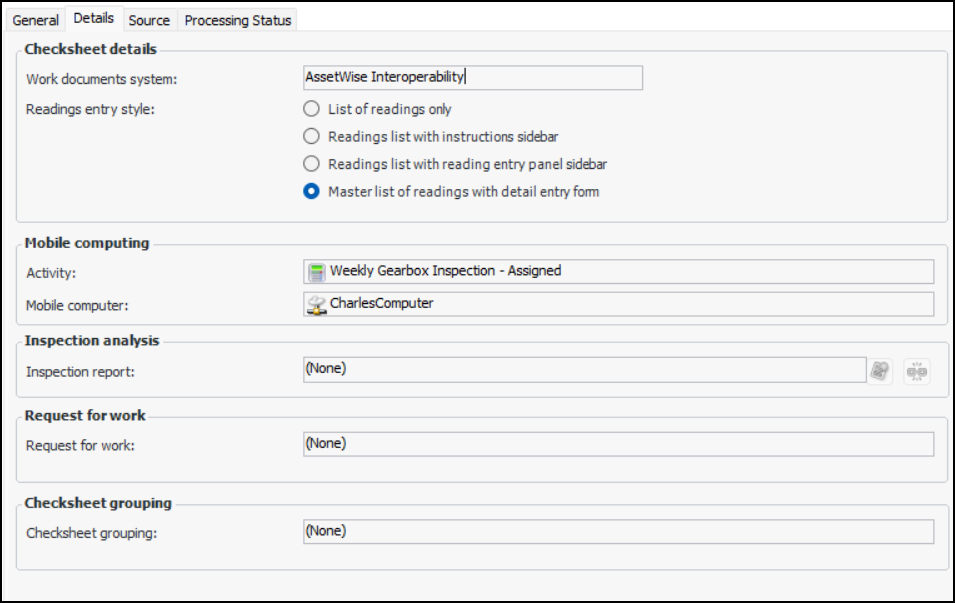
 to create or link to an inspection report.
 to break the link. You can then link to another report.