|
|


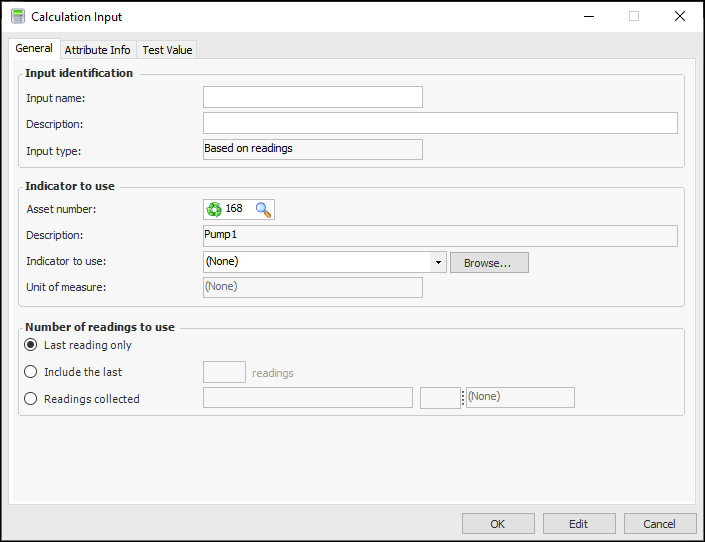
Creating 4D Calculation Inputs Based on Other Reading Data
To Create a Calculation Input
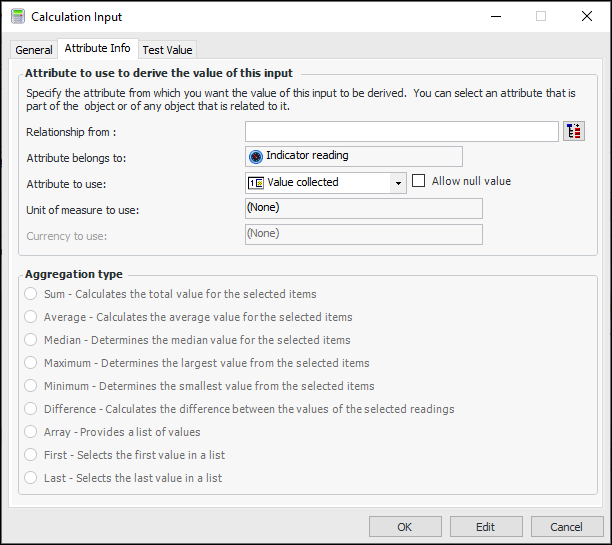
in the Relationship from box. The Select Join Path dialog appears. Select the class in the hierarchy that owns the attribute you want to use and click OK. For example, to pick an attribute from the Asset that owns the indicator, open the Indicator to Read class and then select Asset. The attributes for the selected class now appear in the Attribute list.
 is enabled.