|
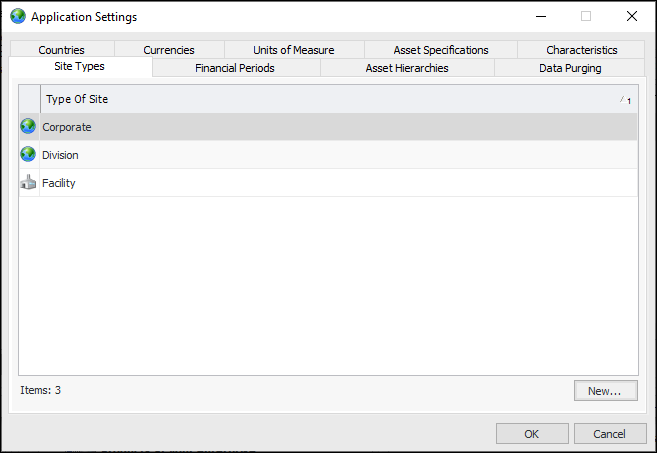
**Setting up Site Types
To Set up Site Types
2.
3. Select the Site Types tab.
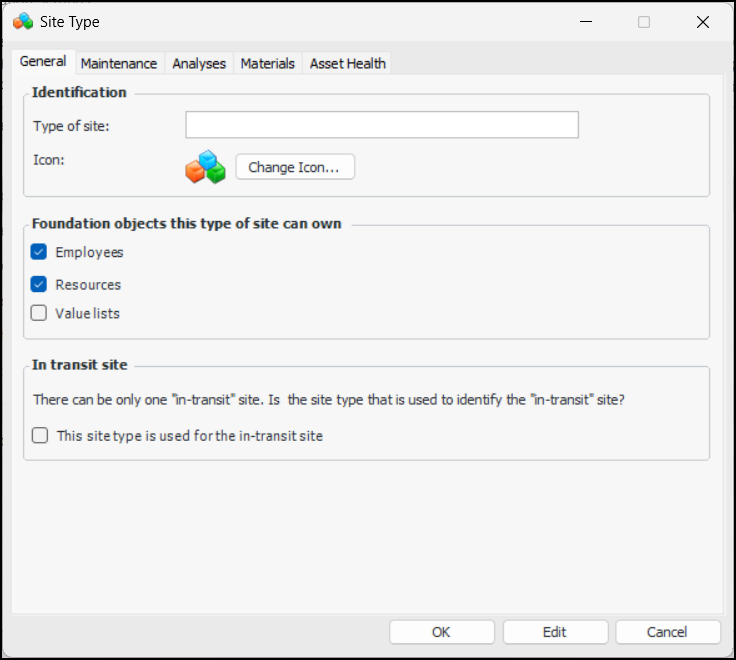
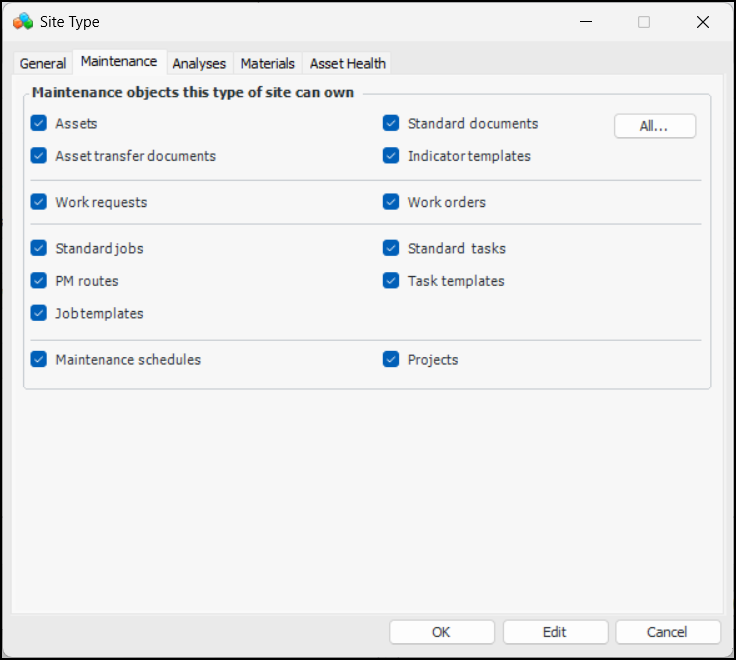
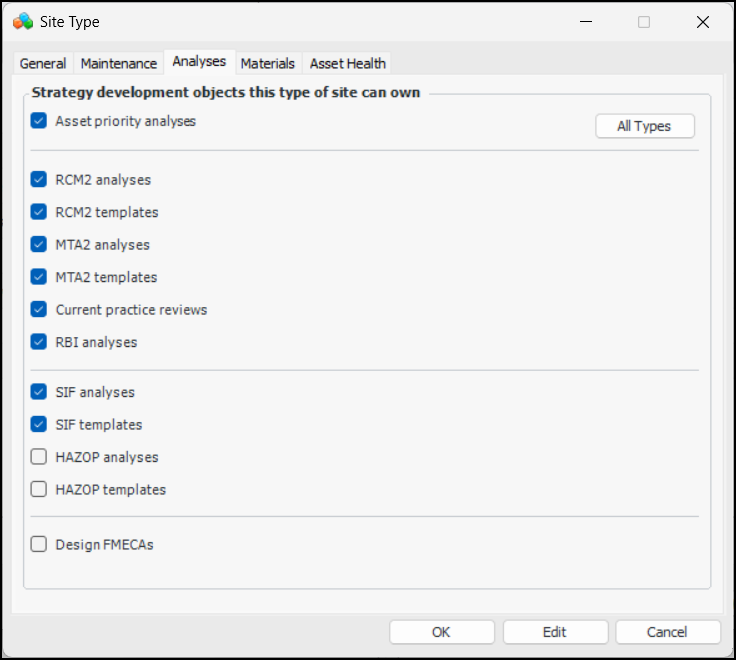
Edit the Corporate Site Type
4. Double-click Corporate Site Type. The Site Type dialog appears.
5. Edit the description for this site type in the Type of site box.
6.
7.Create an Additional Site Type
8. Click New. The Site Type dialog appears.
9. On the General tab, enter the following information:
To select a different icon for the site type, click Change Icon. Select the new graphic and click OK.
10. Select the Maintenance tab.
When you select this box, the Asset transfer documents, Work requests, Work orders, Standard jobs, Standard tasks, and PM routes options are automatically selected. It is recommended that these objects be owned by the same types of sites. Except for Asset transfer documents, you can clear any of these options.
This box indicates whether or not sites of this type can use asset transfer documents. This box will always be selected if the Assets box is selected. Asset transfer documents are always owned by the top site.
Select this option to allow sites of this type to own work requests. The Assets box must be selected before you can select this box.
Select this option to allow sites of this type to own work orders. The Assets box must be selected before you can select this box.
Select this option to allow sites of this type to own standard jobs. The Assets box must be selected before you can select this box.
Select this box to allow sites of this type to own preventive maintenance (PM) routes. The Assets box must be selected before you can select this box.
Select this option to allow sites of this type to own standard tasks. The Assets box must be selected before you can select this box.
12. Select the Analyses tab.
Select this option to allow sites of this type to own asset priority analyses. This option can only be selected if the Assets option is selected first.
Select this option to allow sites of this type to own RCM2 analyses. This option can only be selected if the Assets option has already been selected.
14. Select the Materials tab.
This option is automatically selected if the site type is set to own items that create resource transactions, such as employees (time cards) or work orders. If no objects of this type are selected, the Resource transactions option will not be available for selection.
If you select the Warehouse option, this option will automatically be selected. However, you can clear it if necessary.
Select this box to allow sites of this type to own warehouses. If you select this option, the Resource transactions and Transaction entry forms options are automatically selected.
16. Select the Asset Health tab.
18. Click OK to save the settings and close the Site Type dialog.
19. Click OK to close the Application Settings dialog.