Setting up Regions, Site Categories, and Site Groups

You can define regions, site categories, and site groups at the enterprise level and assign them to sites. These values are handy when setting up KPIs, charts, dashboards, configurations, and more.
This topic explains how:
For information about assigning these objects to sites, see Setting up a Site Hierarchy.

To Define Regions

1.
In the Enterprise window, click the Administration menu and Application Settings. The Application Settings window appears.
2.
Select the Regions tab and click New.
3.
4.
5.
If you wish to change the image that represents the region, click Change Icon, select a different graphic, and click OK.
6.
Select the Description tab to provide more information.
7.
Click OK. The region is added to the Regions tab.
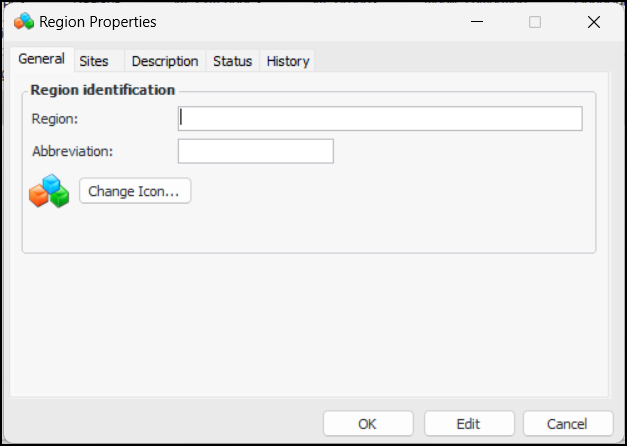
When you return to this dialog after the region has been in use for a while, the Sites tab lists the sites where the region is used. The History tab displays information about the creation of the region and its last update.
You can prevent the region from being used before it is ready by selecting it in Regions tab and clicking Mark as Inactive. To make it available, select the region and click Mark as Active.

To Define Site Categories

1.
In the Enterprise window, click the Administration menu and Application Settings. The Application Settings window appears.
2.
Select the Site Categories tab and click New.
3.
4.
5.
If you wish to change the image that represents the category, click Change Icon, select a different graphic, and click OK.
6.
Select the Description tab to provide more information.
7.
Click OK. The category is added to the Site Categories tab.
When you return to this dialog after the category has been in use for a while, the Sites tab lists the sites where the category is used. The History tab displays information about the creation of the category and its last update.
You can prevent the category from being used before it is ready by selecting it in Regions tab and clicking Mark as Inactive. To make it available, select the category and click Mark as Active.

To Define Site Groups

1.
In the Enterprise window, click the Administration menu and Application Settings. The Application Settings window appears.
2.
Select the Site Groups tab and click New.
3.
4.
5.
If you wish to change the image that represents the group, click Change Icon, select a different graphic, and click OK.
6.
Select the Description tab to provide more information.
7.
Click OK. The group is added to the Site Groups tab.
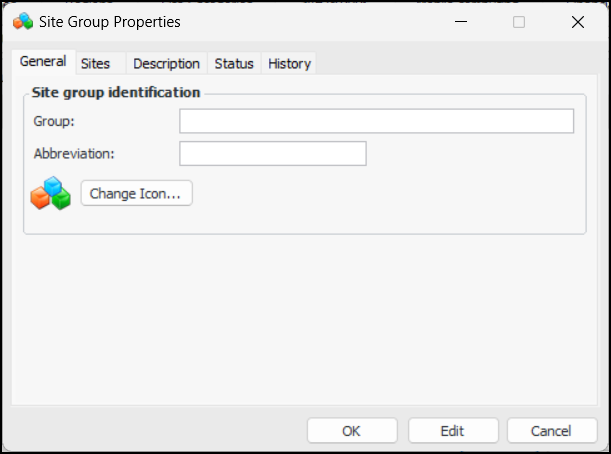
When you return to this dialog after the group has been in use for a while, the Sites tab lists the sites where the group is used. The History tab displays information about the creation of the group and its last update.
You can prevent the group from being used before it is ready by selecting it in Regions tab and clicking Mark as Inactive. To make it available, select the category and click Mark as Active.