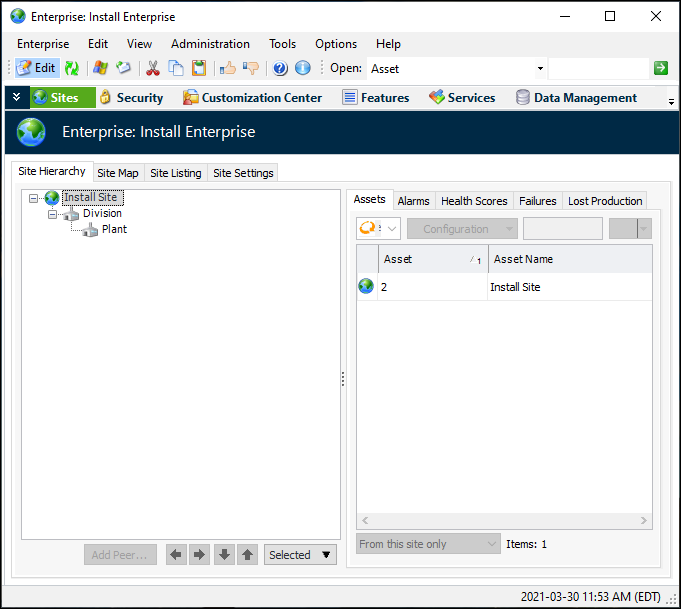
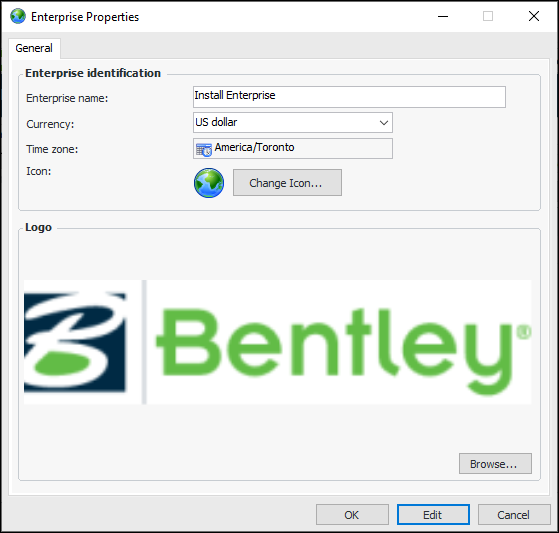
**Setting Enterprise Properties

The enterprise is an administrative function and your starting point in setting up APM. It is the location within APM where you will set up sites and place them in a hierarchy.
The enterprise also contains global settings and tools, such as asset hierarchy settings, site types, security profiles, GL accounts, and scheduled actions. It also lists the installed APM products and their activation statuses.
When setting up a new implementation of APM software and database, you must select the currency that will be the default for all new sites. You can also set the enterprise name, view the enterprise time zone, select an icon and logo, and check the activation status of licensed application modules.
Note: It is possible to change the enterprise currency after the enterprise has been established. However, if document approval routes have already been set up, be sure to run the Recalculate Approval Routes Limits scheduled action. This ensures that the maximum approval limits on approval routes are converted to the enterprise’s new currency. For more information, see Scheduling Actions.

To Set Enterprise Properties

1.
Tip: From the Site window, click on the tool bar. The Enterprise window appears.
2.
From the Enterprise menu, select Properties. The Properties dialog appears.
3.
Click Edit. For example:
4.
Note: The time zone is displayed for information purposes. The enterprise time zone is selected when APM is installed or upgraded. Typically, this value is the geographical area that represents the enterprise time zones used to display date and time information in APM clients.
5.
To change the icon that represents the enterprise, click Change Icon, select a different graphic, and click OK.
6.
Click Browse to select a logo to appear in the top right corner of your reports.
Tip: We recommend using a graphic file that is approximately 486 pixels wide (1.6 inches) by 263 pixels (0.8 inches) high. Larger graphics will be scaled to fit the report format, but be sure to test the logo in a report before adding it to enterprise properties.
7.
Click OK to save the settings and close the dialog.