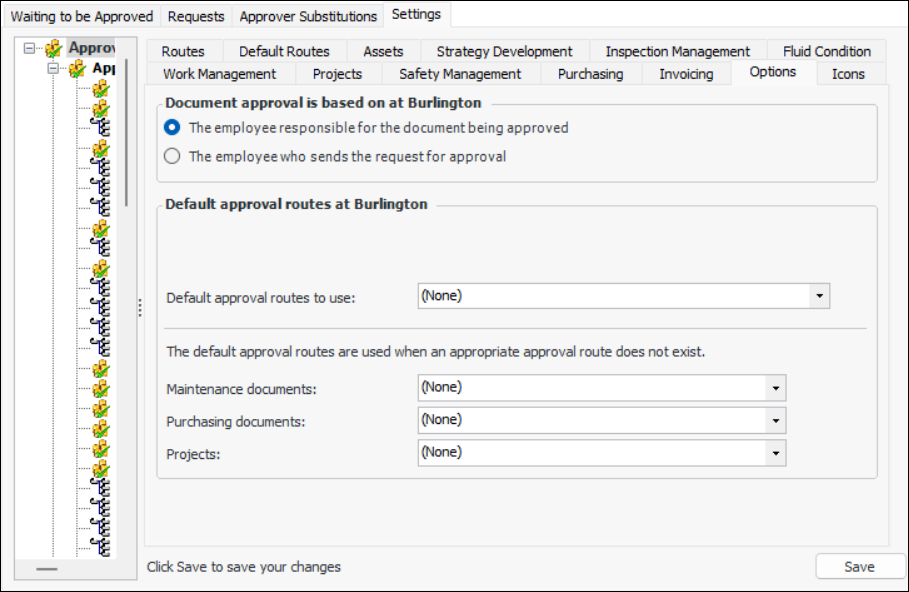
Selecting Default Approval Routes for a Site

This topic explains how to set the default approval routes for a site. To create approval routes, see Creating Approval Routes.
When you send a document for approval, the system searches for appropriate approval routes for that document. The system filters the list of available routes so that you can only select a route that:
If the system cannot find an approval route that meets the above criteria, it first checks if the employee is assigned a default approval route for the type of object and then uses the set of default routes for the site. Each site can have different default routes selected. You can also select default routes for:
If the site does not have default routes assigned and the system cannot find an appropriate route for an approval request, you must select a route from the entire list of routes in the enterprise.

To Select Default Routes for a Site

1.
On the site window, select the Approvals view and the Settings tab. Select the Settings in the tree.
2.
Select the Options tab.
3.
Click Edit to modify the site settings. The Edit button is replaced by the Save button.
 
To set the document approval rule, see Setting the Request Originator Rule.
4.
5.
6.
Click Save.
Note: Default approval route sets are a “generally available” product feature. You must first enable feature 57 to use the functionality in APM. In the Enterprise window, select the Features view and the Enabled Features tab. Click Browse, select “Default approval route support” and click OK. If APM is running as a smart client, click Refresh Enabled Features on the server. Then restart the client to use the functionality.