Setting up Multi-Language Data

APM supports text in two or more languages in a single database. Value lists, such as asset types, work types, and adjustments reasons, can be maintained in more than one language, as well as data such as resource and supplier names.
To support data in two or more languages, the Multi-Language Data feature must be enabled for the Enterprise, translatable attributes must be identified, and one or more users must be set up to perform translation. The translator can then log on to APM and translate the data. Users running the APM application server in the target language will be able to see translated data in that language.
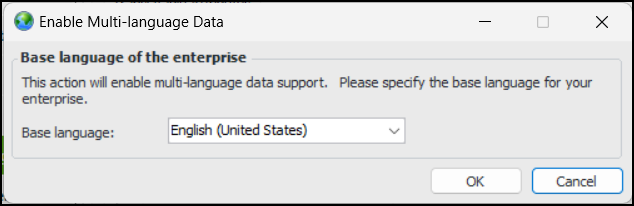
You can generate multi-language strings for existing data. This makes it easy to translate related data in a single spot instead of singly from the User Interface. For example, if you wanted to provide translation for all Asset types, you can generate multi-language strings for the Asset Type class and then, from the Enterprise, Data Management view, proceed with the translation.
You can disable the Multi-Language Data feature at any time. There will be no loss of translated data; however, text will only be displayed in the default language for the Enterprise. You will not be able to add new translated text strings, nor will the strings already translated be seen.
Note: To make changes available to smart clients, be sure to restart the APM server after you enable or disable Multi-Language Data or after you select (or de-select) a translatable attribute.
This topic explains how:

To Enable Multi-Language Data

1.
2.
Select the Multi-Language Data tab and then the Translatable Attributes tab.
3.
Click Enable Multi-Language Data. The Enable Multi-Language Data dialog appears.
4.
5.
Click OK. The dialog closes.
6.
Click Browse to open the Browse Attributes to Translate dialog.
7.
From the Class name list, select a class to be available for translation. Or click Browse to select a class from the Class Selector dialog. The class attributes are displayed in the table. For example:
8.
Select the attributes to translate and click OK. The dialog closes and the attributes are displayed in the Translatable Attributes tab.
9.

To Identify Users to Translate Data
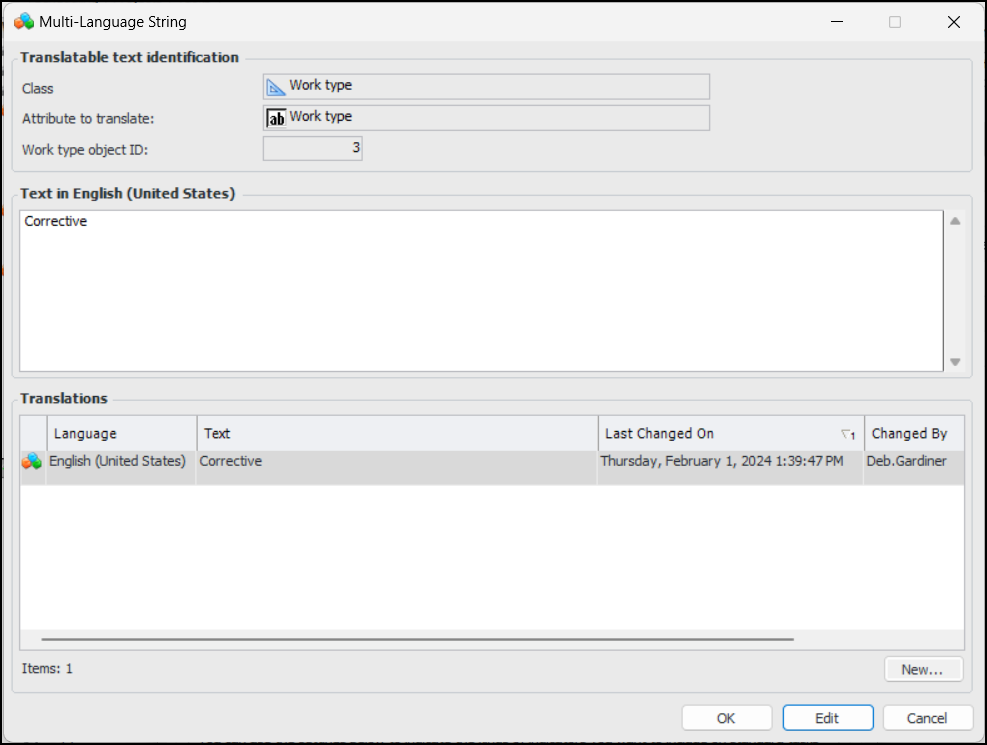
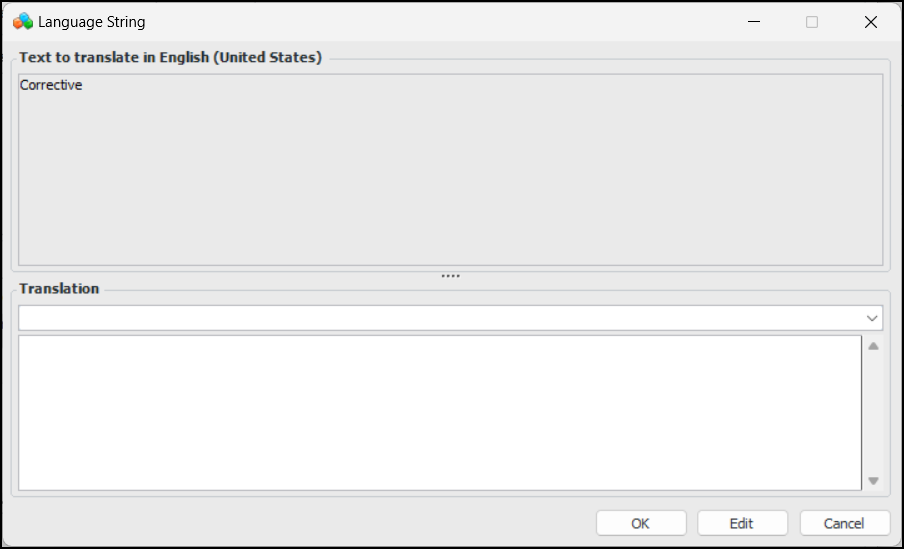
1.
Open the Enterprise window and select the Security view. Click the Users tab.
2.
3.
Select the Translation tab.
4.
Click Edit.
5.
Select This user can translate multi-language text.
6.

To Translate Data

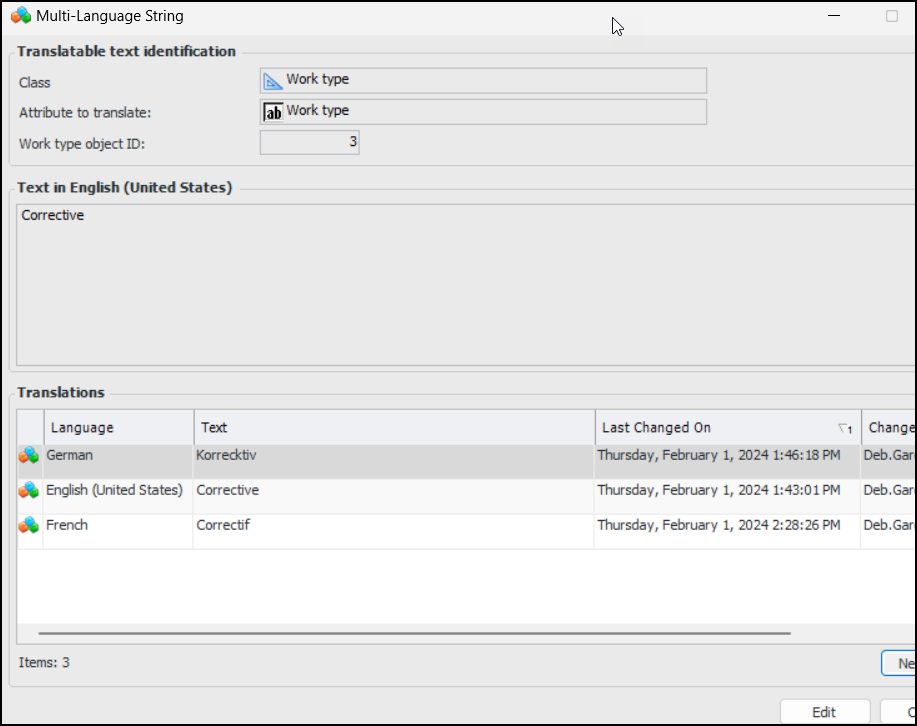
Note: The class and attributes must be set up for translation and multi-language data must be enabled.
1.
For example, if the Work type class and work type attribute are identified as translatable text, open the Work Management settings and then click the Work Types tab. Double-click a work type to open the Work Type Properties dialog.
2.
3.
Click New. The Language String dialog appears.
4.
In the Translation area, open the list and select the target language.
5.
Note: To take advantage of the spell-checking feature in the target language, run the application server in that language when translating text.
6.
When you are finished, click OK. The Language String dialog closes. The language, string text, “last changed” date, and “changed by” details are displayed in the Multi-Language String dialog. For example:
7.
To view a list of all the translated strings, open the Enterprise window, select the Data Management view, Multi-Language Data tab. Select the Multi-Language Strings tab. This tab lists the classes, attributes, languages, and text. For example:

To Generate Multi-Language Strings for Existing Data

1.
2.
Select the Multi-Language Data tab. Ensure that Multi-Language Data is enabled.
3.
Select the Translatable Attributes tab.
4.
5.
A message appears, prompting you to continue. Click Yes. A progress dialog appears. If you do not wish to continue, click Cancel. Data strings that were generated before you clicked Cancel are not rolled back. If they are not required, you can delete them manually.
6.
Click the Multi-Language Strings tab and then the By Instance tab.
7.
8.
The text in the base language appears in the Text in… area.
In the Translations area are the languages to which the selected text is translated.
9.
Click New to open the Language String dialog, where you can add the translation.
10.
In the Translations area, open the list and select the target language.
11.
In the Translation box, enter the translated text for the instance.
12.
Click OK when the translated text has been entered. The Language String dialog closes and you are returned to the Multi-Language String dialog.
13.
Repeat steps 9 to 12 for each translation of this instance that you will make. When you are finished, click OK. You are returned to the By Instance tab.

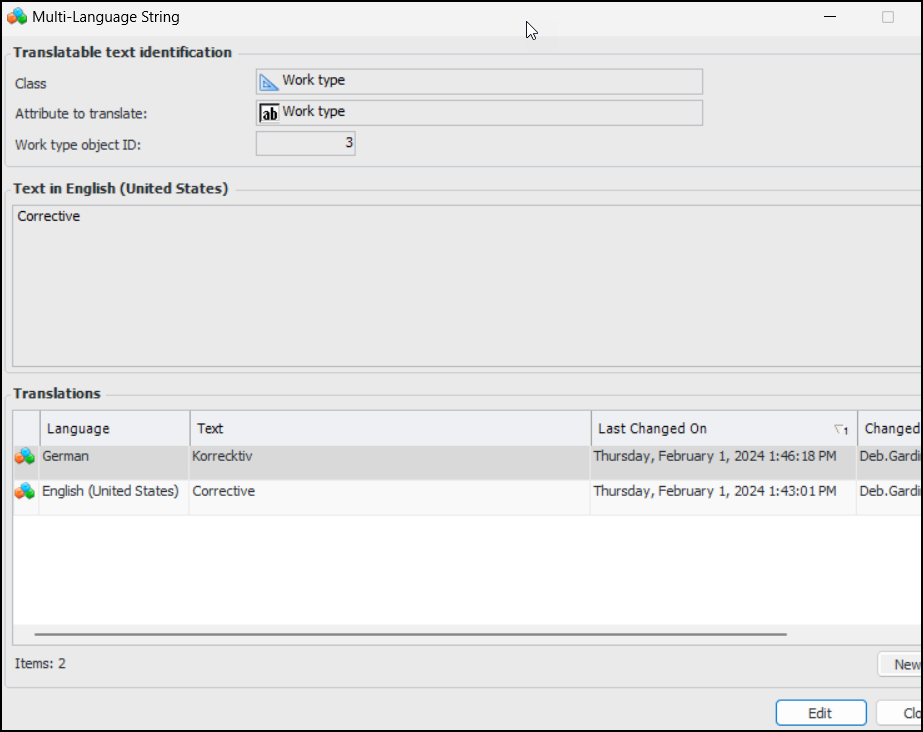
To Review Translated Text

1.
In the Enterprise window, click the Data Management view. Select the Multi-Language Data tab, Multi-Language Strings tab, and then the By Language tab.
2.

To Disable Multi-Language Data

1.
2.
Select the Multi-Language Data tab.
3.
Click Disable Multi-Language Data. The feature is disabled.