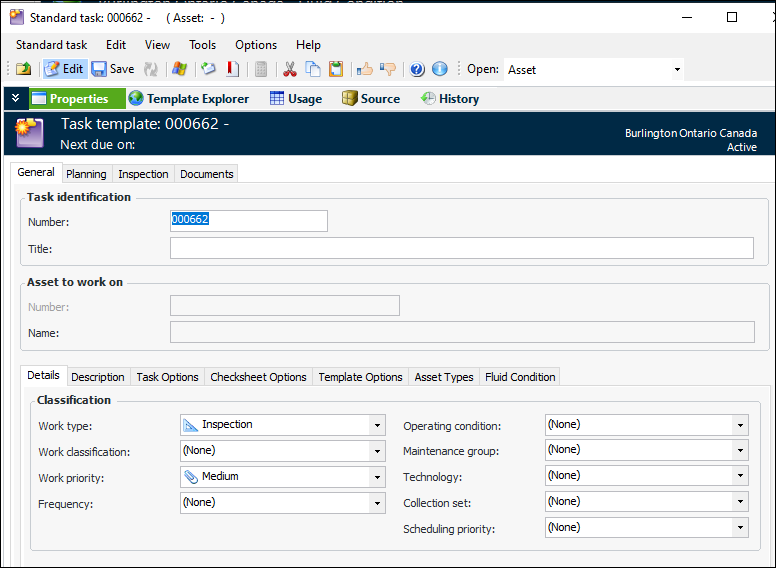
Setting up Task Templates for Fluid Condition Tracking

Once fluid condition value lists have been defined, you can set up indicator templates and add them to standard task templates. A standard task is used to generate a checksheet that inspectors will use to record the fluid samples they collect. When the checksheet is processed, its information is copied to the fluid condition checksheet, where lab test results are recorded. You can also set up the task template for the fluid condition checksheet, which typically include indicators that calculate values such as fluid codes based on readings from other indicators and indicators that track changes in values.
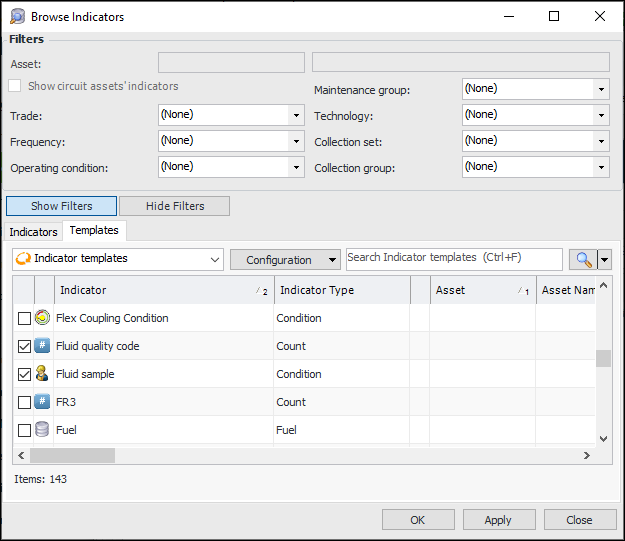
This topic explains how to set up a template for taking samples and for recording test results. See:
This topic explains standard task features that are specific to fluid condition tracking. For general information, see:

To Create a Task Template for Fluid Sample Tracking

1.
In the Site window, select the Fluid Condition view and Tasks tab. The default table configuration, “Fluid results tasks”, lists existing standard tasks.
Note: You can also create fluid condition task templates in the site’s Reliability Program view, Task Templates tab.
2.
3.
Click New. The Standard Task window appears:
4.
5.
Select the Inspection tab and click Browse. The Browse Indicators dialog opens.
6.
Select the Templates tab. From the list, select the indicator templates that you wish to add to the task template. For example:
7.
Click OK to close the dialog and add the indicators.
8.

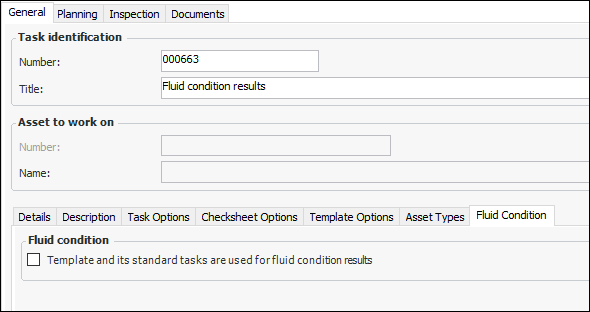
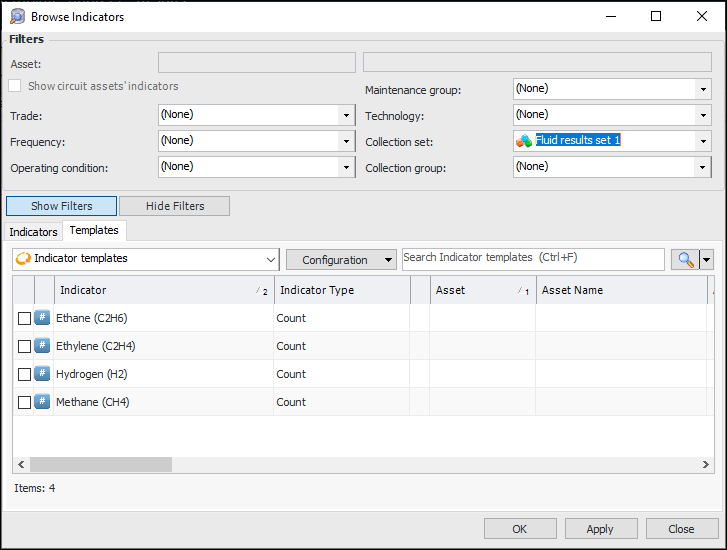
To Create a Task Template for Fluid Sample Test Results

1.
In the Site window, select the Fluid Condition view and Tasks tab. The default table configuration, “Fluid results tasks”, lists existing standard tasks.
2.
3.
Click New. The Standard Task window appears:
4.
5.
On the General tab, select the Fluid Condition tab.
6.
Select Template and its standard tasks are used for fluid condition results.
7.
Select the Inspection tab and click Browse. The Browse Indicators dialog opens.
8.
Select the Templates tab. Select the indicator templates to record the results of lab tests. This example of Browse Indicators uses a collection set to filter the list for tests:
9.
Note: Indicators are given sequence numbers when they are added to fluid condition checksheets. You can control where the reading is positioned on a checksheet: top of the readings, bottom of the readings, or after the calculated reading’s inputs. In the Indicator window, select the Properties view, Calculation tab, and Options tab to select the appropriate setting.
10.
Click OK to close the dialog and add the indicators.
11.
You can now reference the task template in lab fluid sample settings.