|
|


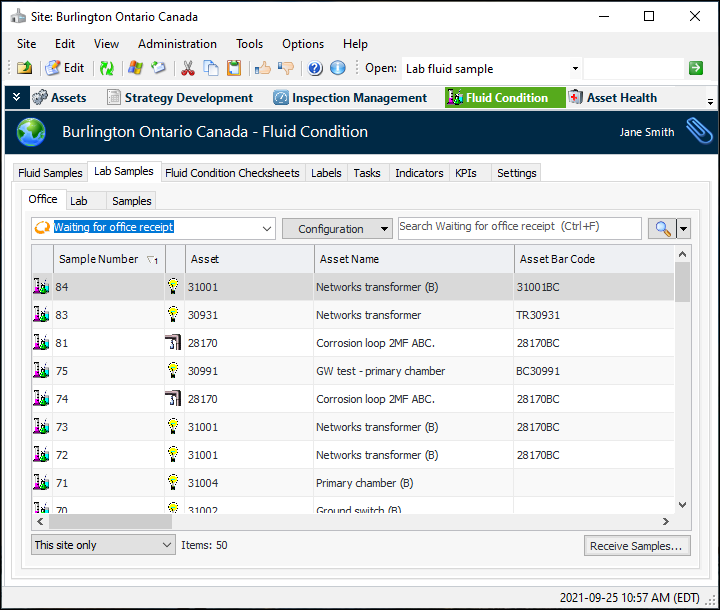
Creating Fluid Sample Receipts and Sending Samples to the Lab
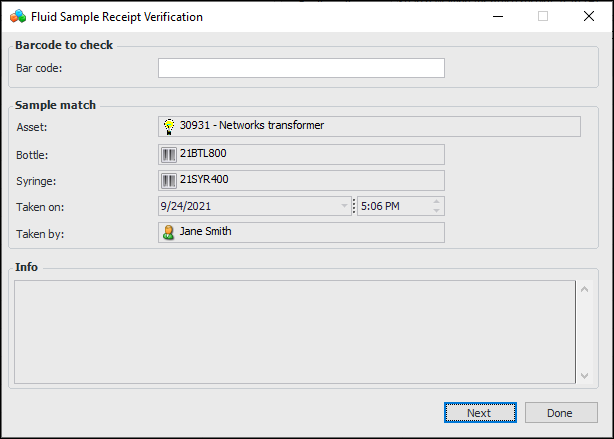
To Verify Sample Collection
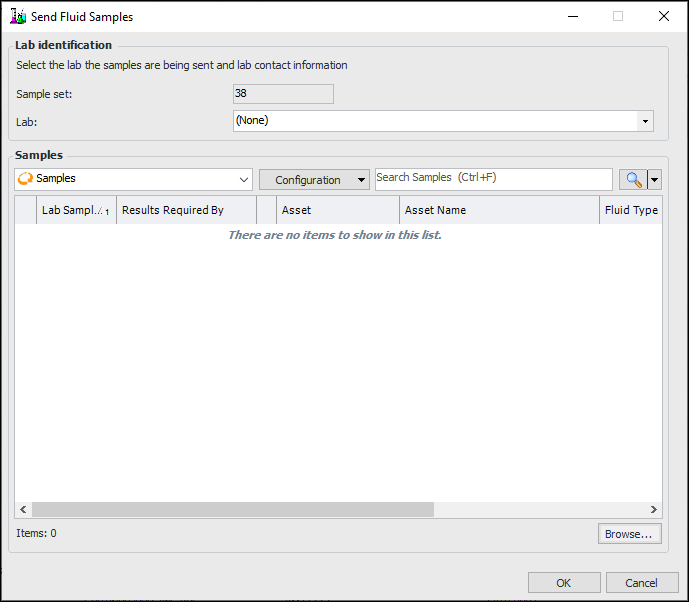
To Record Sending Samples to the Lab
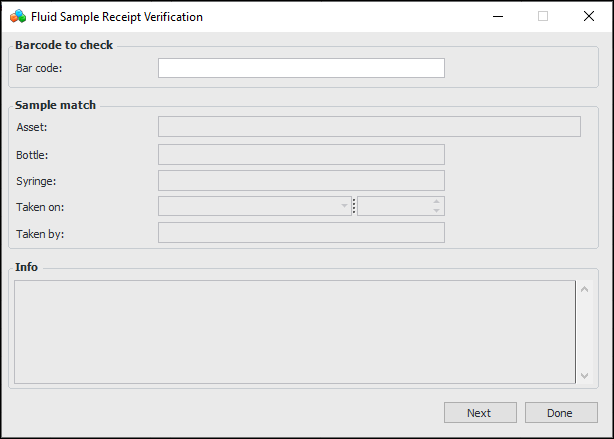
To Verify Receipt of Samples by the Lab
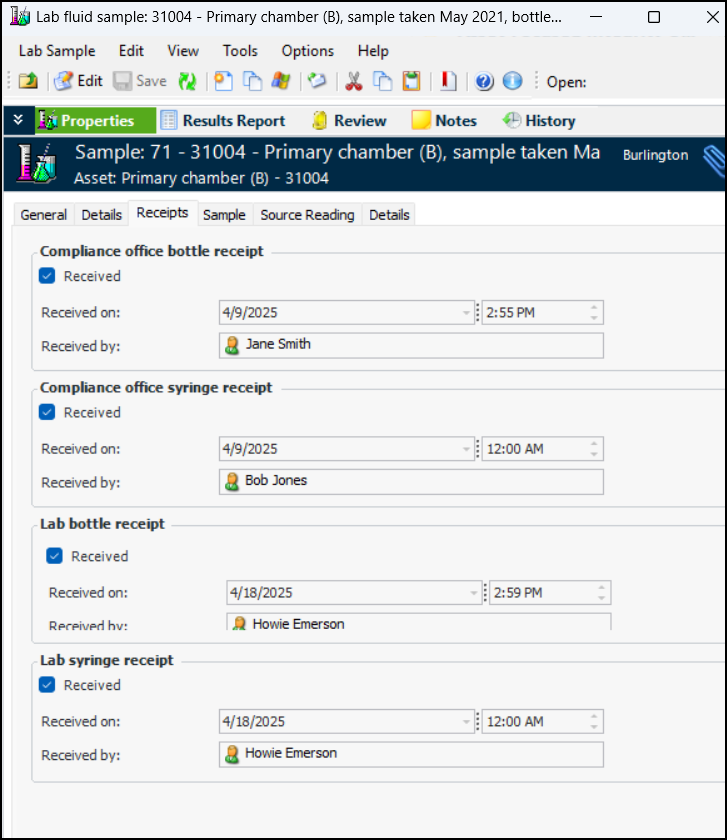
To View Receipts on a Fluid Sample