Setting up Indicators to Record Rates of Change

Inspectors use indicator readings, typically in checksheets, to record the fluid samples they collect when inspecting assets. For example, the indicator “Primary chamber oil sample” might be one of a number of indicators included in a checksheet for an inspection round. When the collection checksheet is processed, APM uses it to create a lab fluid sample for each reading and the fluid condition checksheet to record lab test results.
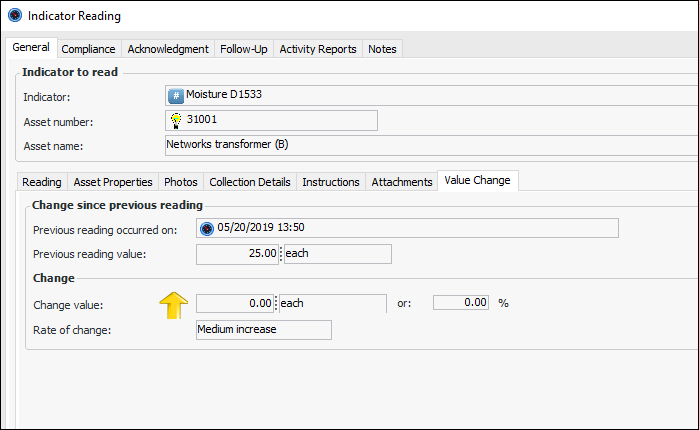
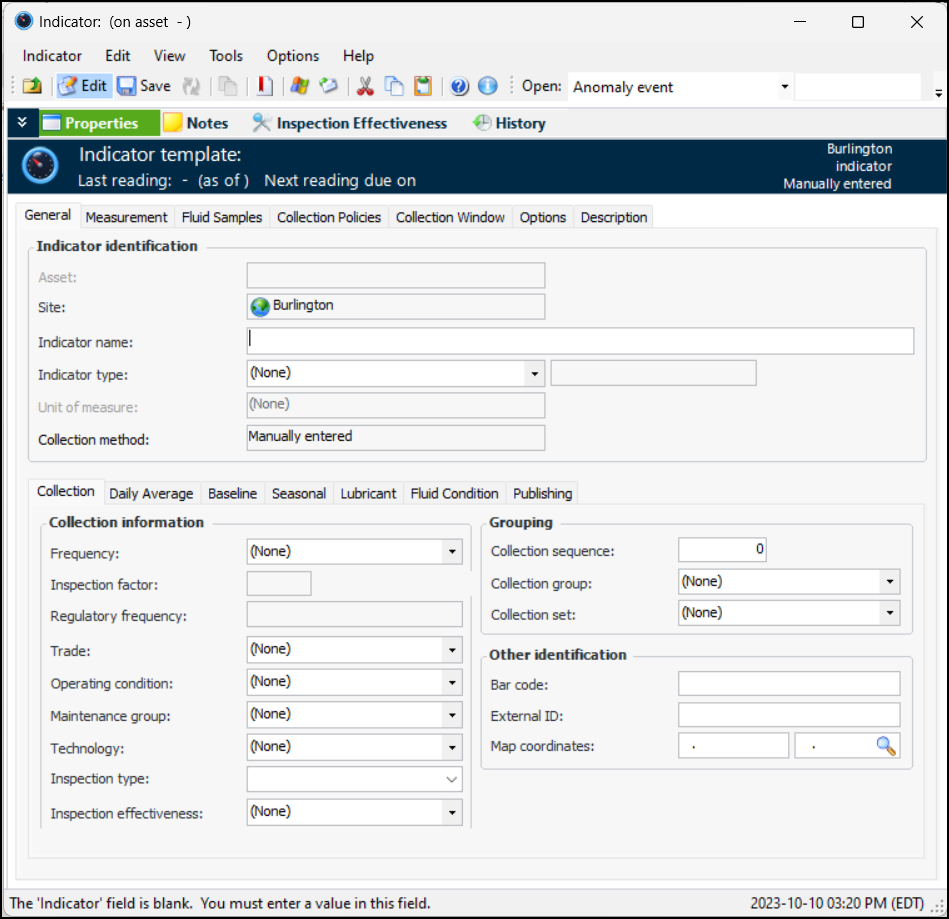
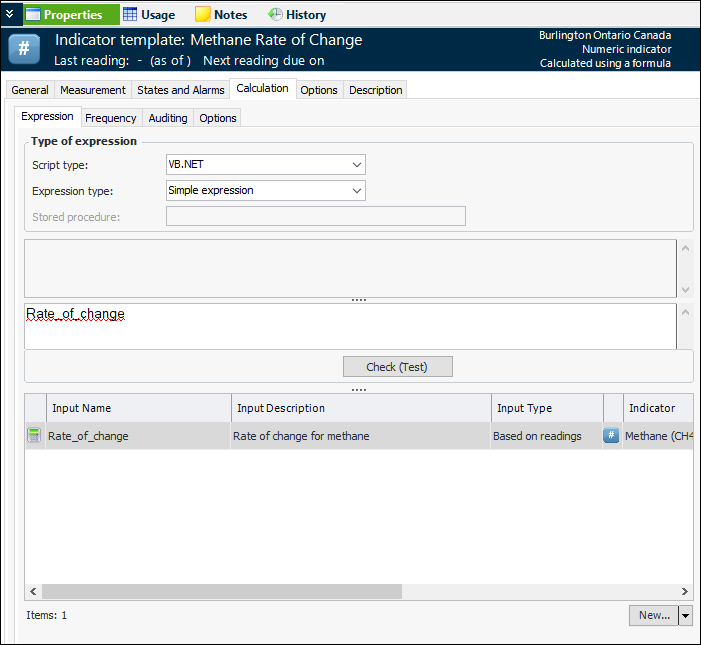
Once fluid condition value lists have been defined, you can set up indicator templates and add them to standard task templates so that checksheets can be generated for collecting samples. For more information, see Setting up Indicator Templates for Fluid Sample Collection.
This topic explains how to set up a calculated indicator template that displays the rate of change between an indicator reading and its predecessor. The template depends on:
In indicator readings, the Value Change tab displays the change since the last reading, change value, and rate of change. For example:
This topic explains indicator features that are specific to fluid condition. For general information, see:

To Create an Indicator Template to Record Rate of Change

1.
In the Site window, select the Inspection Management view, Indicators tab, and Templates tab.
2.
Click New. The Indicator window opens:
3.
4.
5.
In the Collection method list, select Calculated using a formula.Select the Calculation tab. Click New to open the Calculation input window:
6.
7.
Note: The input indicator must use an indicator type that supports change tracking.
8.
Click OK to close the window and add the input to the Calculation tab.
9.
10.
Select the States and Alarms tab to set up states that define normal and abnormal readings and the appropriate responses.
11.
You can now include the indicator template in task templates for fluid condition results.