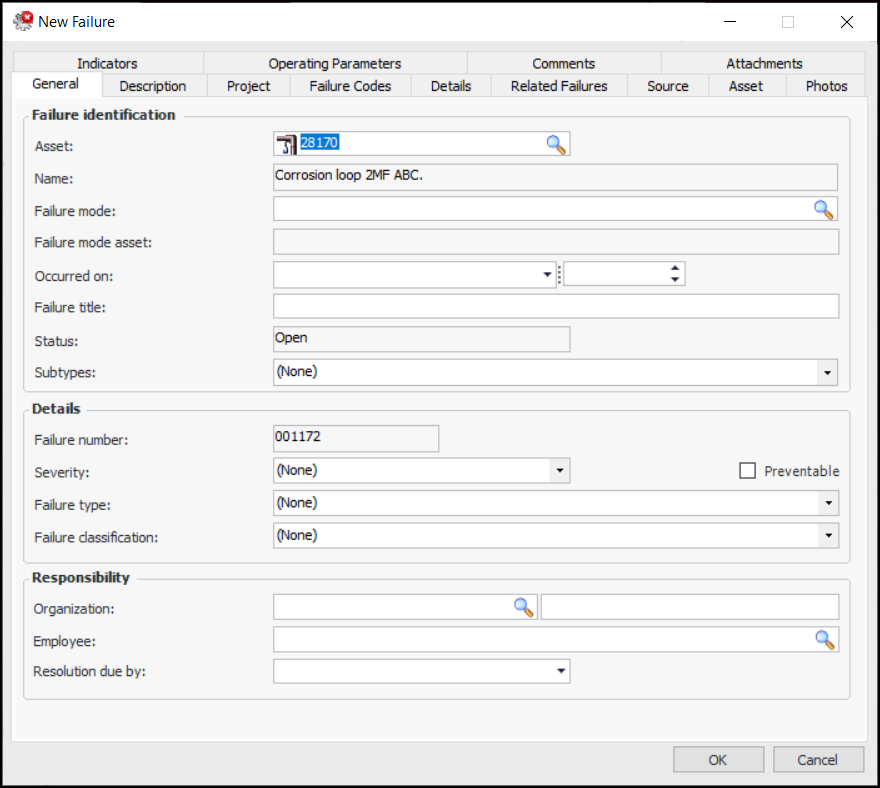
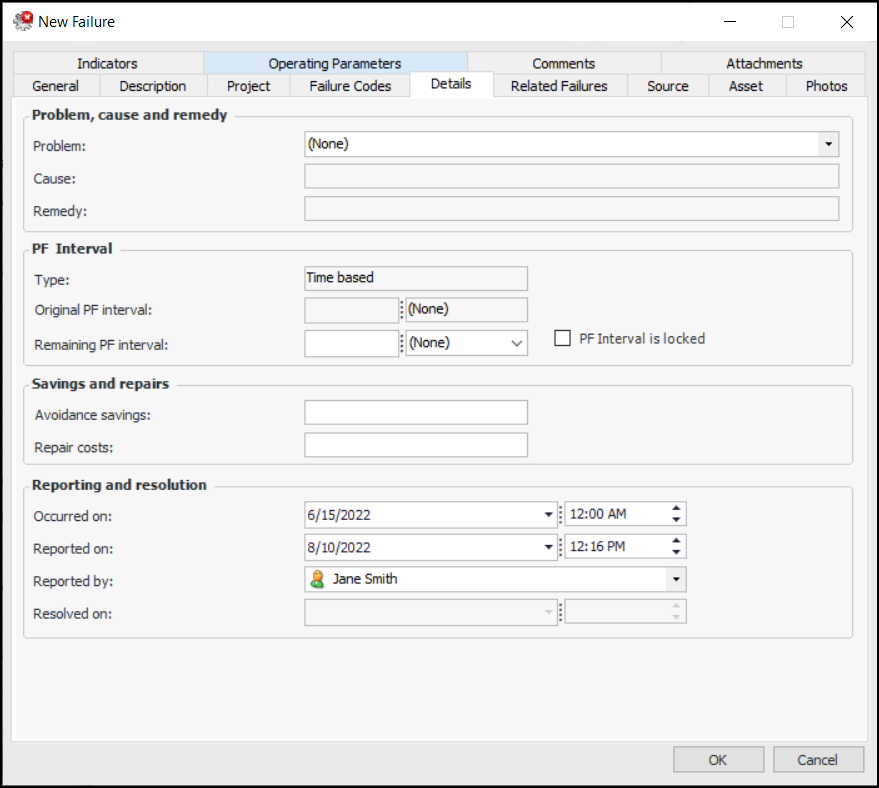
Creating a Failure Record When Reporting Work Activity

You can create a failure record when reporting activity on a work order task. Usually, a failure record is warranted in either of these situations:
This topic explains how to create a failure record from an activity report. For more information about completing an activity report, see Reporting Work Activity for a Work Order Task.
Note: After saving a failure record, you must use the Change buttons or the commands on the Tools menu if you wish to change the following information: asset information, failure dates, severity level, PF interval. You cannot simply enable editing to change this information because the failure statistics for all affected assets might require recalculation. For more information, see Editing Failure Records.

To Create a Failure From an Activity Report

1.
From the site’s Work Management view, select the Work Orders tab, the Tasks tab, and the “Open tasks” configuration.
Tip: You can also open an existing activity report on the Activities Reports tab. Select the “Unprocessed activity reports” configuration.
2.
Right-click the work order task and click Report Activity. The Activity Report dialog appears.
3.
Select the Asset Info tab and then the Failures tab. This tab lists all of the failures that have been recorded for the work order task.
4.
Click New. The New Failure dialog appears. For example:
The work order’s asset information is displayed in the Failure identification area and the Asset tab.
APM assigns each failure record a unique failure number. The failure number can be used to locate the failure or to launch it from the find bar.
5.
If failure modes have been defined for the asset, you can select a suitable one from the Failure mode list. Its description, failure type, and failure classification are copied to the failure record and shown in the General tab. Any indicators assigned to the failure mode are also copied to the record. The Effects tab appears in the dialog, displaying information from the failure mode.
If AWEIS is active, the object part group, object part, damage code, and activity code are copied from the failure mode to the Failure Codes tab.
If the failure is associated with a problem defined for the asset type rather than a failure mode, select the Details tab. Select a problem from the list and, if appropriate, the cause and remedy. The selected problem’s description, failure type, and failure classification are copied to the failure record and shown on the General tab.
6.
In the Occurred on box, select the date and time when the failure occurred.
7.
Note: At this point, the failure record’s status is “Open”. Other statuses are “Resolved” and “Canceled”.
8.
9.
Total: the asset’s performance has decreased to a point where the asset no longer performs at its required level. The asset has completely failed.
Partial: the asset’s performance has decreased to a point where it no longer performs one of its functions at the specified levels. The asset is still functioning.
Potential: a condition has been noticed that would result in a failure if the problem is not resolved. Potential failures are most often reported when an indicator reading raises an alarm against the asset.
10.
Select Preventable if you wish to indicate that the asset’s reliability program needs review.
11.
12.
In the Responsibility area, select the organizational asset and employee responsible for tracking the failure. This information is independent from the employee who reported the problem.
13.
14.
On the Description tab, enter or modify the description of the failure as needed.
15.
On the Project tab, you can add the record to a reliability project and associate the record with a project task. Reliability projects are typically used to organize and track analyses and objects. They usually use project tasks rather than work orders.
16.
Select the Details tab. For example:
17.
Note: APM displays the original PF interval when the failure record is saved.
18.
19.
In the Repair costs box, you can enter the estimated costs to the company of the failure.
20.
In the Reporting and Resolution area, the date and time that you created the failure record are shown by default. You can change the value in the Reported on box to reflect the time when the failure was reported.
21.
Once the failure is resolved, the date and time appear on this tab.
22.
Select the Photos tab to attach inspection photographs to the failure record.
23.
Select the Comments tab to create and respond to comments. For more information, see Entering and Reviewing Comments on a Failure
24.
25.
26.
Click OK to close the New Failure window. The record is added to the Failures tab.
When creating a failure record or tracking its progress to resolution, you can also perform the following tasks: