|
Exporting Table Configurations to Excel
When you export a table configuration to Microsoft Excel®, the contents of all table columns are exported into a new read-only workbook. Note that for data that includes quantity, duration, or price, separate columns are created for the value and its unit of measure. You can define the column heading properties and secure the worksheet by adding a password.You can include, and define the contents of, a header sheet when the table configuration is exported to Excel. This is particularly useful when exporting checksheet readings so that checksheet information is also included with the readings. If you wish to add properties to the header worksheet, you must log on to APM with the administrator privilege. See Logging on as an Administrator.Tip: You can also select Export to Excel options for individual columns. These actions include enabling drop-downs, defining formatting for complex data types, and creating tool tips. For more information, see Editing Column Properties in Table Configurations.To Export a Table to Excel
2. Right-click in the table and click Export to Excel. Excel opens, and the read-only workbook and worksheets are created based on the settings you chose, as explained below. For example, if header fields are included, they appear in the first worksheet and the table’s contents are included in the second worksheet.Note: You can also export objects in a map by right-clicking on an object in the map and clicking Export to Excel.
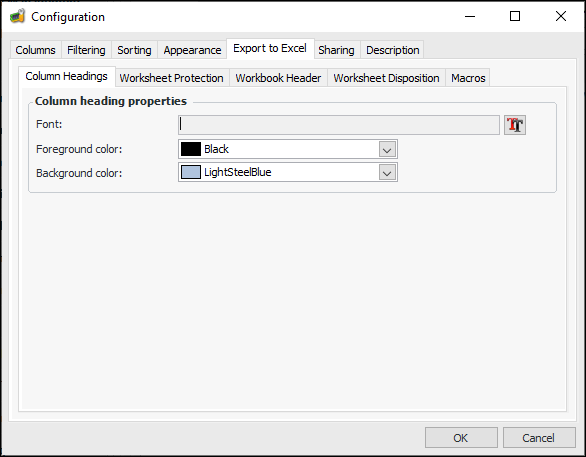
To Define Column Heading Properties
2. Click the Configuration list and then Open. The Configuration dialog appears, open to the Columns tab.
3.
4. In the Column heading properties area, you can select a font, foreground and background color for the column headings of the worksheet.
5. If you are finished, click OK to save the settings and close the dialog.
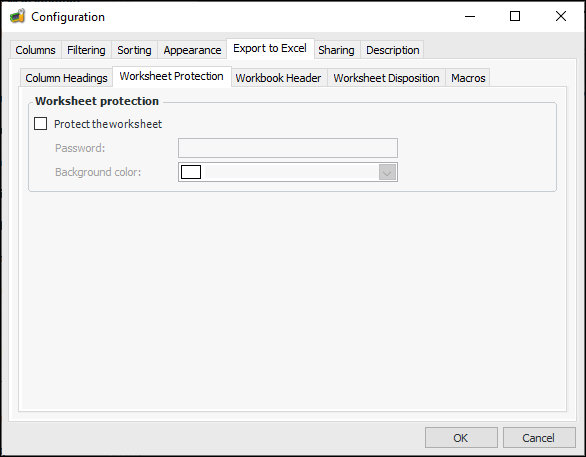
To Protect the Worksheet
2. Click the Configuration list and then Open. The Configuration dialog appears, open to the Columns tab.
3.
4. Select Protect the worksheet and then enter a password. You can select background color if you wish.
5. If you are finished, click OK to save the settings and close the dialog.
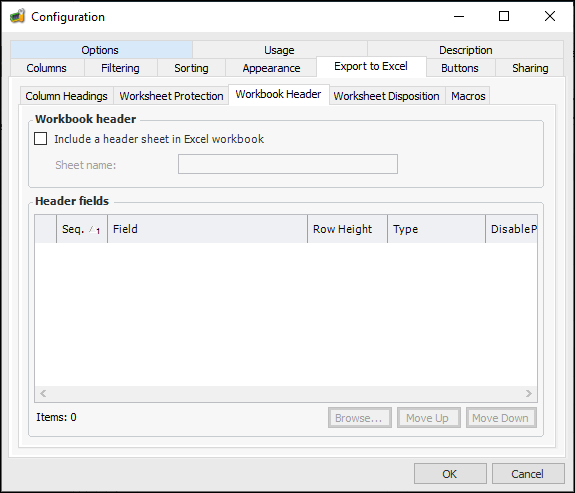
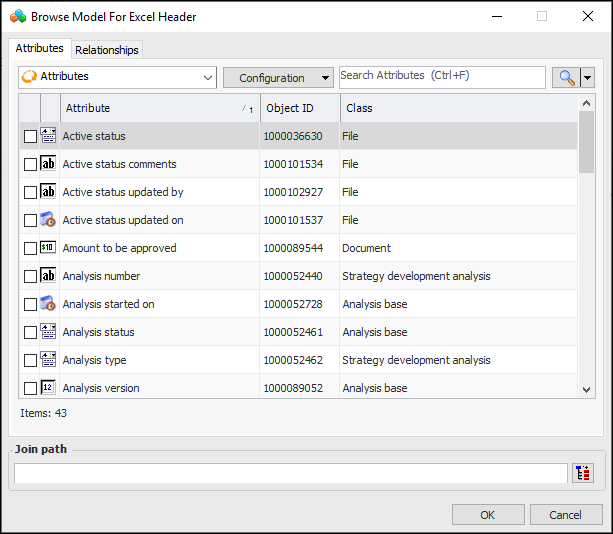
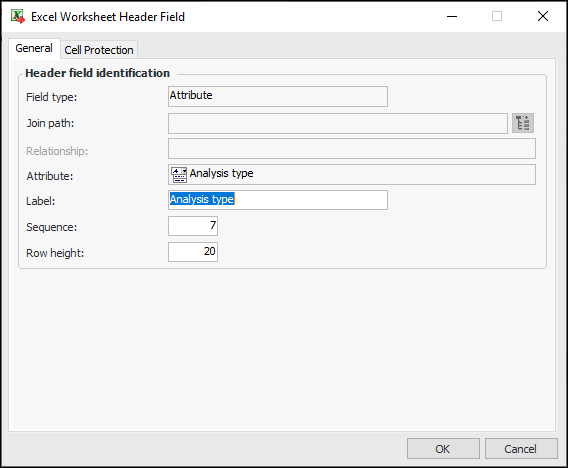
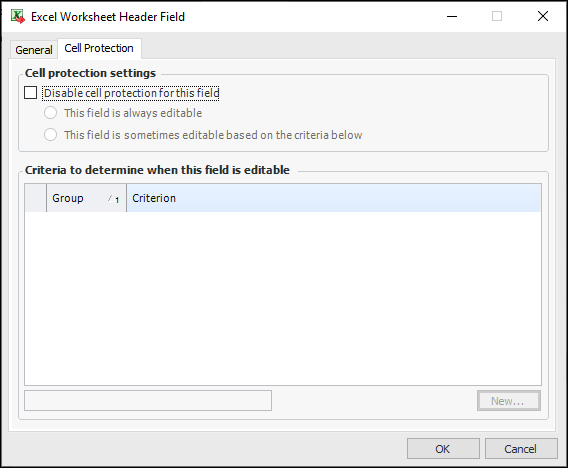
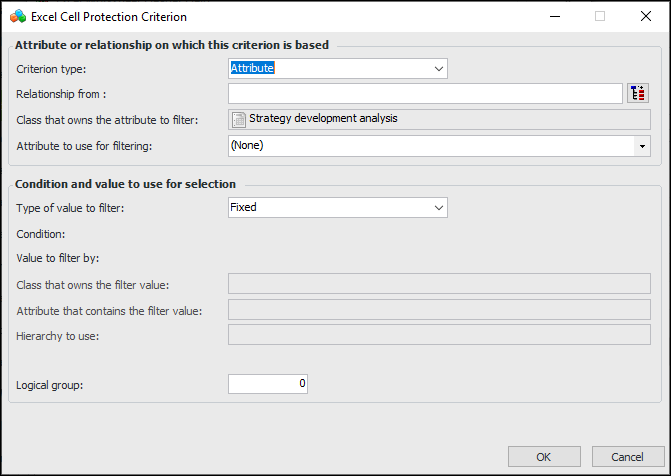
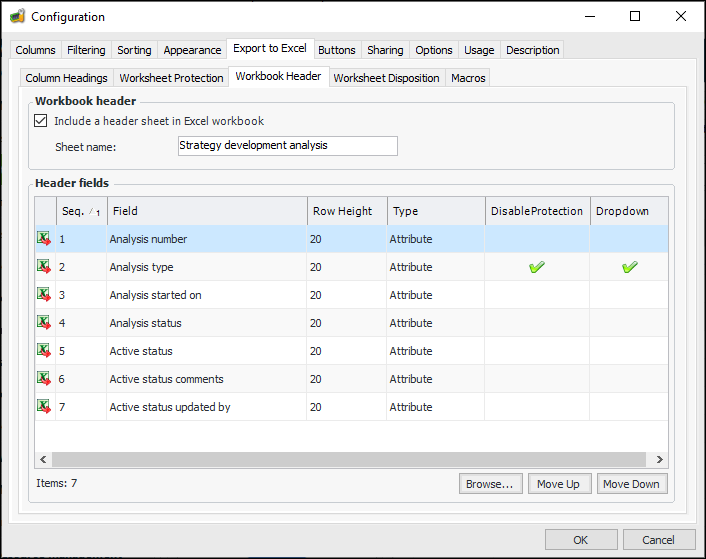
To Define the Workbook Header Properties
3. Click the Configuration list and then Open. The Configuration dialog appears, open to the Columns tab.
4.
5. Click Include a header sheet in Excel workbook.
7. Click Browse to select attributes and/or relationships to be included on the header worksheet. The Browse Model for Excel Header dialog appears. For example:
9. When you are finished, click OK. The attributes and/or relationships appear in the Header fields table.Tip: You can rearrange the order of items in the list by selecting an item and clicking Move Up or Move Down.
10.
11. On the General tab, you can edit the label, sequence number, and row height for the field.
12. The Cell Protection tab is available if worksheet protection is enabled. Select this tab if you wish to make the field editable.
13. Select Disable cell protection for this field. Then select either This field is always editable or This field is sometimes editable based on the criteria below.
• If you selected This field is sometimes editable based on the criteria below, you can click New to add a criterion to the list. The Excel Protection Criterion dialog appears. For example:
• In the Attribute or Relationship on which this criterion is based area, you can select the criterion type, relationship, and attribute to use for filtering.
• In the Condition and value to use for selection area, you can select filters and conditions.
• When you are finished, click OK. The criterion is applied to the cell.
• To add an additional criterion, select AND within a group, OR between groups or OR within a group, AND between groups, and then repeat the steps above.
• When you are finished, click OK to close the Excel Worksheet Header Field dialog. The Workbook Header tab shows the header fields, their protection status, and whether drop-down lists are enabled. For example:
14. Editable enumerated type fields can display drop-down lists of values for selection. Double-click the field to open the Excel Worksheet Header Field dialog, select the Dropdown tab, and then Enable pick from a dropdown list. Click OK to close the dialog.
15. Click OK to save the settings and close the Configuration dialog.
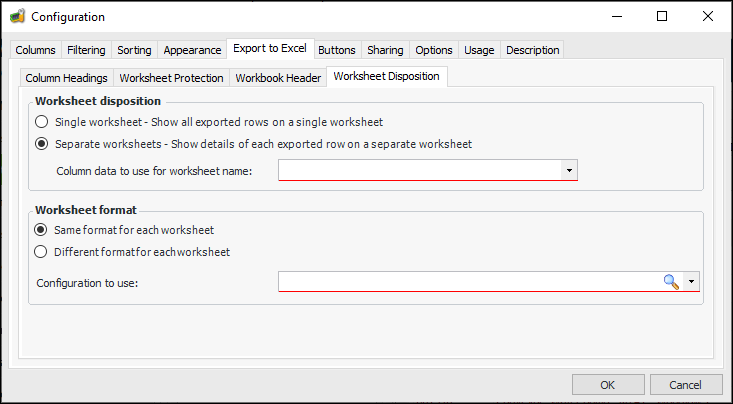
To Define the Worksheets to Export
2. Click the Configuration list and then Open. The Configuration dialog appears, open to the Columns tab.
3.
4. In the Worksheet Disposition area, select either Single worksheet to export all table rows into a single worksheet or Separate worksheets to export each row as a separate worksheet. For example:
5. If you selected Separate worksheets, then select the column to use as the worksheet name from the list.
6. If you selected Separate worksheets, select either Same format for each worksheet or Different format for each worksheet.
7. If you selected Same format for each worksheet, then select a configuration to use from the list. Otherwise, if you selected Different format for each worksheet, then select a join path to the appropriate configuration to use from the list.Note: Only one header worksheet is exported to Excel, so if the Configuration to use includes a worksheet header and Include a header sheet in Excel workbook is also selected, only the header sheet defined on the Workbook Header tab is included in the exported file.
8. When you are finished, click OK to save the settings and close the Configuration dialog.
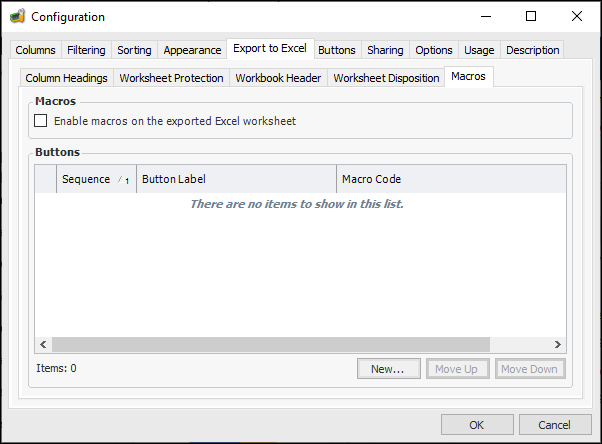
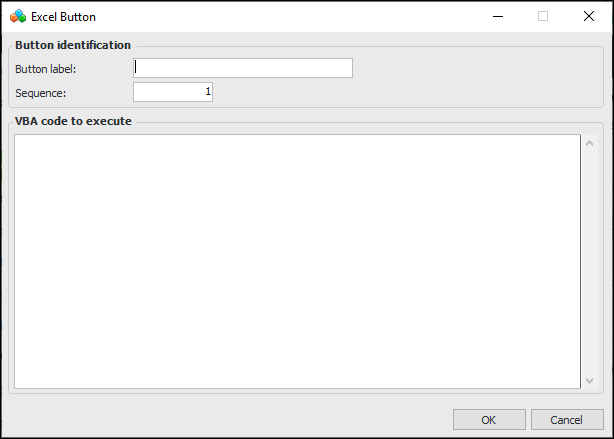
To Define Macro Properties
2. Click the Configuration list and then Open. The Configuration dialog appears, open to the Columns tab.
3.
4. Select Enable macros on the exported Excel worksheet.
5. Click New to create a button to appear on the exported worksheet. The Excel Button dialog appears, for example:
6. In the Button label box, enter a name to appear on the button.
7. In the Sequence box, enter a sequence number to determine the order in which the button will appear on the exported worksheet.
8. In the VBA code to execute box, enter the VBA code that will perform the button action in Excel.
9. Click OK. The button appears in the list.
10.
11. When you are finished, click OK to save the settings and close the Configuration dialog.