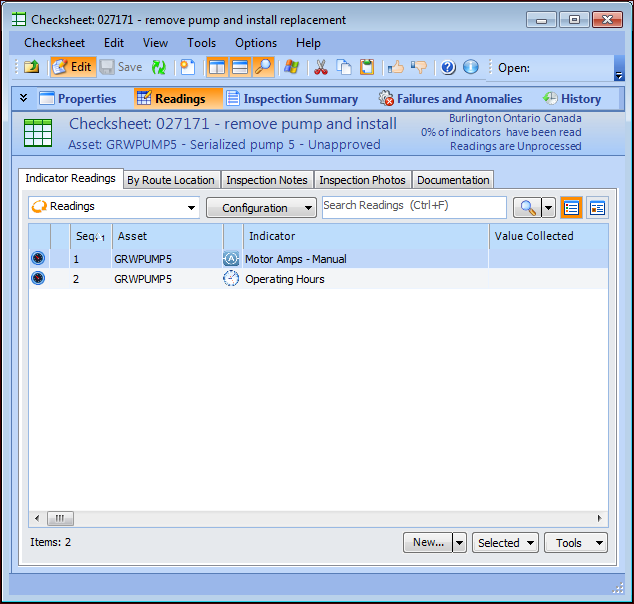
Creating a Checksheet for a Work Order Task

This topic explains how to enter indicator readings using a checksheet instead of an activity report.
You can also enter readings by creating an activity report. See Reporting Work Activity for a Work Order Task.
Note: After a checksheet for a task has been created, you cannot use activity reports to enter readings for the task.
Each task on a work order might specify indicators that need to be read. After the indicator readings for a work order task have been collected, you must enter them into APM and then process them.
Note: In order to enter indicator readings for the work order, the work order’s status might need to be “Planned”. Work orders have a Planned status if they have been approved or manually marked as planned.
Whenever you save an ad hoc reading or process a checksheet, APM records the date and time of the readings and evaluates any triggering rules or calculations based on the indicator. APM can use the readings you collect to trigger standard jobs or PM routes.
This topic explains how to create a checksheet and provides basic instructions for entering indicator readings. For detailed instructions, see Entering Readings on a Checksheet.

To Create a Checksheet for a Work Order Task

1.
2.
Select the Inspection tab and the Indicators to Read tab. This tab lists the indicators to be read for the task.
3.
Click the Tools menu, Indicators, and Create Checksheet. The Checksheet window appears.
4.
You can enter reading values directly into the table by selecting the indicator, pressing F2, and entering the reading in the Value Collected column. Press Tab to move to other columns.
Alternatively, you can double-click each listed indicator and enter the reading information in the Indicator Reading dialog.
Tip: You can default all of the readings for descriptive indicators to their “normal” value by clicking the Tools list and then Default to Normal. If the descriptive indicator’s previous reading triggered an alarm that has not yet been acknowledged, the reading for that indicator will remain blank. This will not overwrite any previously selected value for an indicator.
5.
When you have finished entering all of the indicator readings, you can process the data. On the Indicator Readings tab, click the Tools list and then Mark as Completed. In the confirmation message that appears, click Yes. APM closes the checksheet and updates the indicators with the new readings.
Tip: Alternatively, APM processes the readings automatically when you close the work order task
6.