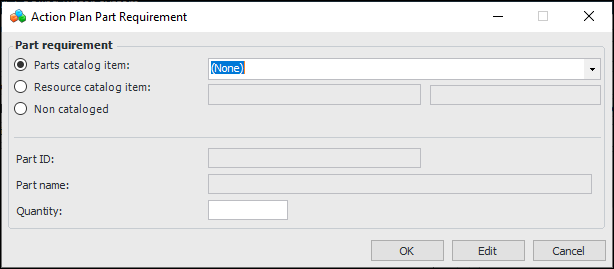
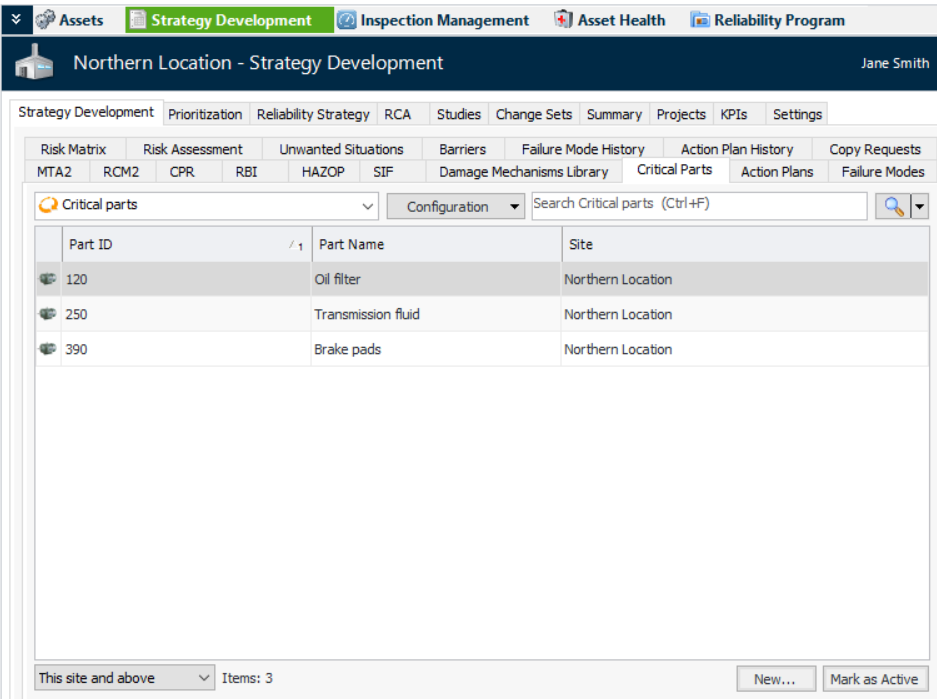
Adding Critical Parts to FMECA Action Plans

For all types of analyses and recommended actions, you can add a list of the materials needed to perform the action. Select from the parts catalog or define non-cataloged items, providing their part IDs, names, and quantities.
If you maintain a resource catalog in APM (and interoperability is not enabled for the site), you can select material resources from the catalog.
You can also develop a catalog of parts for use in the site’s analyses.
Note: To use this functionality in APM, you must enable feature 42. In the Enterprise window, select the Customization Center view and the Enabled Features tab. Click Browse, select “Support for critical parts identification on a maintenance action plan”, and click OK. If APM is running as a smart client, click Refresh Enabled Features on the server. Then restart the client to use the functionality.
This topic explains how:

To Add Critical Parts to an Action Plan

1.
2.
3.
On the Primary Action Plan tab, select the Critical Parts tab.
4.
Click New. The Action Plan Part Requirement dialog appears.
5.
Parts catalog item – Select from the list or click the browse icon to locate and select the part in the catalog. Specify the number required in the Quantity box.
Resource catalog item – If your organization maintains a resource catalog in APM, click the browse icon to open the Resource Selector dialog, where you can locate and select a resource. Specify the number required in the Quantity box.
Note: This option is not available if interoperability is active for the site.
Non cataloged – Provide a part ID, if appropriate, part name, and quantity.
6.
Click OK. The part is added to the Critical Parts tab.

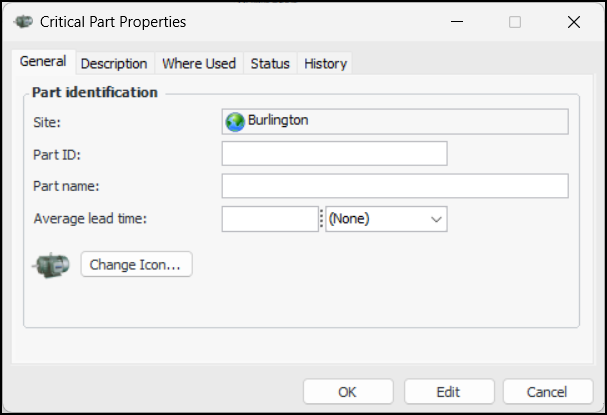
To Add Items to the Parts Catalog

1.
On the Site window, select the Strategy Development view and tab.
2.
Select the Critical Parts tab.
This tab lists parts that have already been defined for your organization. You can mark a part as inactive to prevent it from being selected in action plans
You can mark a part as inactive until it is ready to be used. Select the part in the table and click Mark as Inactive. The Mark as Inactive/Active dialog appears, where you can enter a comment. When you click OK, a confirmation message appears. Click OK. When you are ready, click Mark as Active to make the part available.
3.
Click New. The Critical Part Properties dialog appears:
4.
5.
6.
7.
To change the icon that will appear on all parts of this type, click Change Icon, select a different graphic, and click OK.
8.
Select the Description tab to provide more information about the part.
9.
Click OK. The part is added to the Critical Parts tab.