Setting up a Hierarchy for Design FMECAs

You can organize FMECAs into a hierarchy with a top analysis and as many nodes and child analyses as needed. When viewing a hierarchy, you can select a FMECA to view its failure modes in the right-hand side of the window. This is an example viewed from the Site window:
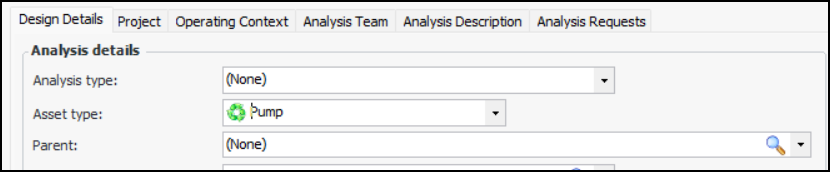
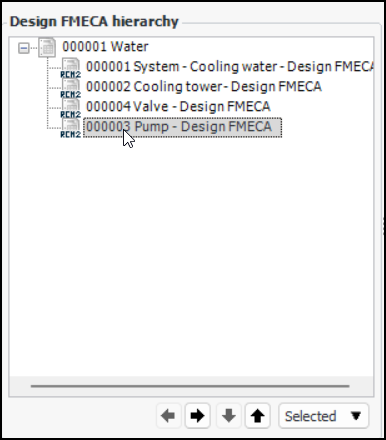
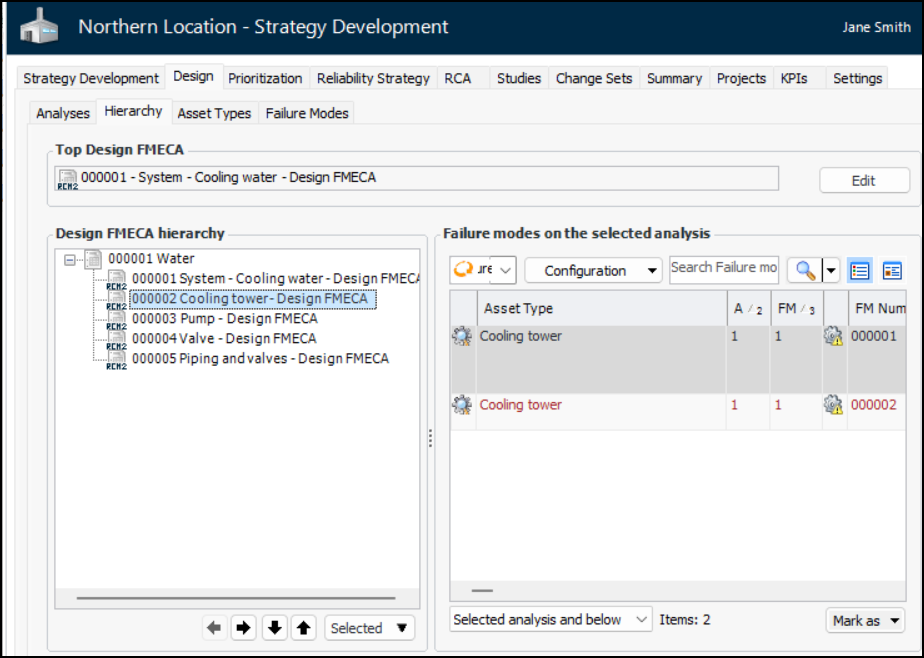
The simplest way to set up the hierarchy in this illustration is to create a node for Water. Then, in each FMECA’s properties, assign the node as the parent. In any analysis’s Hierarchy view, you can rearrange, add, and remove analyses in the hierarchy.
Note: Because they both use asset types and indicator templates, rather than assets and indicators, FMECAs are similar to analysis templates and are often called “templates” in the user interface and Help.
This topic explains how:

To Create a Hierarchy Node from the Site

1.
On the Site window, select the Strategy Development view and tab and the Templates tab.
2.
Select the Hierarchy Nodes tab and click New. The Strategy Development Analysis window appears, open to the Properties view, General tab.
3.
4.

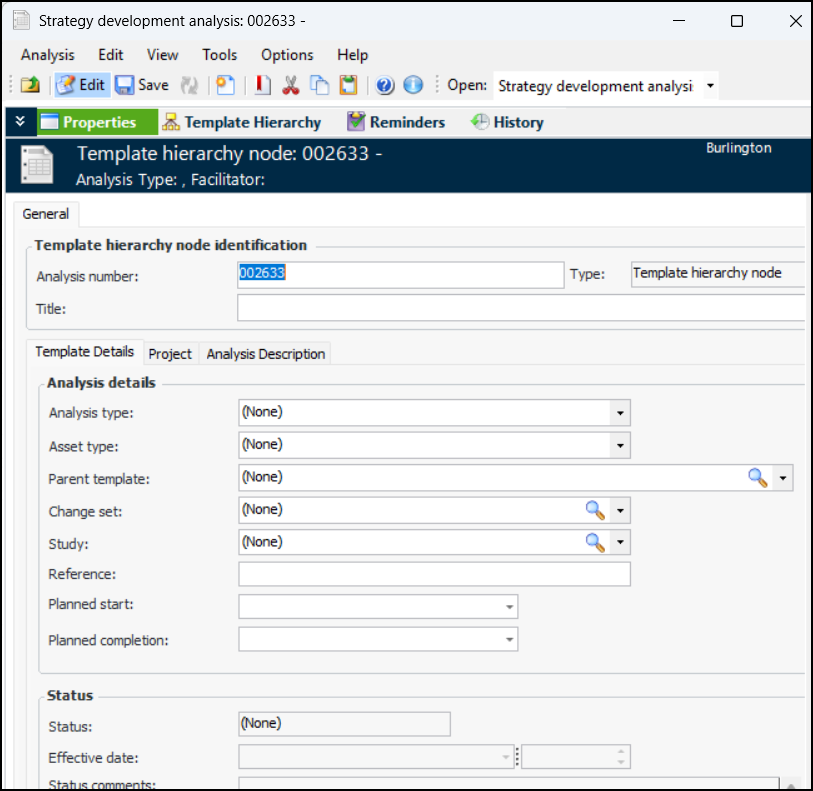
To Assign a Parent In the Hierarchy

1.
2.
3.
On the General tab, select the Design Details tab.
4.
Click the browse icon to select a parent, for example, a hierarchy node. In the Hierarchy view, the FMECA appears below the parent.

To Position an Existing FMECA or Node in a Hierarchy

1.
From the site’s Strategy Development view, select the Design tab and the Hierarchy tab.
2.
You can move templates up or down and left or right in the hierarchy using the arrow buttons at the bottom of the Design FMECA Hierarchy table. The availability of the buttons depends on the position of the selected FMECA.
Tip: To remove a FMECA from the hierarchy, select it, click Selected, and then Remove from Hierarchy.