|
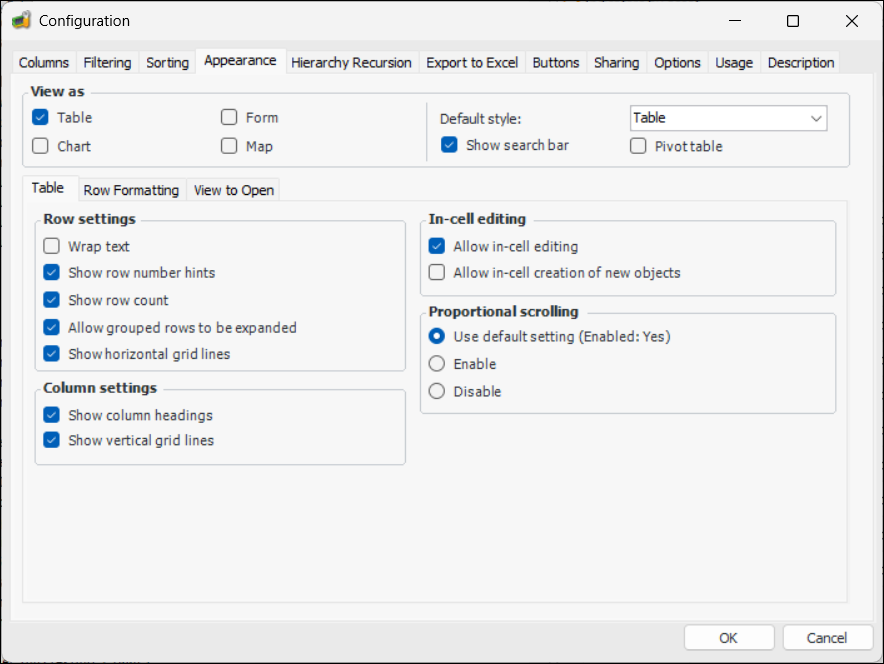
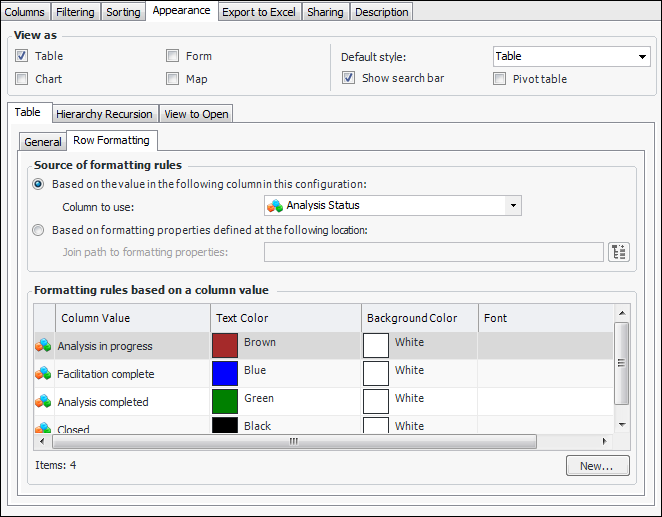
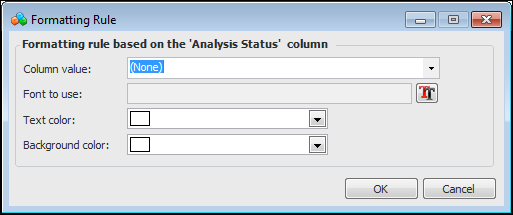
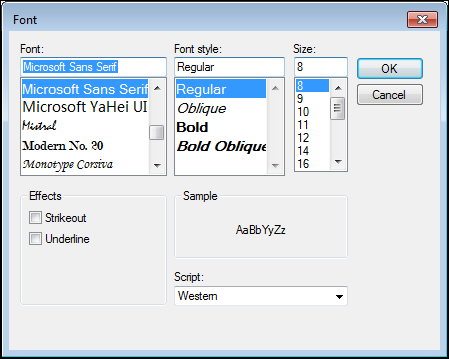
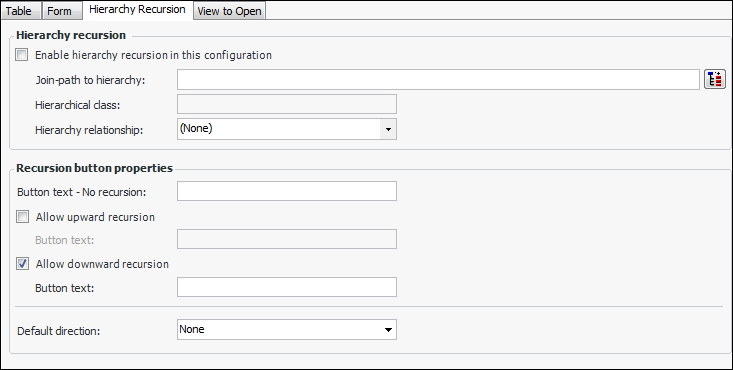
Defining View as Table Appearance Properties
To Define View-as-Table Appearance Properties
2.
3. Select the Appearance tab. For example:
4. In the View As group, select the appropriate options:
5. In the View As group, ensure that Table is selected so that data is displayed in grid format. The Table tab appears.
6.
7. In the Row Settings area, select from the following options:
8. In the Column Settings area, select from the following options:
9.
When this option is selected, objects can be edited by pressing F2 and changing editable values in each row, without having to open each object.
10. In the Proportional scrolling area, select one of the following options:
• Use default – The default setting for the table configuration as defined in the UI Settings for the enterprise, will be used.
• Enable – The scroll bar thumb accurately represents the size of the current page relative to the number of rows in the table.
• Disable – The size of the scroll bar thumb is relative to the number of rows currently loaded.
11. Select the Row Formatting tab to define any formatting rules and their source. For example:Note: If there are no columns in the configuration that contain boolean or enumerated list data, the Column to use list will be blank.
13. Click New. The Formatting Rule dialog appears.
15. Click the Font icon. The Font dialog appears.
19. Select the Hierarchy Recursion tab if you wish to edit or add recursion settings. Here is an example of the tab for a new configuration:
20. Click Enable hierarchy recursion in this configuration. Click the join path icon
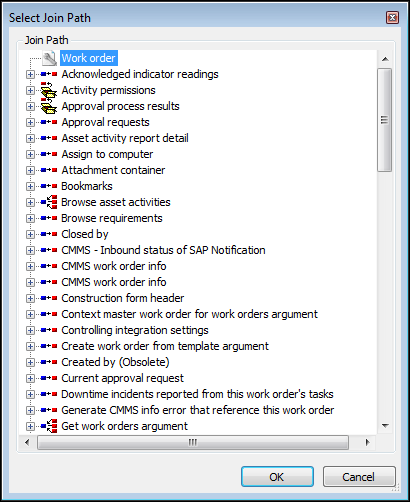
. The Select Join Path dialog appears.
22. In the Hierarchy relationship list, select the relationship you created.
23. In the Recursion button properties area, you can allow upward and downward recursion. Provide the button text that will appear in the list at the bottom of the table, for example, “From this site and below”. Select the default direction shown in the list. For example:
24. When a user double-clicks an object listed in the table, the object’s window opens showing the default view. You can specify an alternate view to display in the object window. Select the View to Open tab. Click Display an alternate view and select the view to use. For example:
25. Select the Description tab to enter a description about the table.
26. Click OK to save the appearance options.
• If you are logged on as an APM administrator, you can also set the following options:
•