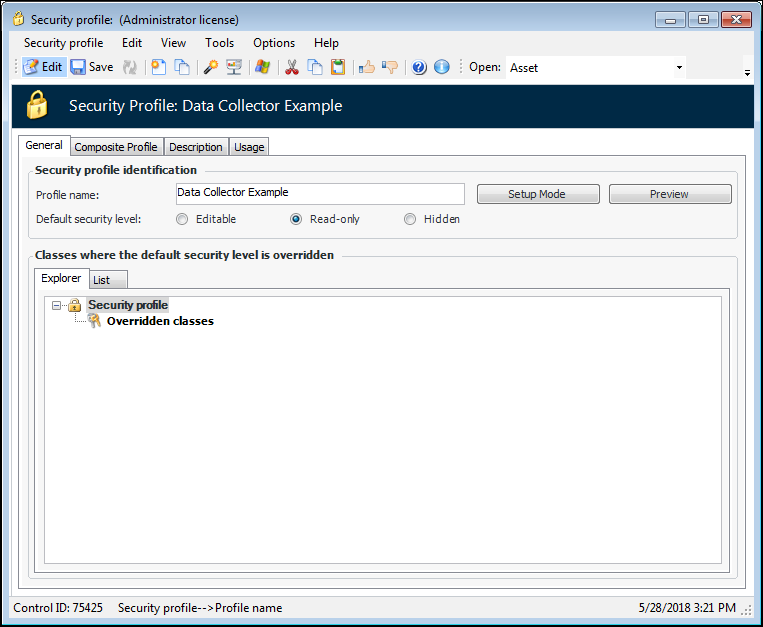
Creating a Read-only Profile: Data Collector Example

This example provides a security profile for employees who perform data collection (that is, collect indicator readings and enter them manually or using mobile devices). In this example, the data collector needs to be able to view and work with checksheets, enter indicator readings, and work with mobile computing activities. The Data collector profile has a default security level of Read-only, but also provides full access to the following:
For an actual security profile, you will likely also need to restrict access to items such as:
Note: Launch the application as an APM administrator.

To Create the Data Collector Example Profile

1.
2.
Select the Security view and then the Security Profiles tab.
3.
Click New. The Security Profile dialog appears.
4.
Enter Data Collector Example.
Select the Read-only option.
For example:
5.
Click Setup Mode. A confirmation message appears. Click Yes.
The cursor displays an open lock icon to indicate that Security Setup mode is on:
6.
To enable the mobile computer class, select the site’s Mobile Computing view, iOS or Android Activities tab, then the Activities by Device tab.
7.
8.
Right-click the banner of the Mobile Computer window and select Secure Class, then select Mark as Editable. For example:
9.
10.
On the Activities by Device tab, right-click New and click Mark as Enabled.
11.
12.
13.
14.
To enable Mobile Computing actions, select the site’s Tools menu, and then Mobile Computing. Right-click each of the sub-menu items (Process Upload Transactions, for example) and click Mark as Enabled.
15.
To enable the Checksheet and Indicator Reading actions and classes, select the Reliability Program view, Program tab, then the Tasks tab.
16.
Double-click a standard task from the list to open it. Select the Tools menu, Indicators option. Right-click both the Create Checksheet and Assign to Mobile Computer options and click Mark as Enabled.
17.
In the Standard Task window, select Tools, Indicators, then Assign to Mobile Computer. On the Assign to Computer dialog, right-click and click Secure Class, then Mark as Editable.
18.
19.
Select the Inspection Management view, Checksheets tab and double-click to open any checksheet in the table. The Checksheet window appears.
20.
Right-click the banner and select Secure Class, then Mark as Editable.
21.
22.
Right-click in the dialog and select Secure Class, then Mark as Editable.
23.
24.
Click Exit Setup to exit security setup mode.
To preview the security profile, see Previewing a Security Profile.