|
|


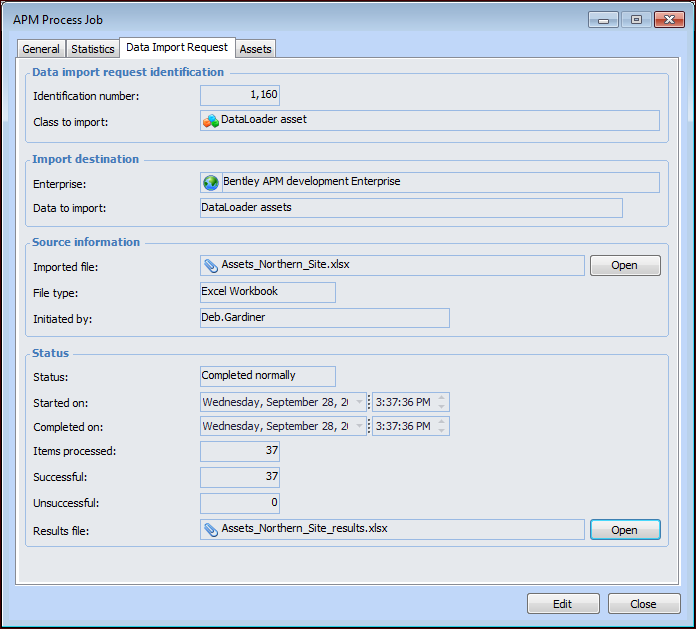
Working with Process Jobs
Multiple jobs can be included in a batch to be processed in a specified sequence and, if required, at regular intervals. For more information, see Creating Process Batches.Tip: You can delete a process job by right-clicking it in the Process Jobs tab and clicking Delete. Click Yes in the confirmation message that appears.To Work with Existing Process Jobs
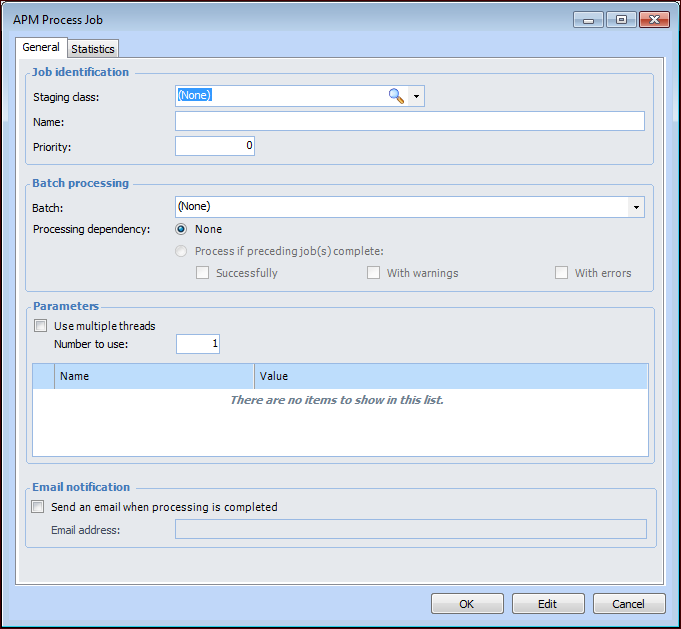
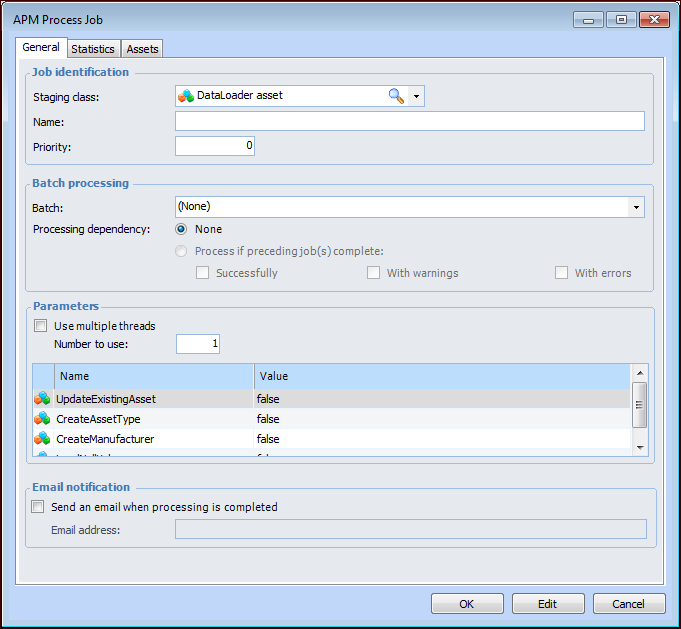
To Create a Process Job
To Manually Process a Job
 on the tool bar. The Enterprise window appears.
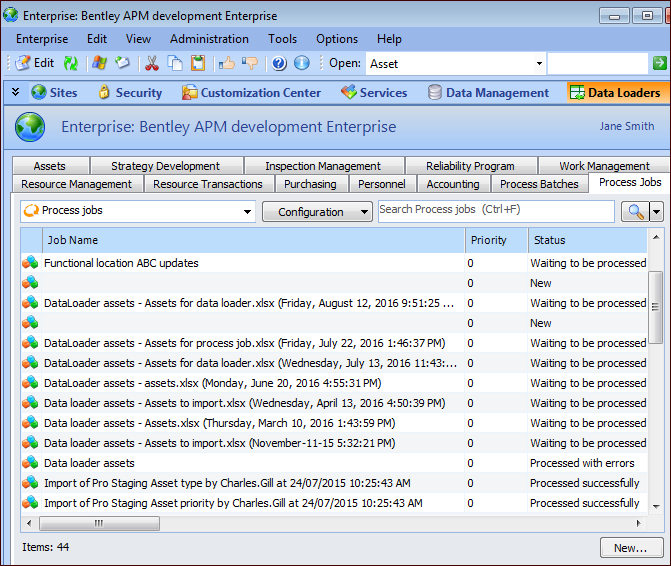
 ) to update the display.