|
|


Importing Maintenance Action Plan Corrective Tasks
Processing Options
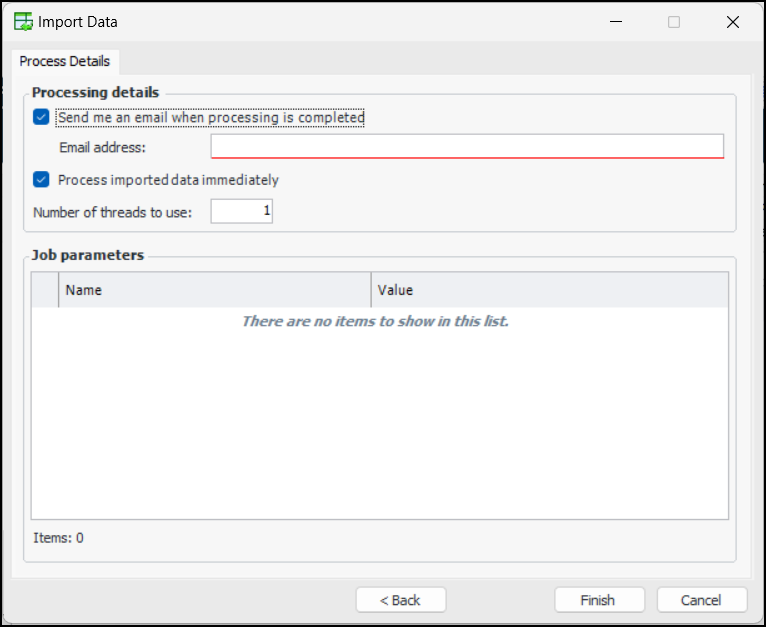
While using the Import Data wizard, you can set an option to process data immediately. If no errors are found in the imported data, the data is added to the specified APM site. If you do not select Process Immediately, the job remains in the process jobs queue until processing is initiated.After the information has been processed, an entry appears in the Data Import Requests tab on the Data Management view. The import worksheet and a results worksheet that includes each record’s import status and error, if any, are attached to the import request.Data Imported
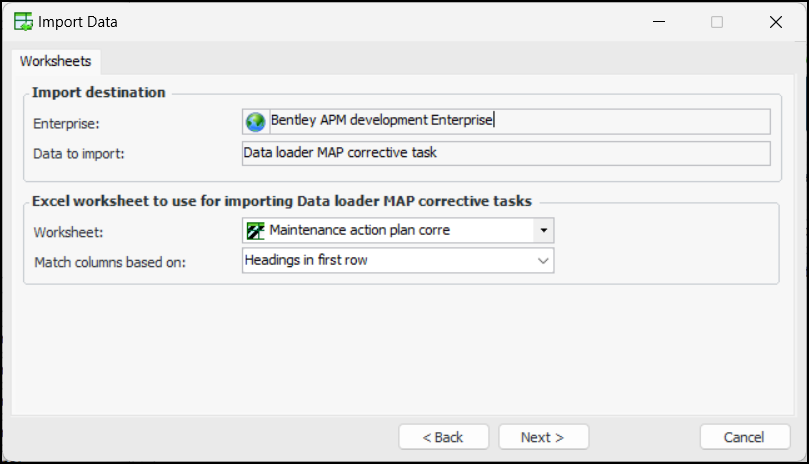
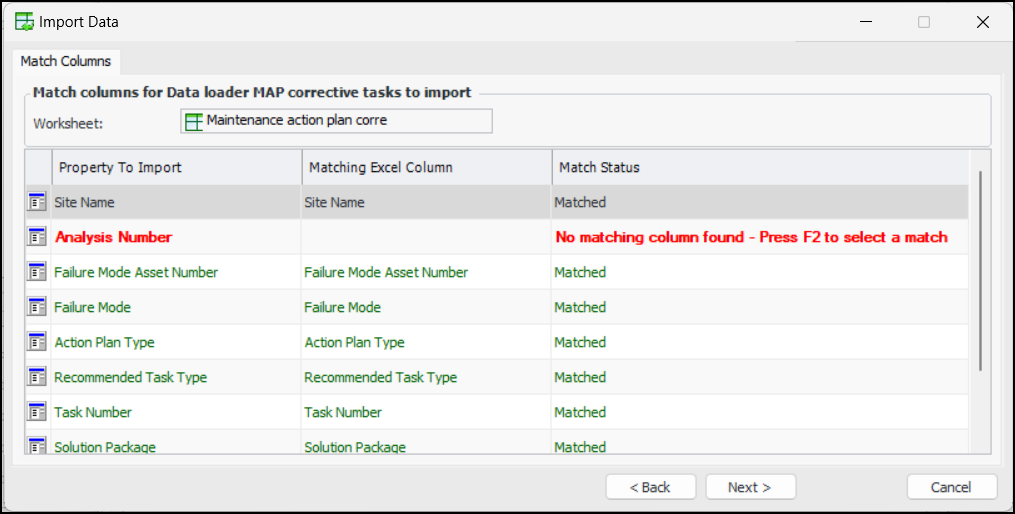
Importing Maintenance Action Plan Corrective Tasks
 on the tool bar. The Enterprise window appears.
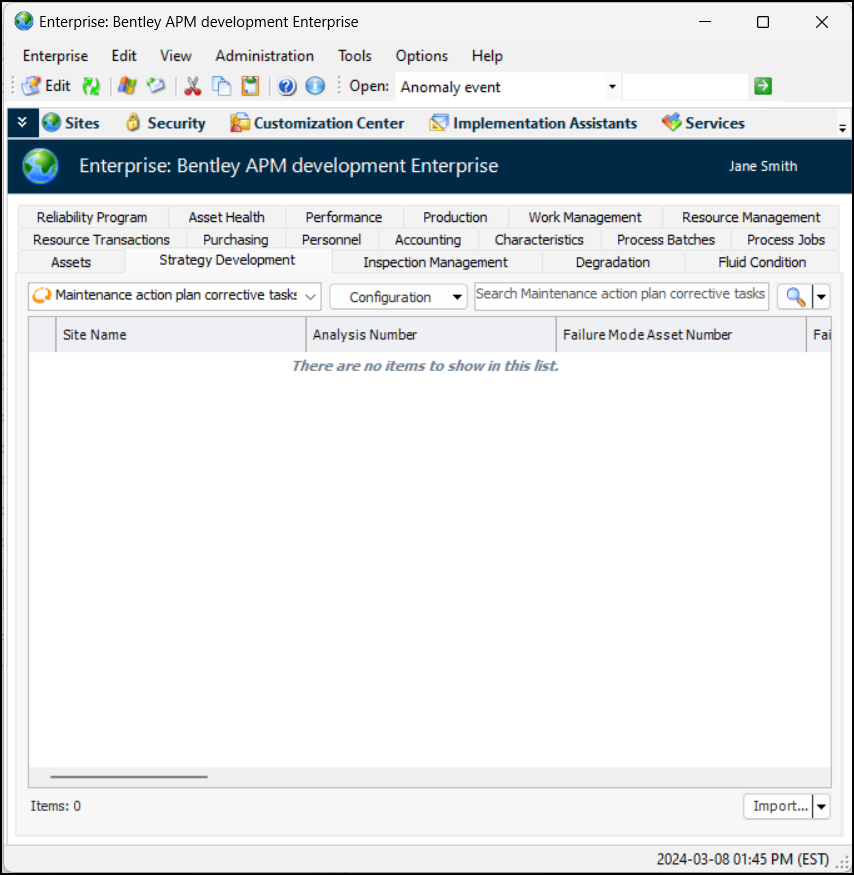
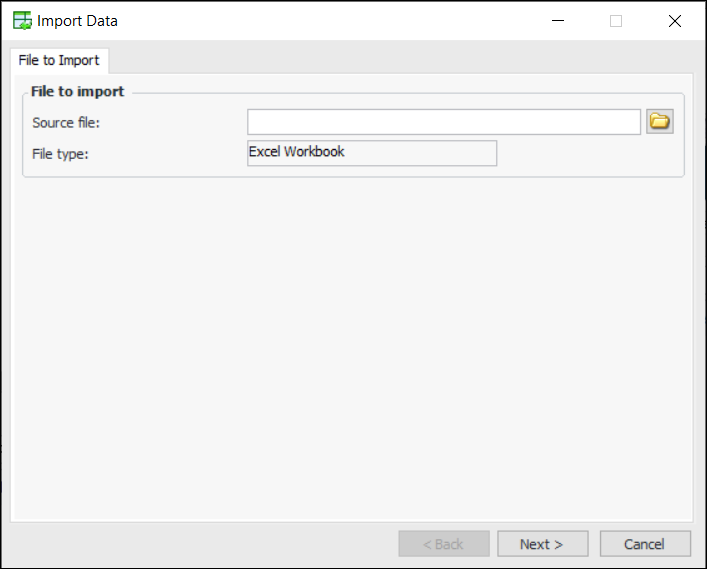
 ) to locate and select the file. The source file must be an Excel file with the extension xlsx.