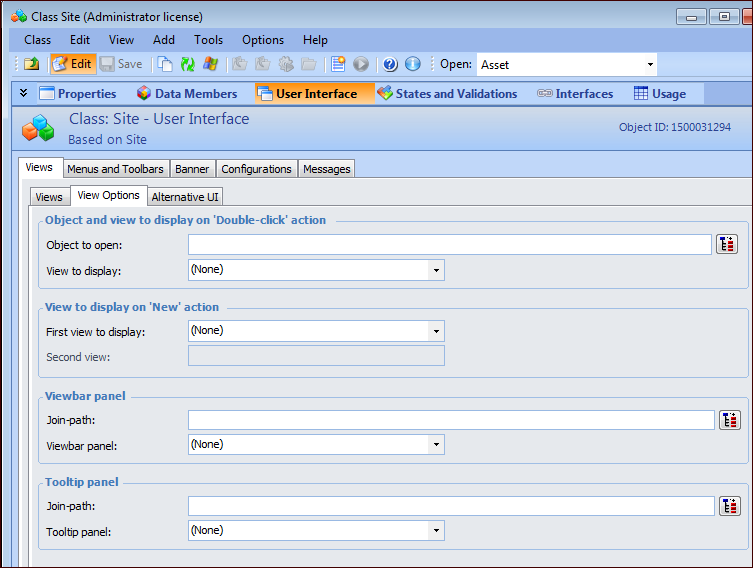
Setting the Default View For an Object

You can change the default view that is displayed when an object is first opened by a user. For example, you may want to change the default view that is displayed when the Site is opened. You can also select default views for when a new object of the class is created. In order to do this, you must customize the class for the object.

To Set the Default View For an Object

1.
On the Enterprise, select the Customization Center view, and then the Classes tab. Double-click the class to open it. For example, to set the default view for site, open the Site class.
Note: If the class is not yet customized, click Lock for Customization. In the New Custom Class list, select Based on APM Class. Browse to select the class and then click OK.
The Class window appears.
2.
3.
Select the User Interface view. Select the Views tab and then the View Options tab.
4.
In the Object and view to display on ‘Double-click’ action section, select a view in the View to display box.
Note: Both primary views and dialogs are shown in the list. You should select a primary view for the class.
5.
To select a different view when an object is being created, in the Views to display on ‘New’ action, select a First view to display and a Subsequent view to display.
For example, when New is clicked, you might want users to enter initial properties on a dialog (First view to display). Then, when they click OK on the dialog you might want to open a primary window view (Subsequent view to display).
6.