Creating Localized UI Text

You can provide localized text that will replace the text supplied for the users’ preferred languages. When users run the application, the localized text will be shown by default in views and panels.
Note: If you are using installed language packs, be sure to install the latest pack before localizing text in that language.
Note: To localize UI text in APM, you must launch the product as an APM administrator.
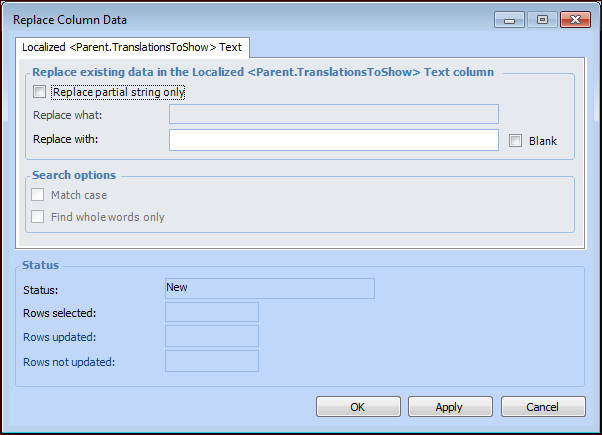
Tip: Administrators can view all localized text, as well as custom and APM-supplied translations, in the Enterprise window, Customization Center view, Translation and Localization tab.
This topic explains how to localize text.

To Create Localized UI Text

1.
1.
2.
Select the Customization Center view and the Translation and Localization tab.
3.
Select the Localization tab. For example:
4.
In the Language to show list, select the language for which you wish to create local text.
5.
Click Browse Text to Localize. The Browse Text to Localize dialog lists all of the text strings in the language you selected, as well as the English equivalents, if appropriate. For example:
Tip: The Usage column shows the number of locations in the UI where the string is displayed. Your localized version, will replace the string in all locations.
6.
7.
Select the text that you wish to localize and click OK. The dialog closes and the selected text is displayed in the Localization tab. In this example, the user selected French text containing “niveau”:
8.
9.
Revise the text in the Local French text box and click OK.
10.
11.
Right-click the Localized Text column and click Replace. The Replace Column Data dialog allows you to replace all strings in the column with another value or to replace partial strings using search options.
Click Apply. In the confirmation message that appears, click OK. The Status area shows the results. When you have finished, click Close.
Note: For more information about using this dialog, see Applying Mass Updates.