|
Creating a Standard Task from Scratch
• Site or asset’s Reliability Program view
•
• Maintenance Action Plan window, Implementation view for strategy development analyses (MTA2, RCM2, RBI, HAZOP, or SIF)
• Creating a standard task from scratch allows you to enter all of the information about the task. This section explains how to create a standard task from scratch from the site’s Reliability Program view. It provides general information and links to related topics.Overriding GL Accounts
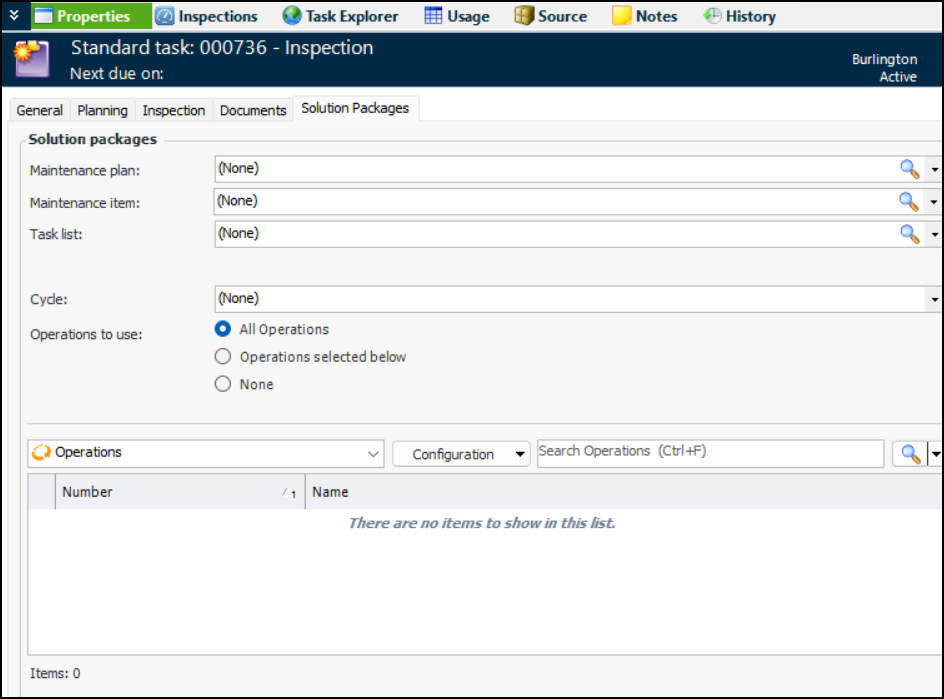
Standard Tasks and Solution Packages (AWEIS)
A standard task’s work type determines if solution packages can be identified on its Properties view, Solution Packages tab. Requests for work generated from the checksheets associated with the standard task are then used to trigger the correct solution packages in the CMMS.Note: Support for solution packages on standard tasks is generally available in APM. You must first enable feature 119 to use the functionality in APM. In the Enterprise window, select the Features view and the Enabled Features tab. Click Browse, select “Solution package identification on standard task” and click OK. If APM is running as a smart client, click Refresh Enabled Features on the server. Then restart the client to use the functionality.To Create a Standard Task from Scratch
1.
2. Click New. The Standard Task window appears:Tip:To have the Last done and Next due information displayed at the top of Standard Task and Indicator windows, see Enabling Next Due Date Information.
6. Select an asset and click OK. After you save the standard task, it is included in the asset’s reliability program.Note: If the selected asset is an installed component or a component location, Component and Location options appear in the dialog. You can switch to the component or location by clicking the appropriate option. For example:
7. On the Details tab, enter the following settings:
The work type that you select can affect the types of information that can be entered on the task. For example, if you select a work type that does not include indicator information, the Inspection tab is not available, and you cannot add indicators to the task or to any work order tasks created from it.Note: When the work type is selected, the Checksheet Options tab and the Inspections view are added to the Standard Task window.
The maintenance group that will work on the task. Select the appropriate maintenance group from the list. For example, you might select a mechanical group or an electrical group. APM uses this information to determine the GL account segment for labor charges, the default planner and scheduling options for a task, and to filter and sort lists of tasks for scheduling.
8. On the Documents tab, you can browse for or create standard documents. See Creating a Standard Document.
9. You can add a detailed description of the task on the Description tab.
10. Select the Charging Info tab (available when AWEIS is not enabled). On this tab, you can add or change the charging information for the work order tasks created from this standard task:
11. Select the Task Options tab.
12. Select the Checksheet Options tab. On this tab, you can select a default a checksheet type and up to three checksheet subtypes, if they have been created for your organization. The defaults are applied to checksheets created from the standard task.
13. In the Checksheet restriction area, you can limit the standard task to having only one open checksheet at one time. Select Only one open checksheet allowed at a time. This functionality applies to the manual creation of an additional checksheet, not to checksheet generation, split checksheets, or checksheets created from a standard job.
• Add trade, material, tool or service requirements