|
|


Creating an Inspection Report
Note: Each checksheet can link to only one inspection report, although a report can contain many checksheets. If you need to analyze the checksheet on a different report, open the Checksheet window and select the Properties view, General tab. Clickto break the link. You can then link to another report.
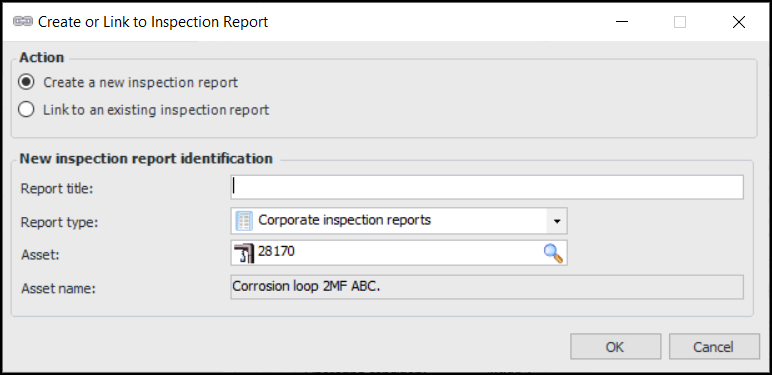
To Create an Inspection Report from a Checksheet
To Link a Checksheet to an Existing Inspection Report
To Create an Inspection Report from Scratch
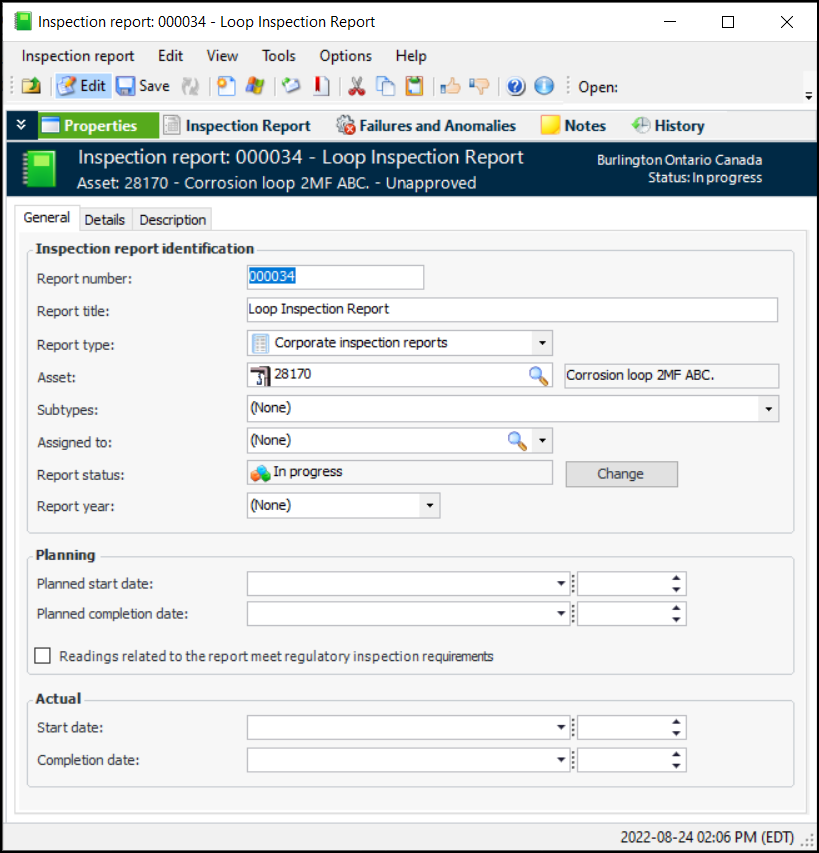
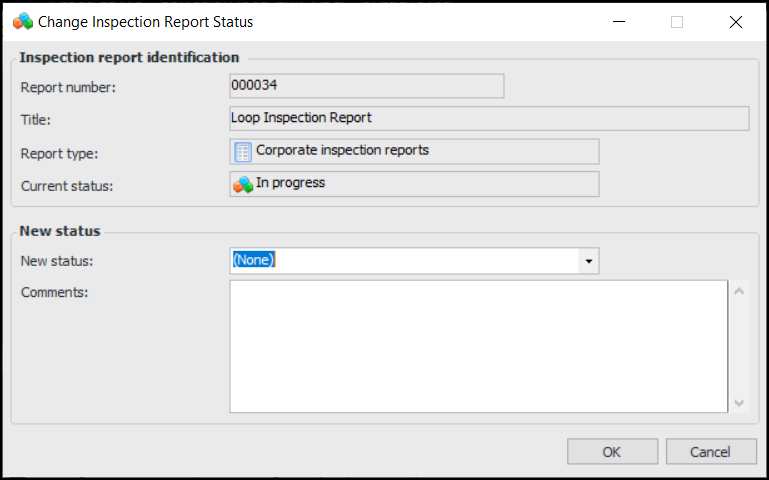
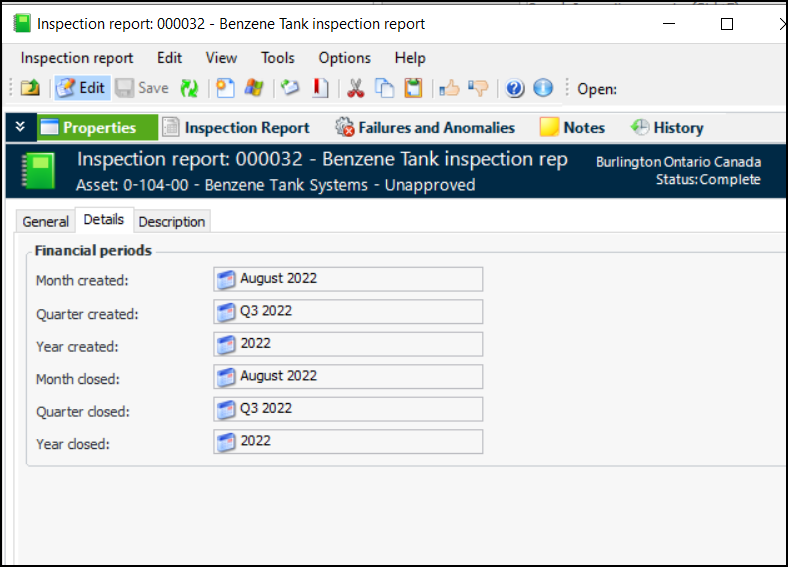
To Set Properties for the Inspection Report
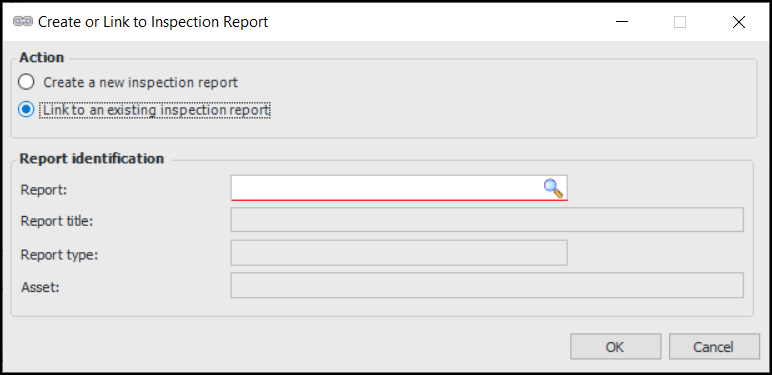
 ) to open the Inspection Report Selector dialog.
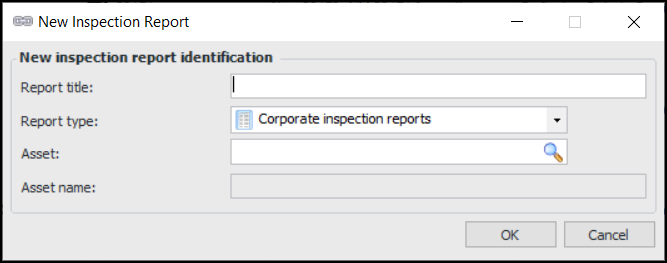
 is enabled.