|
Completing a Modification and Repair Inspection Checksheet
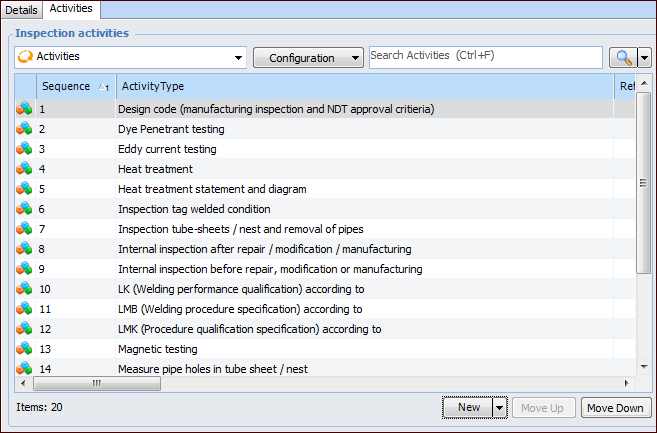
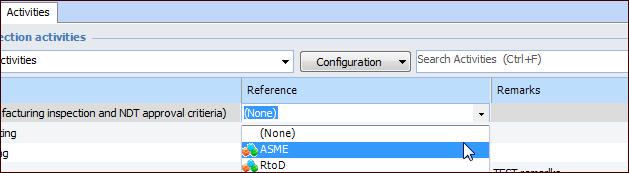
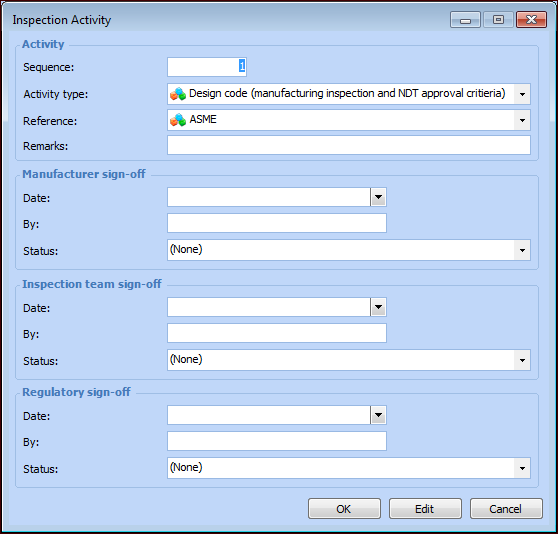
For information about creating the checksheet and using the MRI form, see Preparing a Modification and Repair Inspection Checksheet.To Update Inspection Activities
1. Open the MRI checksheet. Select the Modification Inspection view and the Activities tab. For example:
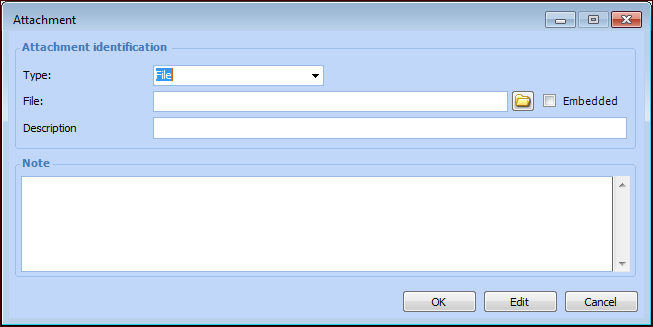
To Attach the Completed MRI Form
2. In the Checksheet window, click the Tools menu, point to Attachments, and click New. The Attachment dialog appears.
3. In the File box, click, locate the file, and click Open. The path to the file is displayed in the File box. The Description box displays the file name.
4. Click Embedded to store the document in the APM database.
5. Add a note and click OK. The dialog closes and the paper clip icon is added to the banner in the Checksheet window.
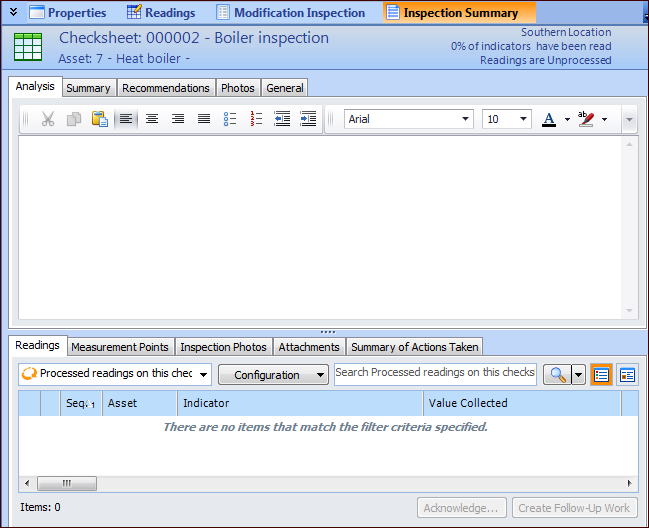
To Complete the Inspection Summary
1. In the Checksheet window, select the Inspection Summary view.
2. Use the Analysis tab to record your review of the inspection process and results.
3. In the Summary tab, you can provide a synopsis of findings and analysis.
4. In the Recommendations tab, you can document the actions to be taken as a result of the inspection.To Close the MRI Checksheet
1.
2. Click Change Status to open the Change Checksheet Status dialog.
3. In the New status list, select the status that your organization uses to close the checksheet and prevent updates to the document.
4. Click OK. The dialog closes and the status changes.