|
|


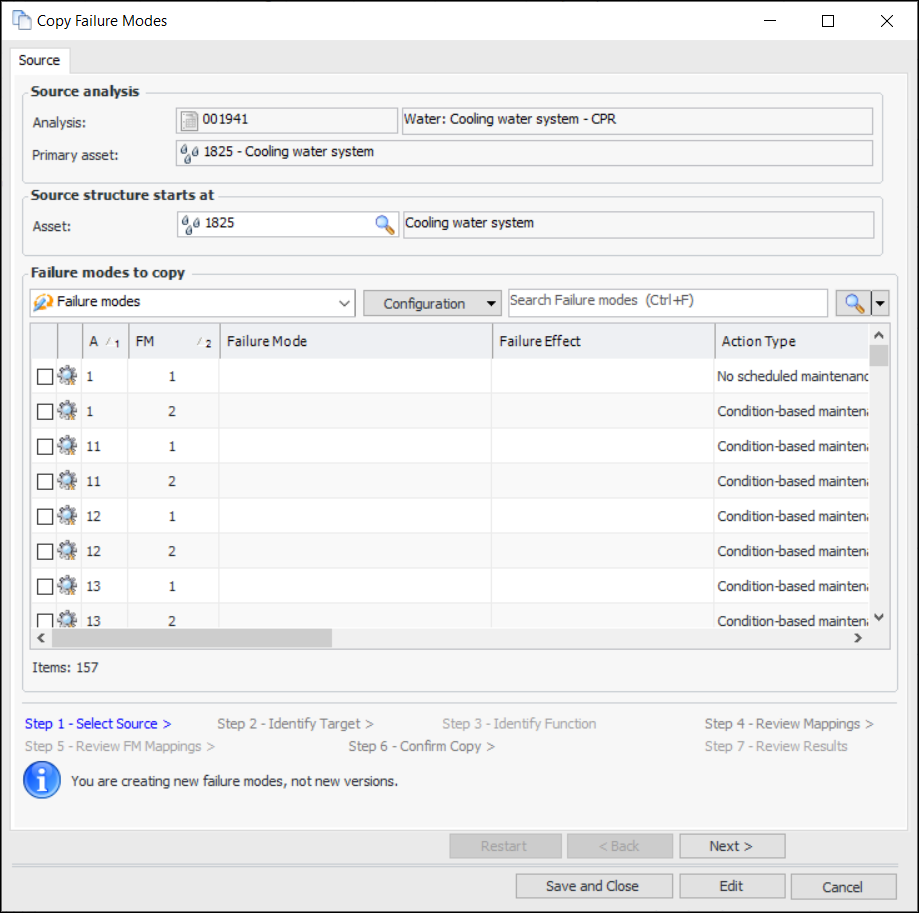
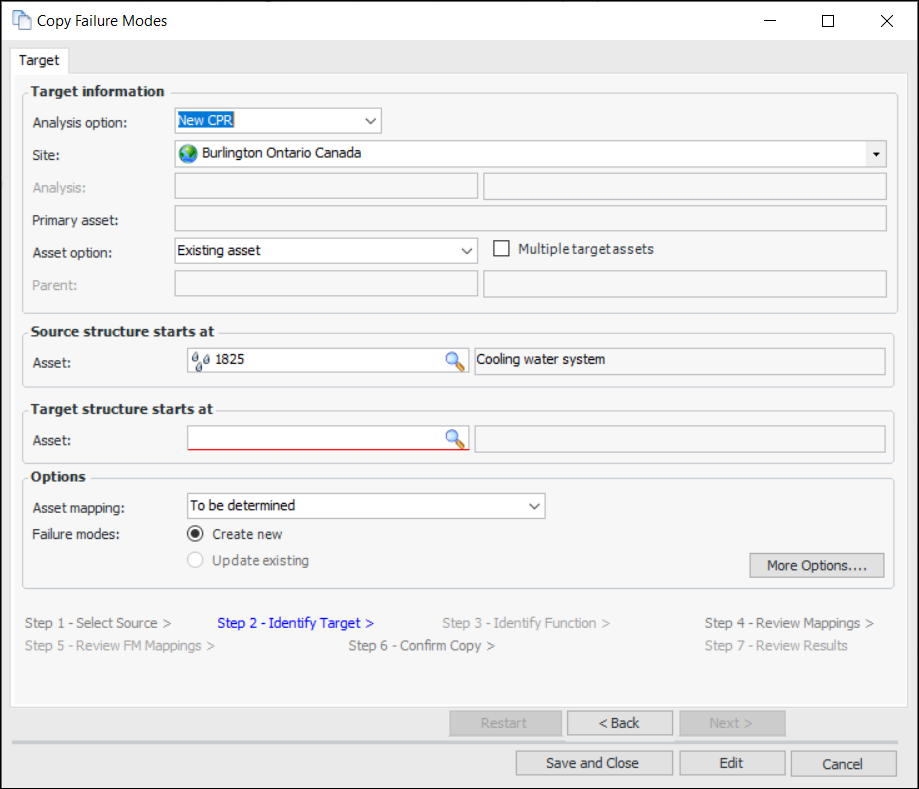
Copying Failure Modes to CPR
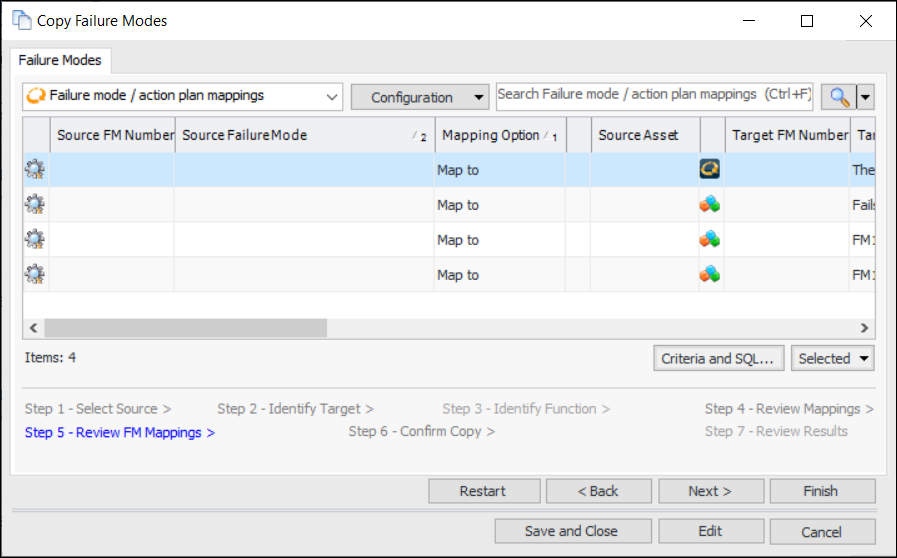
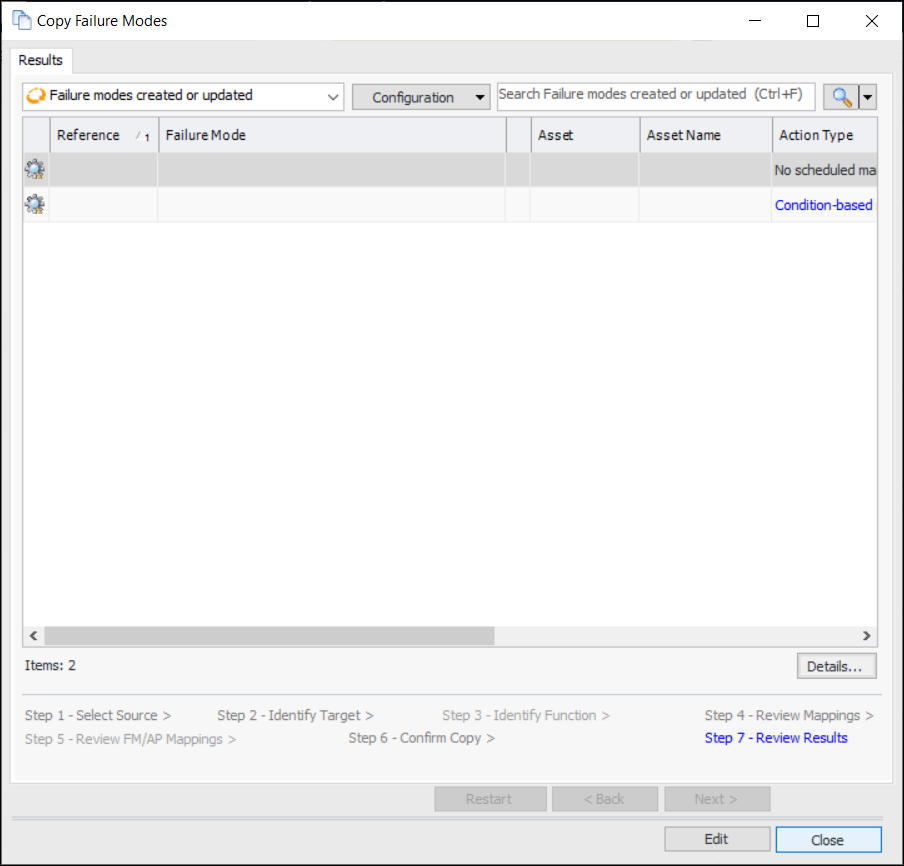
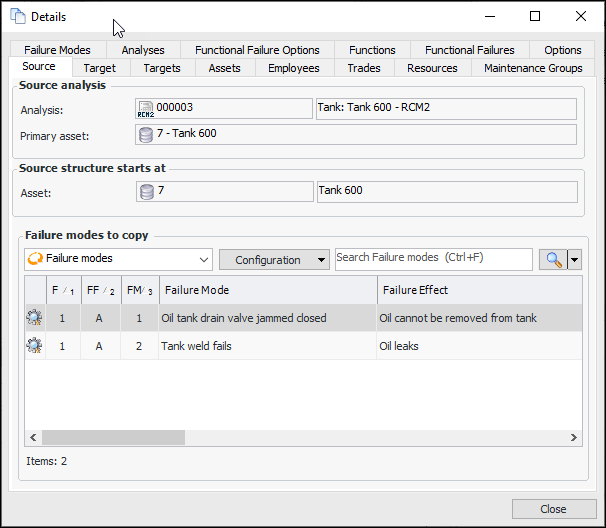
This topic explains how to copy failure modes from an analysis or template to a new or existing CPR.To Copy Failure Modes From an Analysis or Template
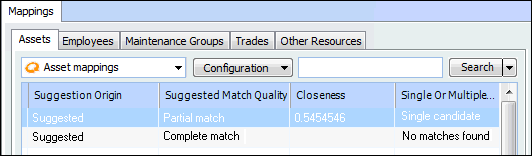
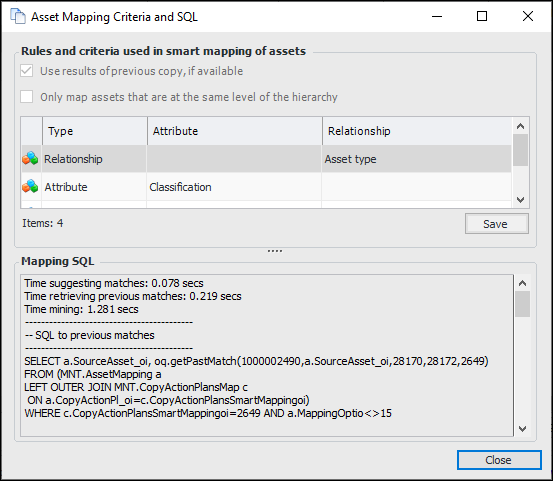
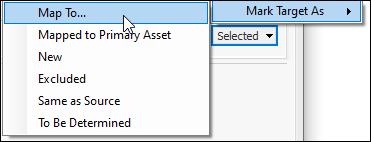
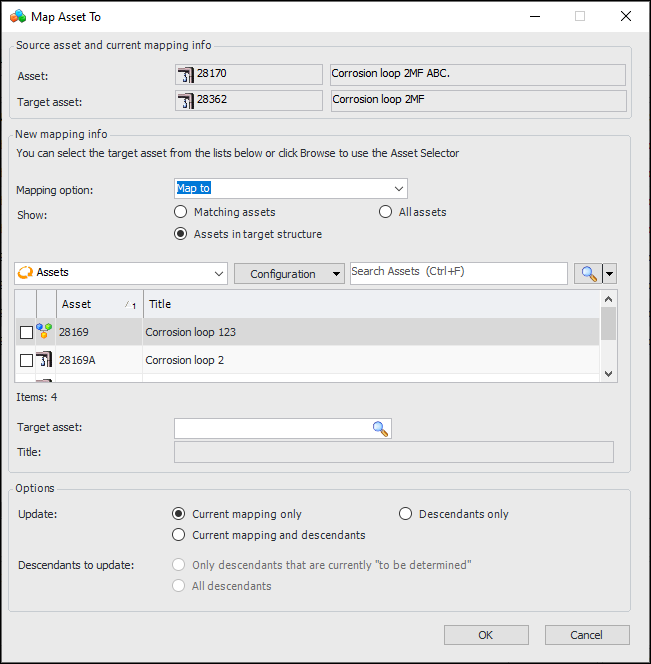
Manually Changing an Asset Mapping