|
|


Adding Inspection Tasks and Indicators to CPR Action Plans
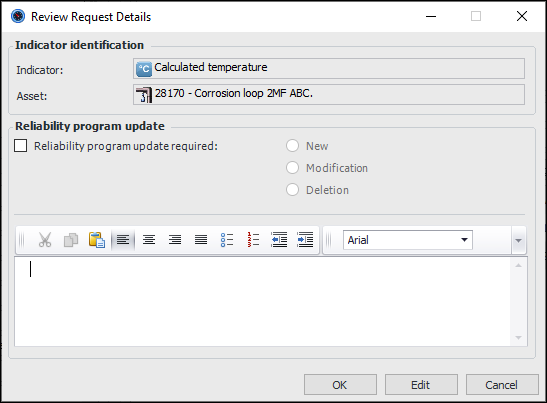
Tip: You can also add an inspection task to one or more action plans at the same time from the context of the standard task. See Linking a Standard Task to Action Plans.Tip: After you have added an indicator to an action plan, you can right-click it in the table and click Review Request Details. The Review Request Details dialog appears:Tip: To view consolidated information about a review’s action plans, recommended actions, corrective tasks, indicators, and projects, select the Implementation view.To Add an Existing Inspection Task to an Action Plan
To Add a New Inspection Tasks
) to open the Standard Task Selector dialog. Select a task and click OK. The standard task number and name are shown in the New Indicator Collection Task dialog.
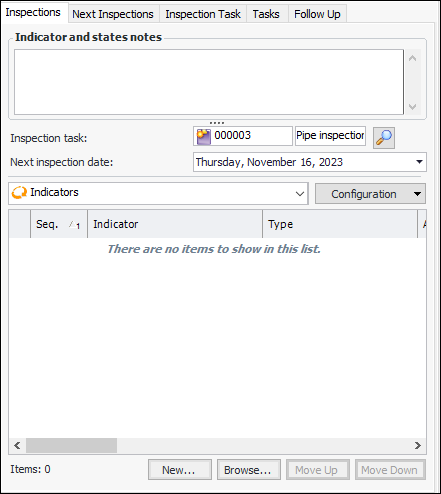
To Add Indicators to an Action Plan
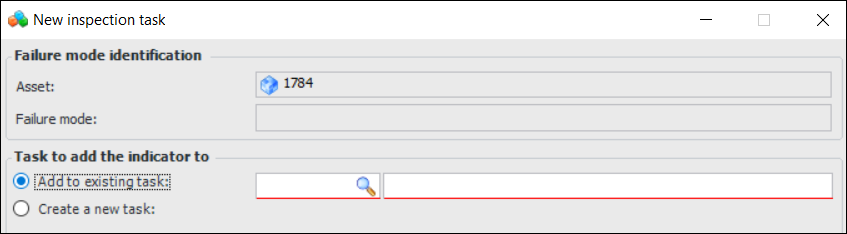
 is enabled.
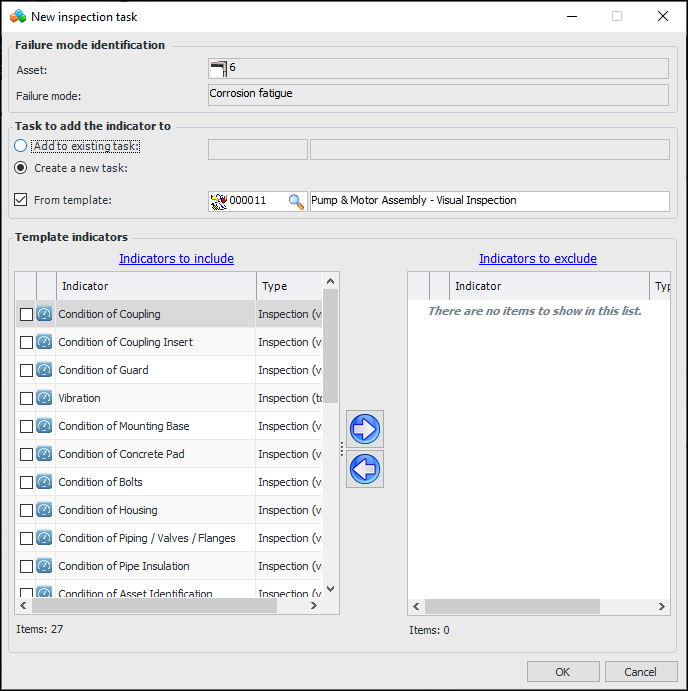
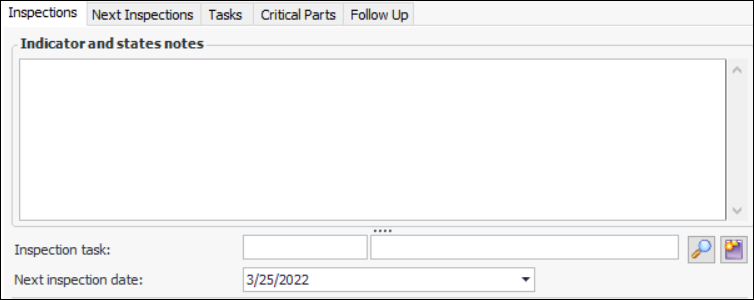
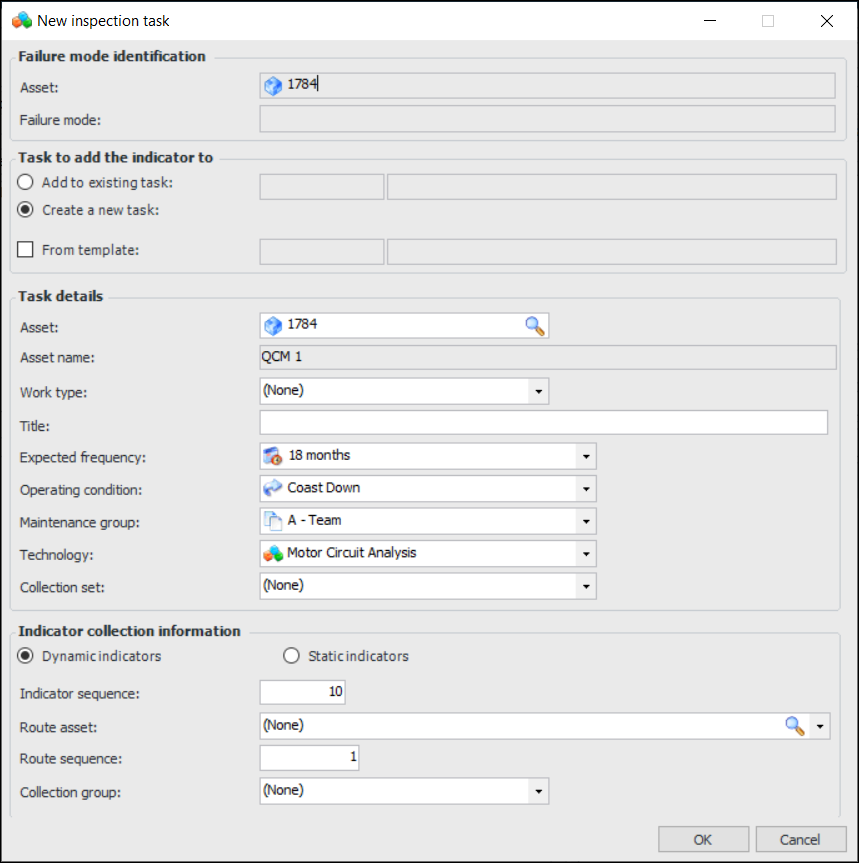
 . The New Inspection Task dialog appears. For example: