Creating a Measurement Device Asset

A measurement device is an instrument used to take indicator readings, for example, an ultrasonic probe or vibration analyzer. Measurement devices are defined as maintainable assets in APM so that testing, calibration, and repair activities can be tracked, as well as the indicator readings that use the devices.
This topic explains how to create an individual measurement device in APM. You can also create two or more assets at the same time. See Creating Multiple Child Assets.
This topic explains:

Steps to Setting up and Using Measurement Devices

Setting up devices and recording them on indicator readings involves the following steps:
Tip: You can view indicator readings that were taken using measurement devices. On the site’s Inspection Management view, select the Readings tabs. Select “By measurement device” in the list of configurations. The table shows the measurement devices, associated technologies, and indicators.

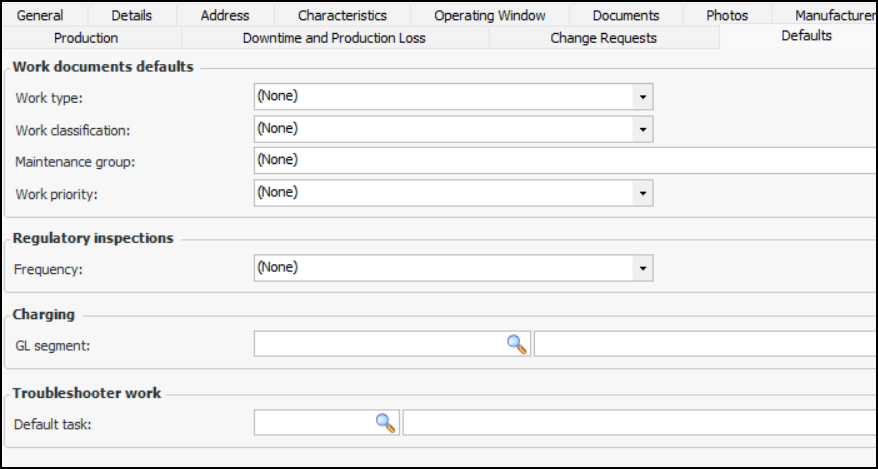
To Create a Measurement Device Asset

1.
From the Site window, select the Assets view and then the Physical Hierarchy tab.
2.
Tip: When you create assets from the hierarchy, APM automatically fills in the parent information. You can also add assets from the Listing tab by clicking New. With this method, you must add the parent asset information.
The Asset window opens, showing the Properties view, General tab. For example:
Note: The CMMS tab appears in the Asset window when the Work Management Integration module is licensed and activated. For information, see the guide for the APM CMMS Integration plug-in you are using.
3.
On the General tab, identify the asset:
Note: When the type is selected for an asset, the number of tabs displayed changes based on the type’s settings and classification.
A tab for each subtype is added to the asset’s Properties view, where you can enter additional information about the asset.
4.
In the Classification area, provide the following information:
5.
On the Location tab, enter the following information:
Tip: You can click the browse icon and point to the location on a map to have APM assign the coordinates. For more information, see Setting Map Coordinates.
6.
If asset age is recorded for the site, the Age tab displays the asset’s age (in years) and remaining life expectancy.
For more information about setting up asset age calculations, see Setting up Asset Age Calculations.
7.
If you are using additional hierarchies, you can select the Alternate Hierarchies tab to establish the new asset’s position in it. This tab lists all of the hierarchies defined for the enterprise. For example:
Click a browse icon to select the parent asset in the alternate hierarchy.
8.
Select the Description tab to add general information about the asset.
9.
Select the Process Description tab to describe the process taking place in the asset. For example, enter a degradation-focused summary of the movement of fluid through a corrosion loop.
10.
11.
Select the Documents tab to add standard documents. For more information, see Adding Documents to an Asset.
12.
Select the Photos tab and then click Browse to select inspection photos to be included with this asset.
13.
Click Open Folder to view the location.
Tip: You can also drag and drop photo files into the table.
14.
Select the Manufacturer tab to add information about the purchase and manufacturer of the asset. For more information, see Adding Purchase and Manufacturer Information to an Asset.
15.
Select the Parts tab to add a spare parts list. For more information, see Creating a Parts List for an Asset.
16.
Select the Defaults tab to choose default selections for the asset’s work documents, regulatory inspections, and so on. For example:
 
17.
18.
Select the Approvals tab to view and select approval routes for the asset and to view which documents require approval for the asset.

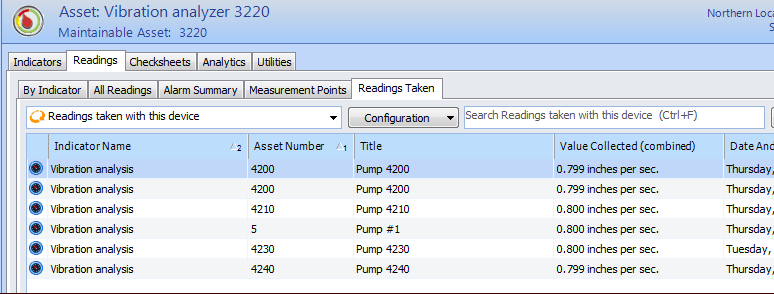
To View Readings Taken with a Device

1.
2.
Select the Inspection Management view, Readings tab, and then the Readings Taken tab. This tab lists the indicator readings that were taken with the device. For example:
3.