|
|


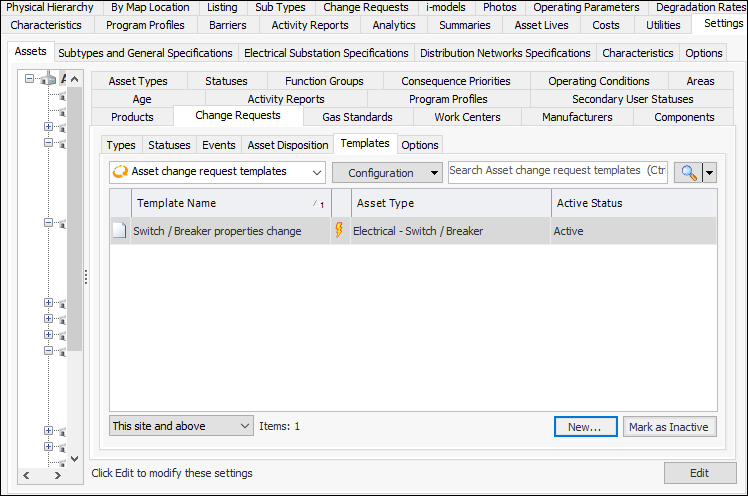
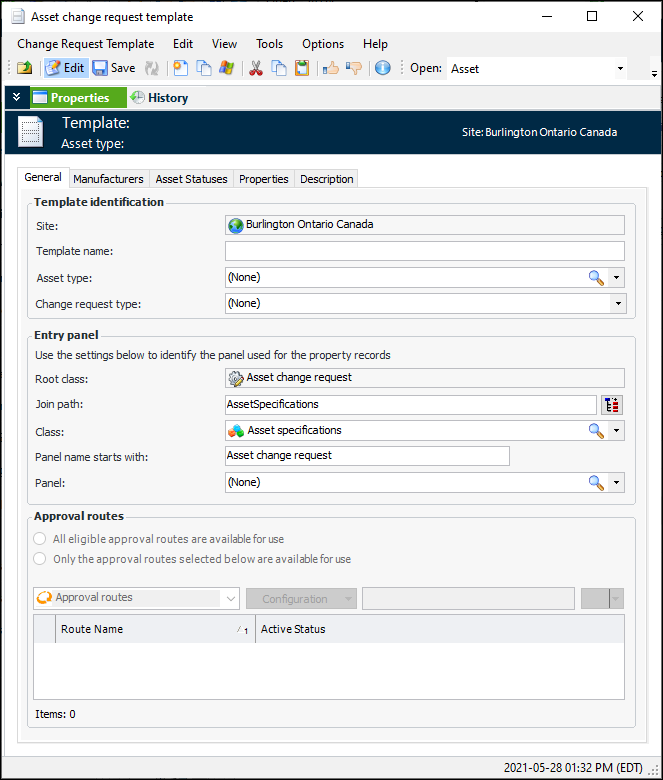
Setting up Asset Change Request Templates
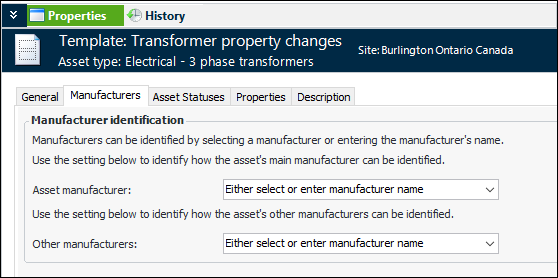
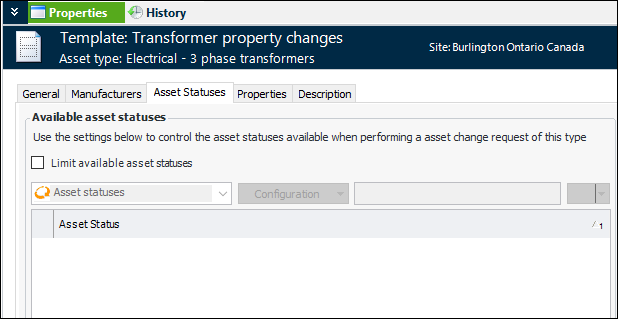
Note: Change request types should have characteristic classes and map sets. For more information, see Setting up Characteristic Mapping for Asset Change Requests.To Set up a Change Request Template
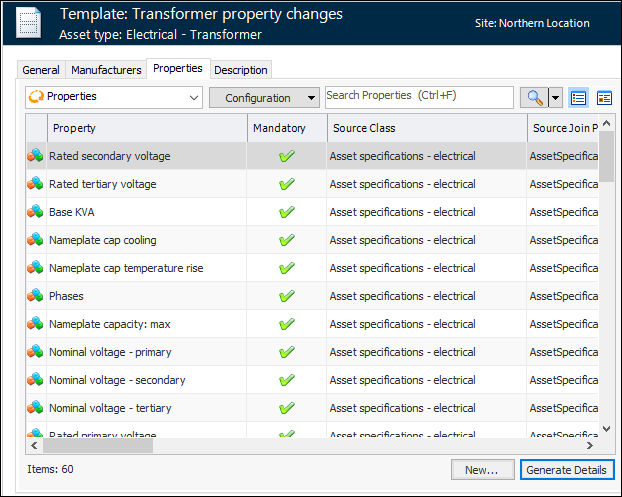
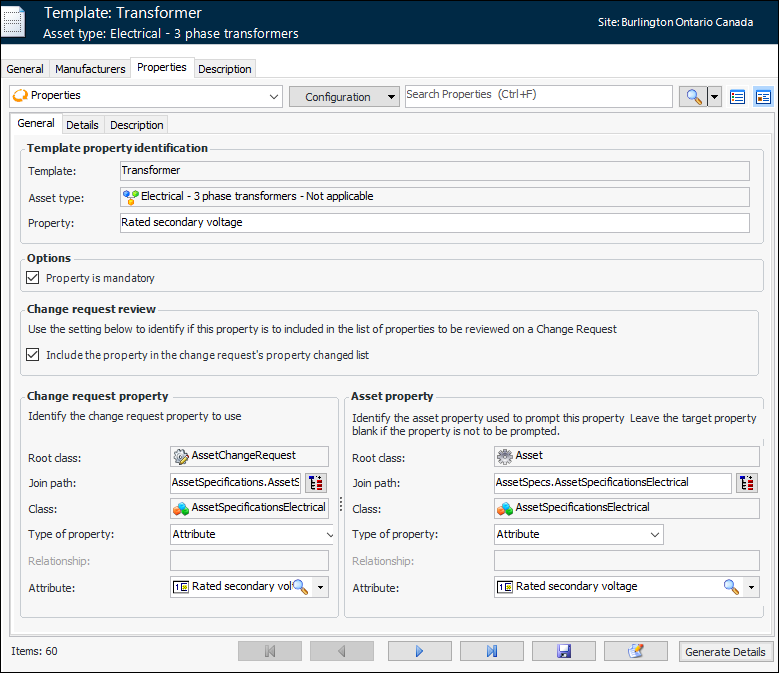
 ) to view one property at a time. For example:
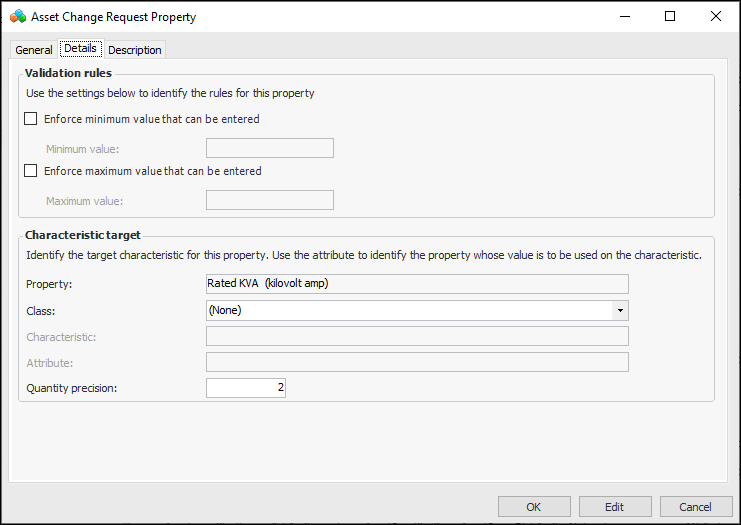