|
|


Applying Mass Updates
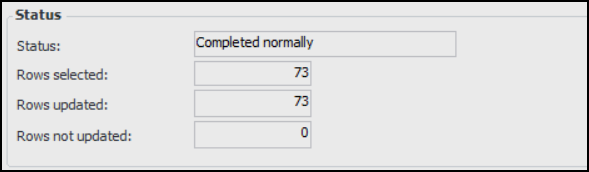
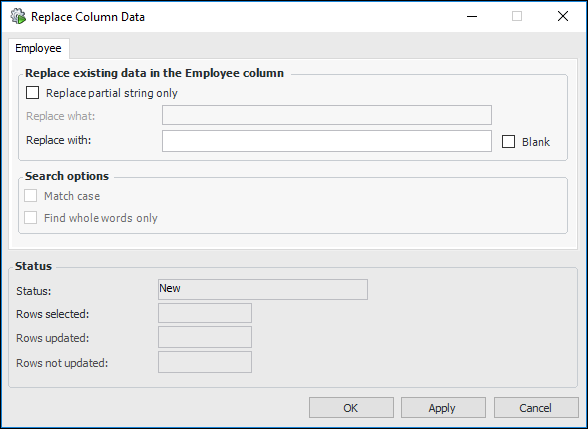
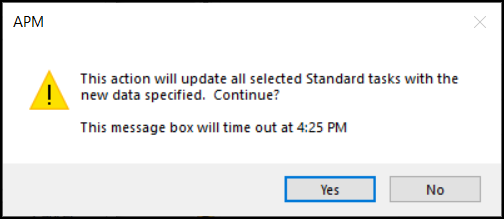
You can perform mass updates on APM classes within a table configuration. This is an efficient method for applying updates to large volumes of data that might otherwise take hours if attempted manually. One typical scenario for a mass update is when a planner has transferred to another site and work order tasks must be reassigned to a different employee. Another example is the need to reassign a buyer on resources because the buyer has left the company.You can perform partial text replacements for string data, by selecting the Replace partial string only option. In doing so, you can replace all instances of the word “Main” with the word “Primary” regardless where the word resides within the text string, for example. In addition, you can choose whether or not to match case and find whole words only. Note that replacing a word or phrase with a blank value is not allowed.When rows are unable to be updated, a View Log button appears in the status section and you can click it to view a list of failed updates and the reason for the failure.Successful updates are displayed in the appropriate object’s History view if auditing has been enabled.To Apply a Mass Update