
|
|


Adding Approvers to an Approval Route
Approvers in APM have the authority to approve or reject documents that are sent to them for approval using an approval route. Approvers have maximum approval limits for each approval route they are on. You can specify that an approver must review all requests.When you set up an approval route, you will identify the approvers who will review the documents sent to the route. You can specify the maximum value these employees are authorized to approve.You can add employees to existing approval routes as approvers; however, the employee records must be defined with related approval authority. For example, if you are adding an employee to a route that approves work orders, that employee must have authority to approve them. For more information on adding approval authority, see Setting up an Employee as an Approver.When adding employees as route approvers, you must set their approval limits and specify whether they are required approvers.To Add Approvers to an Approval Route
 is enabled.
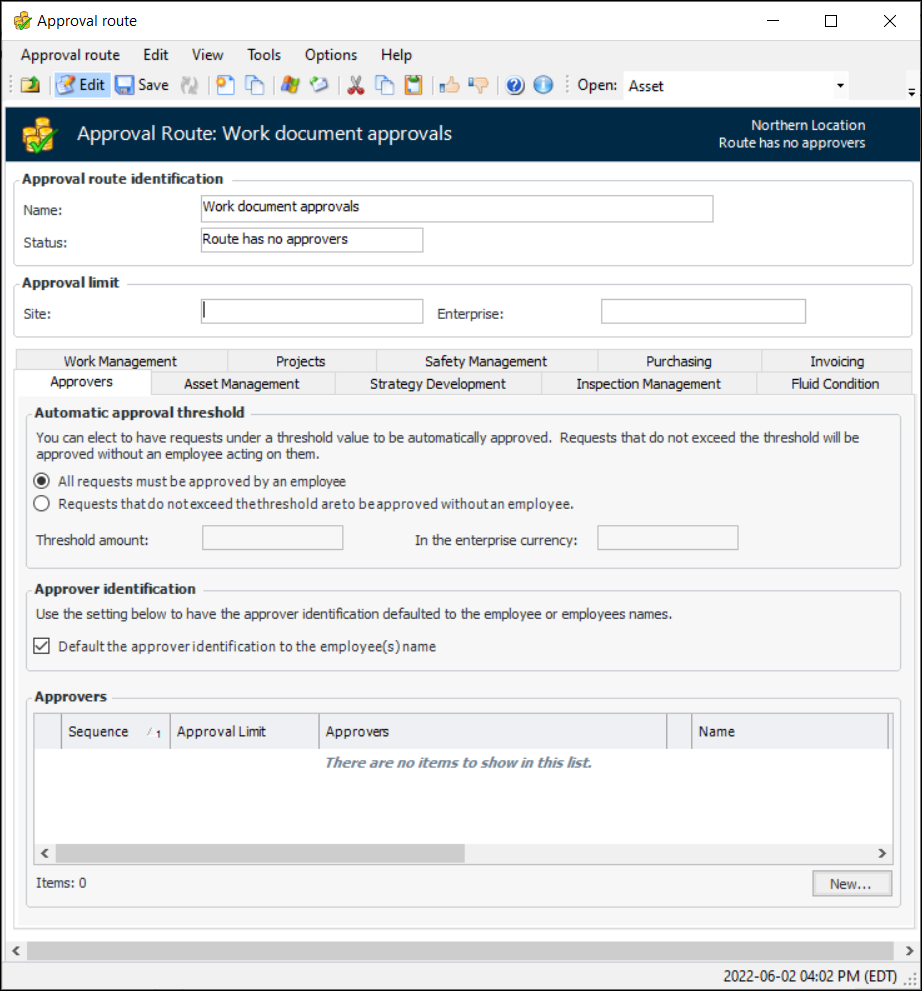
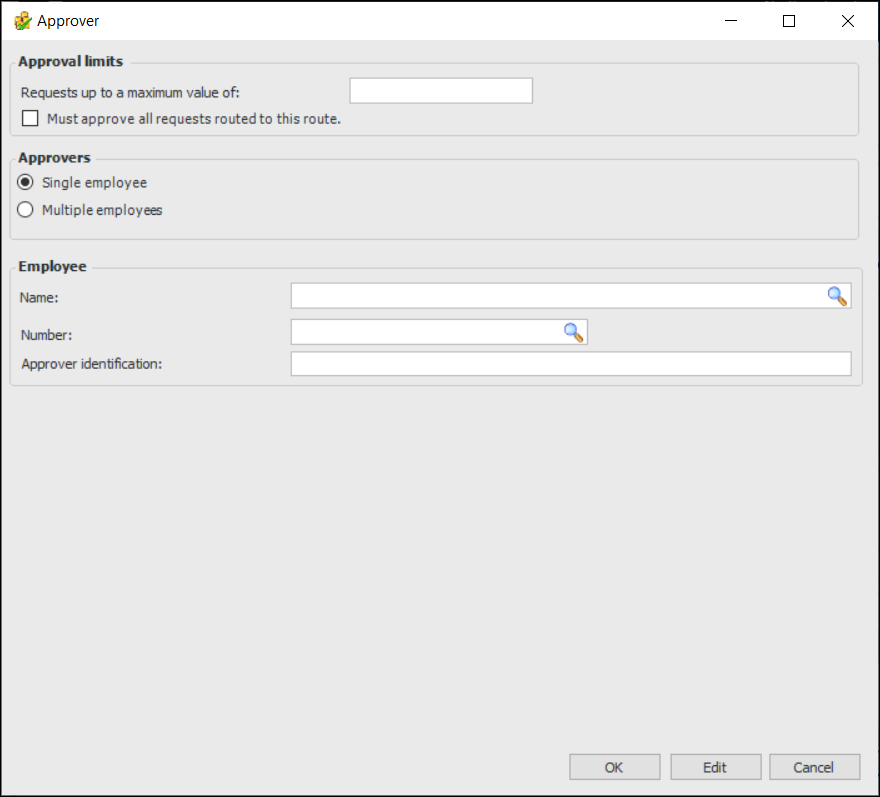
 ). The Employee Selector dialog appears, showing a list of employees authorized to approve the documents for the route. Select the employee, adjust the approver identification if needed, and click