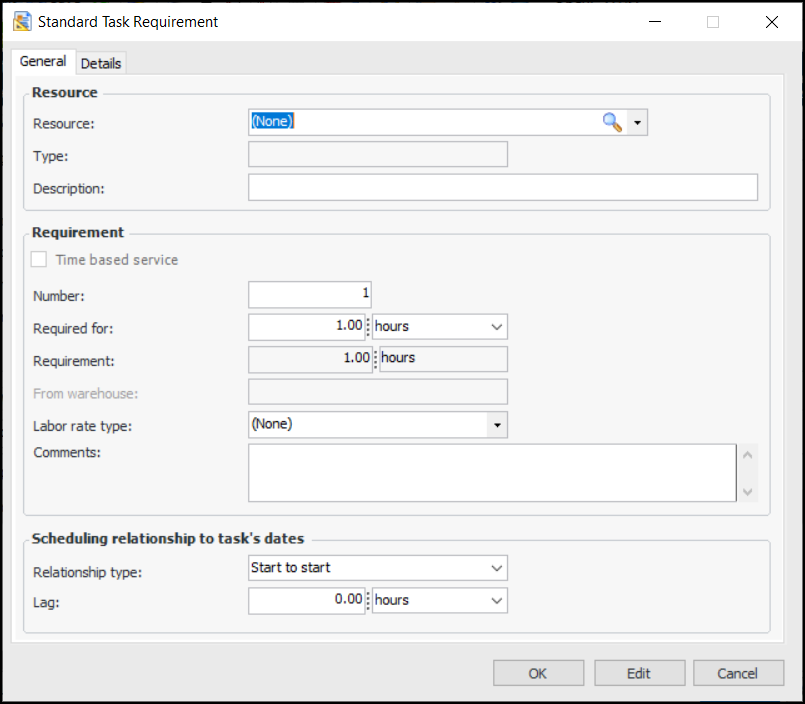
Adding Trades to a Standard Task

You can specify which trades are required to do the work, how many employees or contractors are required for each trade, and the number of hours they are required for.
Note: If you are changing a standard task that was created from a task template, see Editing a Standard Task that is Based on a Template.
This topic explains how to add labor requirements (trades) for employees or contractors to a standard task. For information about entering general planning information, see Entering Planning Information for a Standard Task.

To Add Trade Requirements to a Standard Task

1.
2.
3.
Select the Planning tab. This tab shows the planning information for the task, as well as the labor requirements, materials, tools, and services already selected for it.
Note: By default, APM calculates the estimated duration of the task based on the time requirements for labor, tools, and time-based service requirements. To provide the estimated duration manually, clear the Calculate option and enter the value in the Estimated duration boxes.
4.
On the Labor tab, click New. The Standard Task Requirement dialog appears.
Tip: To quickly add one or more trades and specify their time requirements, click Browse on the Labor tab. The Browse Catalog dialog appears, where you can specify the time for each trade and click OK.
5.
The total number of items that are required. For example, the number of employees or contractors required for the trade or the number of tools.
The amount of time that each employee, contractor, tool, or service person is required. For example if you are entering a trade requirement, enter how long each employee will need to work on this task. The total time entered for the requirement will be calculated as:
Number Of x Required For
Start to start (SS): The requirement starts when the task is planned to start, offset by any entered lag time.
Finish to finish (FF): The requirement ends when the task is planned to end. The system automatically calculates the required lag time.
6.
Select the Details tab and enter any necessary charging information and approval settings:
If you select the option The approval route will be identified when the work order is sent for approval, users will be able to choose from a list of appropriate route.
7.
8.
9.