|
Adding Materials and Tools to a Task Template
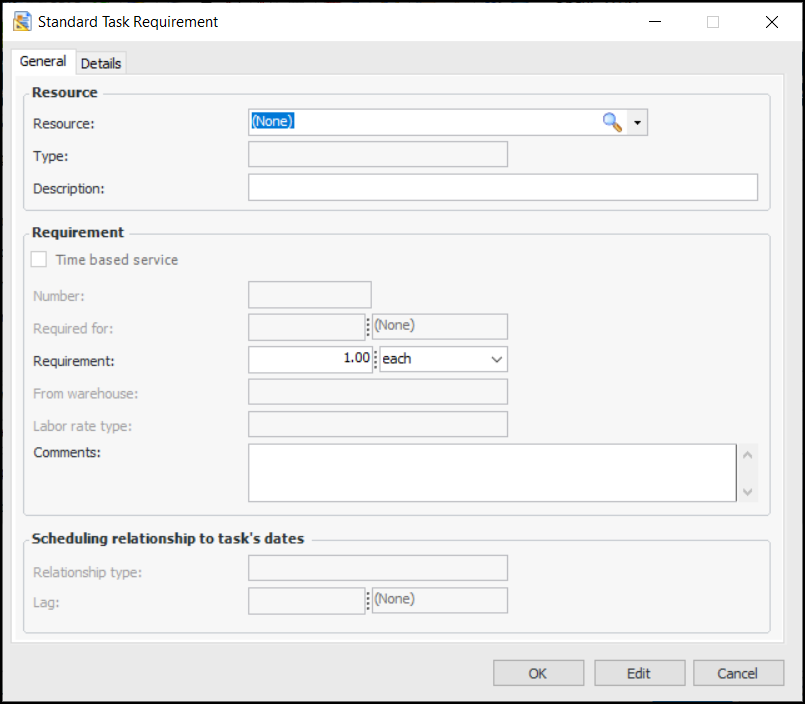
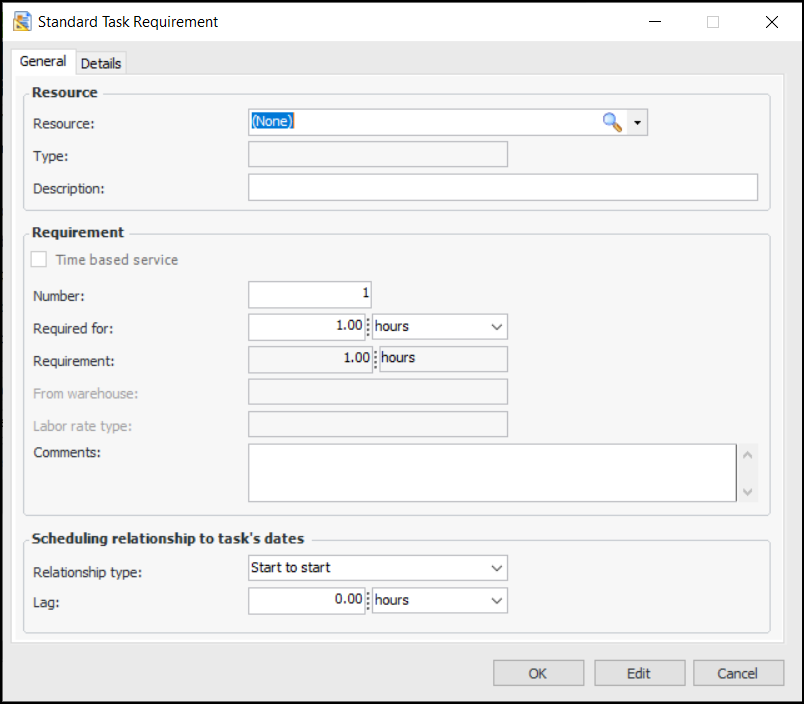
You can specify all of the requirements needed to perform the standard task, including trades, stocked and non-stocked materials, tools, and services. Any of these requirements can be selected from the resource catalog.To Add a Material Requirement to a Task Template
3. Select the Planning tab. This tab shows planning information, including the list of requirements currently selected for the task. The tab will only be available if the task’s work type includes planning information.
4. In the Material required box, enter the number of days that all material requirements are needed before the task is planned to start. APM uses this number to calculate a Material Required By date on work order tasks created from this standard task.
5. Tip: To add several requirements at once, click Browse Catalog. The Browse Catalog dialog appears. Each tab on this dialog lists different types of resources that you can choose. On the Resources tab, enter the quantity of each resource that you want to add. You can select resources on more than one tab. When you are finished, click OK.
6. On the General tab, enter the following:
8. If you are changing a task template that is already linked to standard tasks, you can apply the changes to the standard tasks. To do this, from the Task menu select Apply Changes. APM asks you to confirm that you want the changes made on the standard tasks. Click Apply.APM sends your changes to each of the standard tasks that have been created from the task template, and sends an email to the planner of each task. Click OK, and then Close.To Add a Tool Requirement to a Task Template
3. Select the Planning tab. This tab shows planning information, including the list of requirements currently selected for the task. The tab will only be available if the task’s work type includes planning information.Note: By default, APM calculates the estimated duration of the task based on the time requirements for labor, tools and time-based service requirements. To provide the estimated duration manually, clear the Calculate options and enter the value in the Estimated duration boxes.
4. Tip: To add several requirements at once, click Browse Catalog. The Browse Catalog dialog appears. Each tab on this dialog lists different types of resources that you can choose. On the Resources tab, enter the quantity of each resource that you want to add. You can select resources on more than one tab. When you are finished, click OK.
5. On the General tab, enter the following:
The Requirement box shows the result of:
• Start to start (SS): The requirement starts when the task is planned to start, offset by any entered lag time.
• Finish to finish (FF): The requirement ends when the task is planned to end. The system automatically calculates the required lag time.
This setting is used when calculating the estimated duration of the task, and when the task is scheduled.