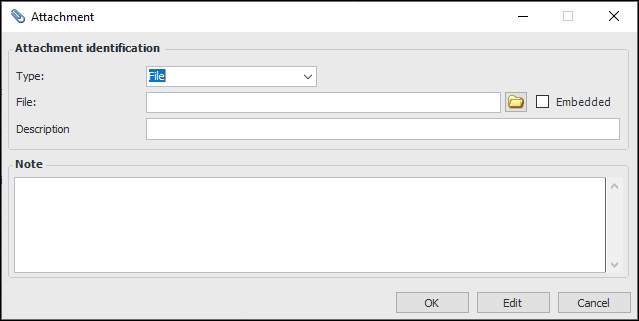
Adding Attachments to Objects

Attachments are files, folders, notes, or URLs that you add to APM objects. You can add attachments to any APM object with a main window that has a banner, as well as to indicator readings and comments. For example, you might want to attach documents to work orders, assets, or indicator readings. There is no limit to the number of attachments that you can create.
There are many uses for attachments, including adding a digital photograph of a piece of equipment to a work order or indicator reading, attaching a résumé to an employee record, and attaching supporting documentation to a requisition.
You can add attachments using a dialog or by dragging the item that you want to attach to the other object’s banner (for APM objects with banners only). When you add an attachment to an object, a paper clip icon appears in the object’s banner:
You can attach the following types of objects:
File: You can attach files with standard formats. If the file is not on a shared network drive, you can select Embedded so that other users can access it.
Folder: You can attach any folder. Folder contents cannot be embedded. If you attach a folder, ensure that it will be available to other users to view (that is, it is shared on your network). When a user views this attachment, the system displays it in a Windows Explorer window.
Note: You can enter any text and attach it to the object. When you select this option, enter your text in the Note box.
URL: You can enter any URL to attach to the object. For example, you could enter a web page address or a local network path. When a user views this attachment, the system displays it in the default Web browser.
When you print a report to a printer, you can select the file attachments that you want to print with the report. For information about printing attachments, see Printing Documents.
This topic explains how to add attachments to objects with main windows with banners (work orders, assets, and so on) and to comments. To add attachments to an indicator reading, see Adding Attachments to an Indicator Reading.

To Add an Attachment

1.
2.
On the Tools menu, click Attachments and then New. The Attachment dialog appears.
Tip: You can also open the Attachment dialog by dragging a file or APM object onto the banner. For example:
When you release the mouse button, the Attachment dialog appears.
3.
File: You can attach files with standard formats. If the file is not on a shared network drive, you can select Embedded so that other users can access it.
Folder: You can attach any folder. Folder contents cannot be embedded. If you attach a folder, ensure that it will be available to other users to view (that is, it is shared on your network). When a user views this attachment, the system displays it in a Windows Explorer window.
Note: You can enter any text and attach it to the object. When you select this option, enter your text in the Note box.
URL: You can enter any URL to attach to the object. For example, you could enter a web page address or a local network path. When a user views this attachment, the system displays it in the default Web browser.
4.
On the Open dialog, the Supported Files list displays the acceptable formats.
5.
Click OK. The Attachment dialog closes and the paper clip icon appears in the object’s banner: