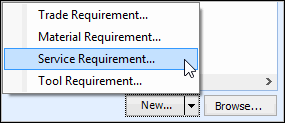
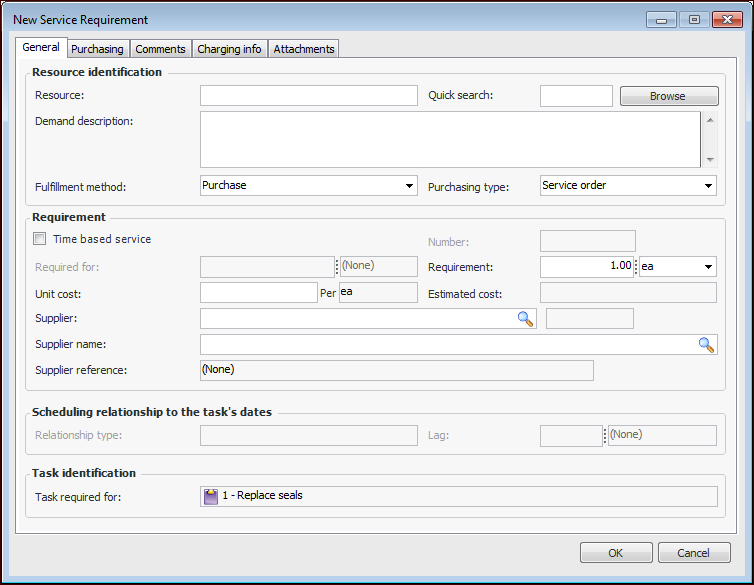
Adding Services to a Work Order Task

This topic explains how to add service requirements to a work order task.
Service requirements are created based on service resources listed in the resource catalog. Job contractor requirements are based on trades, which are listed in the site’s Personnel view.
The main difference between services and job contractors (trades) is that services can use both time- and non-time-based units of measurement (for example, an oil analysis service), while job contractors can only use time-based units of measurement (for example, hours or days). Both job contractors and time-based service requirements can be added to availability schedules.
Adding service requirements is similar to adding job contractor requirements. You will normally add a service requirement when either:
When you create a service requirement, you will enter which service resource is required and the number of units or the amount of time for which the service is required. You can also specify any lag time that is needed for each requirement. If known, you can also indicate the supplier that provides the service.
Note: If the work order has already been approved or marked as planned, you will not be able to add requirements to it. To add requirements to a planned work order, you must first redraft it.

Overriding GL Accounts

APM automatically derives a GL account for charges to an asset or work order task based on the site’s accounting settings. You can override the derived maintenance GL account for labor, direct purchases, and inventory usage charged to an asset or work order. When the account number is overridden, the replacement account number is used on subsequent documents and transactions (work order requirements, timecards, issue transactions, purchase order lines, and receipts). The option to override a GL account is available only if the work type has been set up to allow the override.

To Add Service Requirements to a Work Order Task

1.
2.
3.
Select the Planning tab and then the All Requirements tab. This tab shows the planning information for the task, as well as a list of trades, materials, tools, and services currently selected for the task.
4.
Click the down-arrow beside the New button, and select Service Requirement.
Tip: You can also select the Services tab to view all service requirements for the work order task, and then click New.
Tip: To add several different requirements at once, click Browse. The Browse Catalog dialog appears. Each tab on this dialog lists different types of resources that you can choose. On the Resources tab, select the Resource type to switch between materials, tools, trades, and services. Select the check boxes for each resource that you want to add. You can select resources on more than one tab. When you are finished, click OK.
The New Service Requirement dialog appears.
5.
On the General tab, enter the following:
Enter a text or number string in this box and click Browse. The system displays a resource selector dialog with a list of resources containing the string.
The amount of time that each employee, contractor, tool, or service person is required. For example if you are entering a trade requirement, enter how long each employee will need to work on this task. The total time entered for the requirement will be calculated as:
Number Of x Required For
By default, the system enters the default supplier of the resource. If necessary, you can change the supplier by clicking either All Suppliers or Valid Suppliers and selecting a new supplier from the selection dialog.
Start to start (SS): The requirement starts when the task is planned to start, offset by any entered lag time.
Finish to finish (FF): The requirement ends when the task is planned to end. The system automatically calculates the required lag time.
6.
Select the Purchasing tab. If appropriate, enter the following:
7.
Select the Comments tab to enter your notes. For requirements that must be purchased, you can also add instructions in the Purchasing description box. This information is copied to subsequent documents in the purchasing flow, for example, the purchase order line created from the work order task.
8.
To override the GL account or cost type, select the Charging Info tab and make the appropriate changes (only available if overrides are allowed for the task’s work type).
9.
Click OK to save the requirement and close the dialog.
10.