|
|


Adding Inspection Photographs to Objects
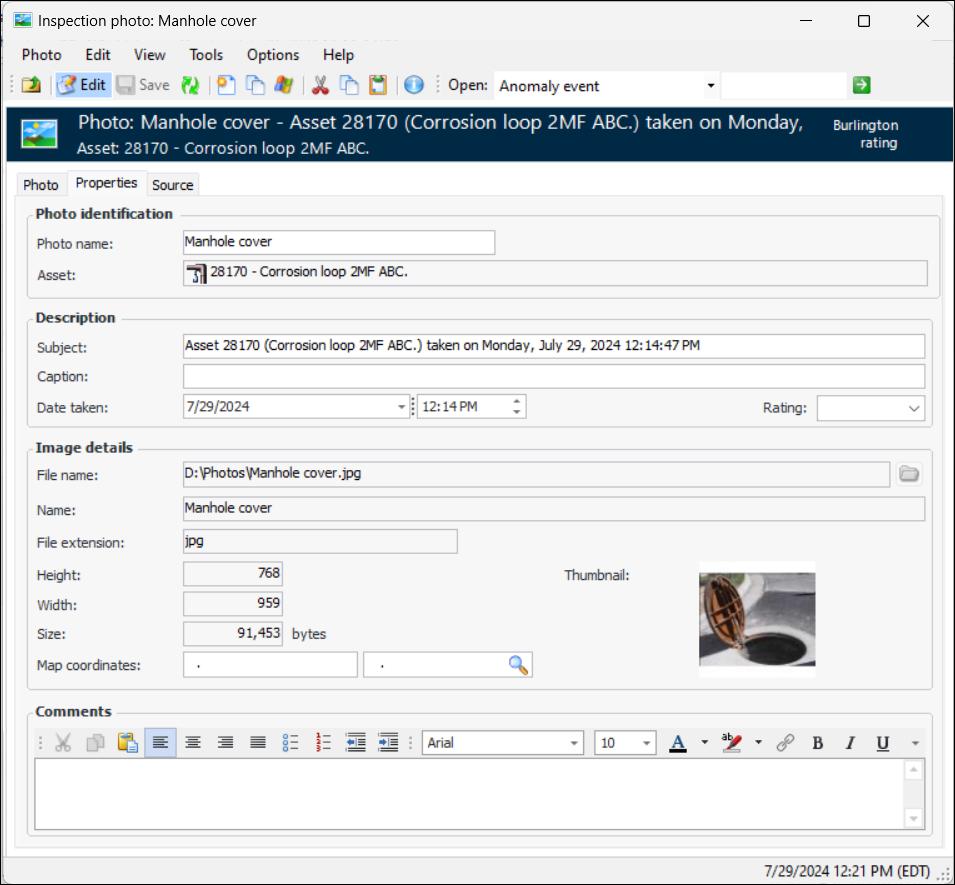
Adding a photograph involves browsing for and selecting the file. When you click Open, the image is added as a thumbnail to the object. You can then open the Inspection Photo dialog to provide information about the image.All inspection photographs are embedded in the APM database. Therefore, because some image files can be quite large, you can set the default pixel dimensions for inspection photographs stored in APM. For more information, see Setting the Inspection Photograph Maximum Size.There is also a setting that applies to all images added to HTML controls in APM. See Setting up the Maximum Size for Images.Tip: You can view all of the inspection photographs for the site in one place. On the Site window, select the Assets view and the Photos tab. This tab shows thumbnail images of the photographs, as well as the asset, name, subject, caption, date taken, date added to APM, and the employee who added the photograph. You cannot add photographs on this tab.For information about adding photographs to inspection reports, see Adding a Photograph to an Inspection Report.To Add an Inspection Photograph to an Object
To Work with Inspection Photographs
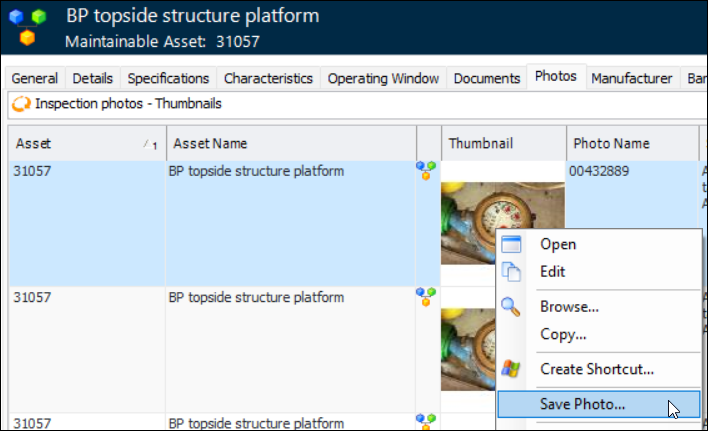
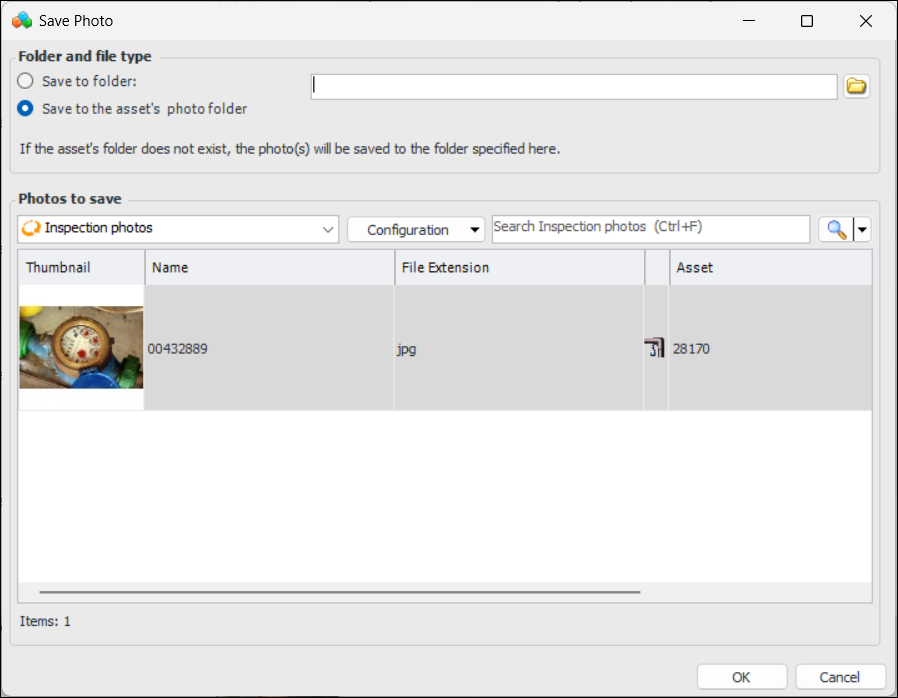
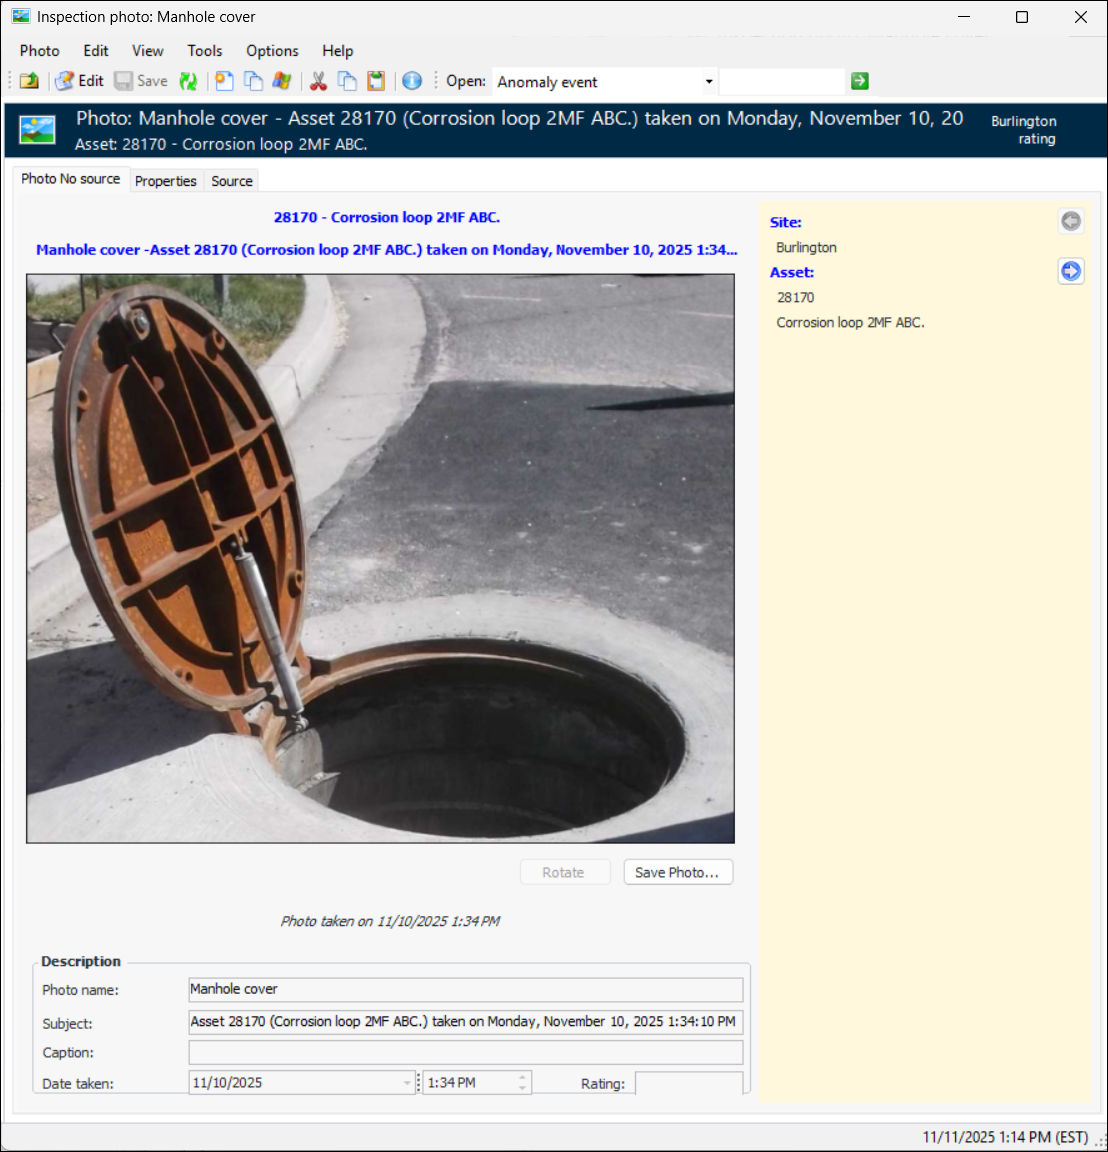
To Save an Inspection Photograph as a Separate File
 in the photos tab to see individual photos in the forms view. Use the navigation buttons at the bottom of the table to move between photos.
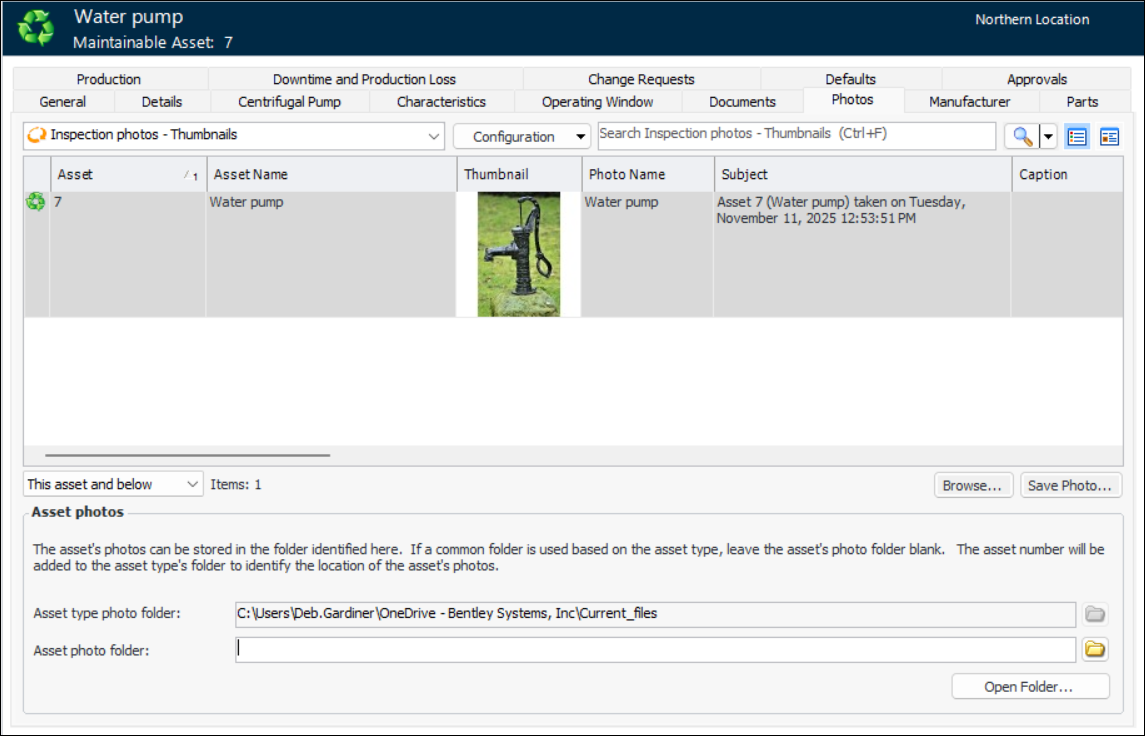
 is enabled.