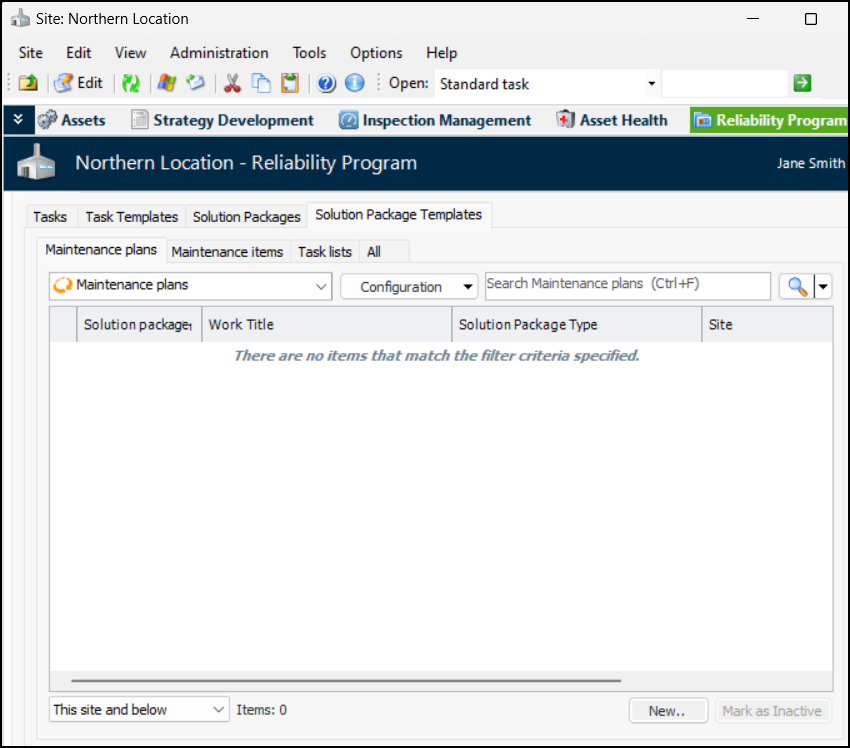
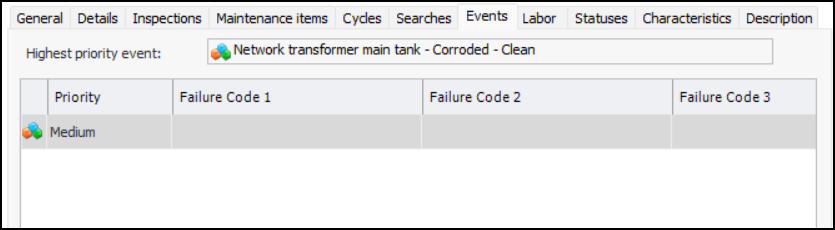
Setting up Solution Package Templates

When your external CMMS is SAP Plant Maintenance, for example, maintenance plan information is sent from SAP to APM in the form of solution packages that represent preplanned work. The solution package includes information such as the tasks to perform, work priority, work type, work classification, maintenance group, and so on.
The CMMS (SAP) is the master system for solution packages and sends updates any time that there is a change to the mapped data in the maintenance plan. This mechanism allows for a loose coupling between the SAP maintenance plan and the APM solution package. The schedule and work cycles are controlled in SAP, but the details of the corresponding inspections are maintained in APM and are linked through the solution package.
In APM, you can create solution package templates and link them and cycles to standard tasks in the asset program profiles that APM uses to generate inspection activities. You can create solution package templates from scratch or when setting up asset program profiles. You can also create a template from a solution package. Once the template exists, you can manually assign it to solution packages that arrive from the CMMS.
Solution package templates can also be referenced on requests for work created in APM, for example, in response to indicator alarms or for follow-up work. Solution package information can be included on standard tasks to be copied to the requests for work that are created from the checksheets generated from the standard task. In SAP, the request can trigger the maintenance plan that creates corrective tasks.
For each site, you can set up as many as four solution package levels, naming the levels with terms specific to your CMMS or organization. For example, the levels could be named Maintenance plan, Maintenance item, and Operation or Plan, Task, and Subtask.
A message sent to APM from the CMMS indicates the preplanned work’s level. In APM, the level is matched to the solution package type’s level (1 to 4). The solution package type identifies the kind of object, for example, maintenance plan. The site interoperability profile determines the behavior, for example, the level that supports cycles or steps.
For related information about solution packages, see Setting up Site Interoperability Profiles for AWEIS.
You can use asset program profiles to generate reliability and inspection programs for one or more assets at the same time. The profile specifies asset types and filters for selecting the specific assets to update, as well as the indicators, standard tasks, jobs, solution packages, and documents to assign to assets. If you are using the construction form feature, the profile also generates a checksheet for each of the assets’ standard tasks.
For more information, see Setting up Asset Program Profiles.
When the asset program is generated, APM selects the appropriate assets and creates standard tasks based on the task templates. The standard tasks are linked to the asset’s solution package tasks and cycles. If a solution package task does not already exist, it is created for the solution package. However, if a solution package corresponding to the referenced solution package template does not exist for the asset in APM, this part of the generation process is skipped.
Tip: You can create a template from a solution package. In the Solution Package window, click the Tools menu and Create template. Click Yes in the confirmation message. The solution package template window opens, where you can add task templates and adjust options.
This topic explains how to create a solution package template from scratch.

To Set up a Solution Package Template

1.
From the Site window, select the Reliability Program view.
2.
On the Program tab, select the Solution Package Templates tab. This tab displays a tab for each of the solution package levels defined in the site interoperability profile. In this example, the levels are Maintenance plans, Maintenance items, and Task lists:
3.
Select the appropriate tab and click New to open the Solution Package window. This example shows a maintenance plan:
4.
On the General tab, provide the following identification information:
5.
On the General tab, provide the work details:
When the Mark request as ready to send option is selected, the request is submitted to the CMMS when it is saved. In Requests for work tables, it has the Interop status “Ready to send”.
6.
Select the Details tab. This tab shows strings, date boxes, and check boxes that have been defined for your organization. You can enter values as appropriate.
7.
Select the Inspections tab. Click Browse to locate and select standard task templates to add to the package template.
If the solution package level is superior to one or more levels, a tab for each level is available so that you can view related objects.
8.
Select the Cycles tab. Click New to define a cycle:
9.
10.
11.
Click OK. The cycle is added to the Cycles tab.
12.
Select the Searches tab and select values. Search values make it easier for users to find objects based on trade, frequency, operating condition, maintenance group, and technology.
13.
If available, select the Failure Codes, for example:
Solution packages support failure codes, if specified by the Failure code type setting in the site’s interoperability profile. You can select failure codes and provide a default description on solution package templates. When a solution package is referenced in a request for work or other work document, the failure codes are copied from the solution package. Note that if the work document already has one or more failure codes, those codes are not replaced by values from the solution package.
14.
If available, select the Events tab. For example:
The tab is available if the site’s interoperability profile specifies that the failure code type is “Object type, damage and activity codes”. It will display the highest priority event from the associated work document.
15.
Select the Labor tab. For each requirement that you wish to add, click New to open the Labor Requirement window:
16.
APM calculates the total requirement.
17.
Click OK. The labor requirement is added to the tab.
18.
Select the Statuses tab.
This tab displays the following information:
19.
Select the Characteristics tab if you wish to assign values to characteristics in a map set.
For more information, see Setting up Characteristic Mapping for Interop Work Documents.
20.
Select the Description tab to add more information.
21.