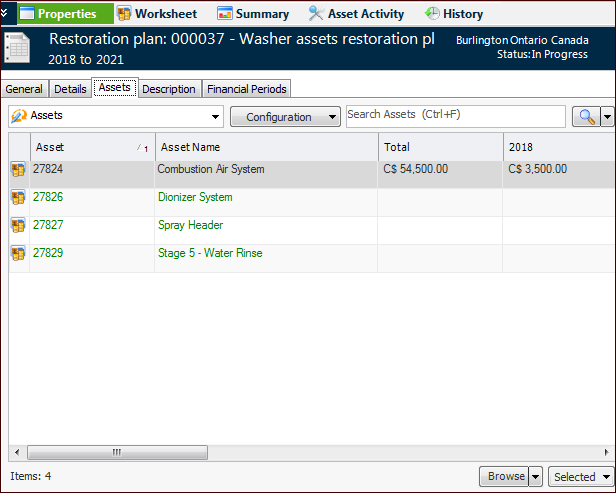
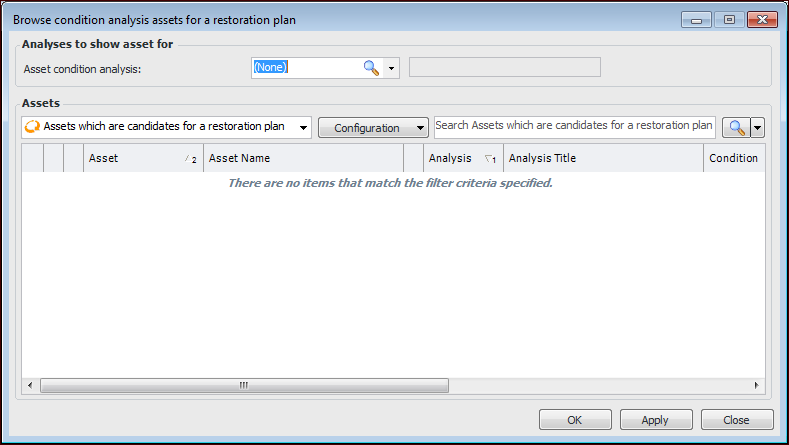
Adding Assets to a Restoration Plan

This topic explains how to add assets to a restoration plan. When browsing for assets to add to the plan, you can select from the site’s assets, or you can choose a condition analysis and then select one or more of its assets. Table configurations are provided that list all assets or only assets with conditions that are tagged for restoration.
Tip: To remove an asset from a restoration plan, locate it in the Assets tab, right-click, and click Delete. The asset is removed from the plan.

To Add Assets to a Restoration Plan

1.
Select the Asset Health view on the Site or Asset window and then the Restoration Plans tab.
2.
3.
Select the Assets tab. This tab lists the assets, their spending plans, and identified work. For example:
Tip: Scroll to the right to see the Identified Work column.
4.
To add assets from an asset condition analysis, click the Browse list and then Analysis Assets. The Browse Condition Analysis Assets dialog appears:
The “Assets which are candidates for a restoration plan” configuration lists only assets with conditions that are tagged for restoration. Select the “All assets” configuration to choose from all assets in the condition analysis.
Select one or more assets and click OK. The assets are added to the restoration plan.
5.
The Browse Assets for a Restoration Plan dialog appears. The “Candidates for a restoration plan” configuration lists all assets with conditions that have been tagged for restoration. You can select the “All assets” configuration to choose from all site assets.
Select one or more assets and click OK. The assets are added to the reparation plan.
You are now ready to add spending plans for the additional assets.