|
Working with Anomaly Events
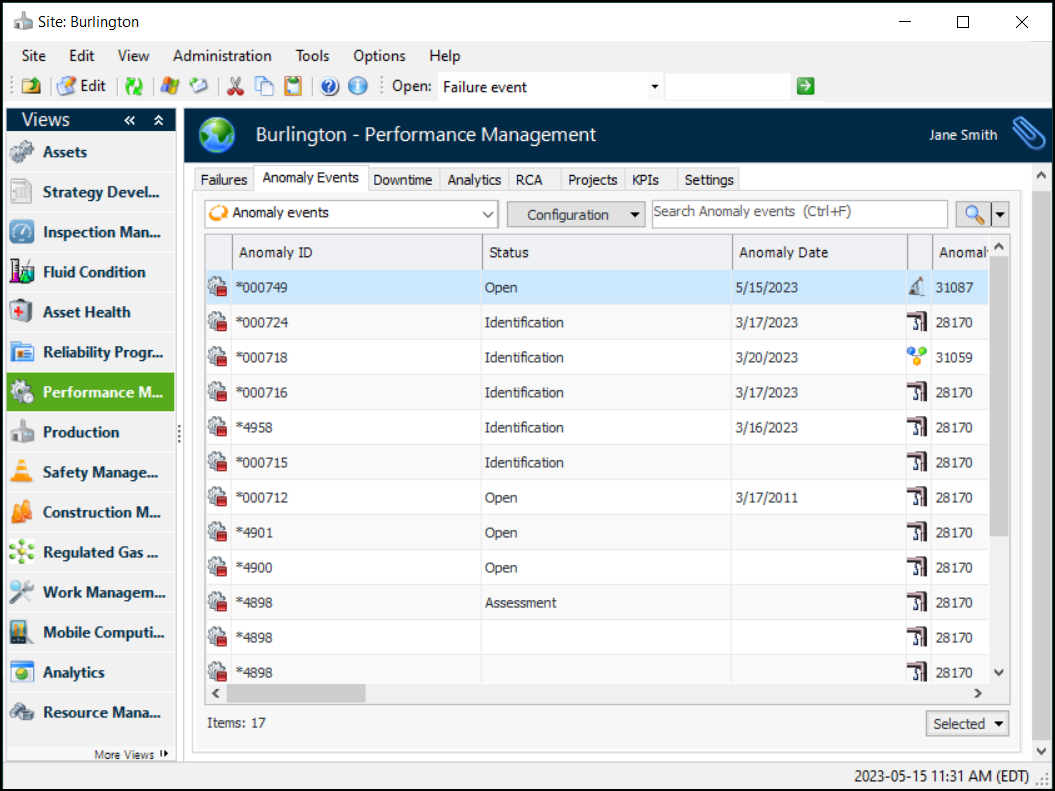
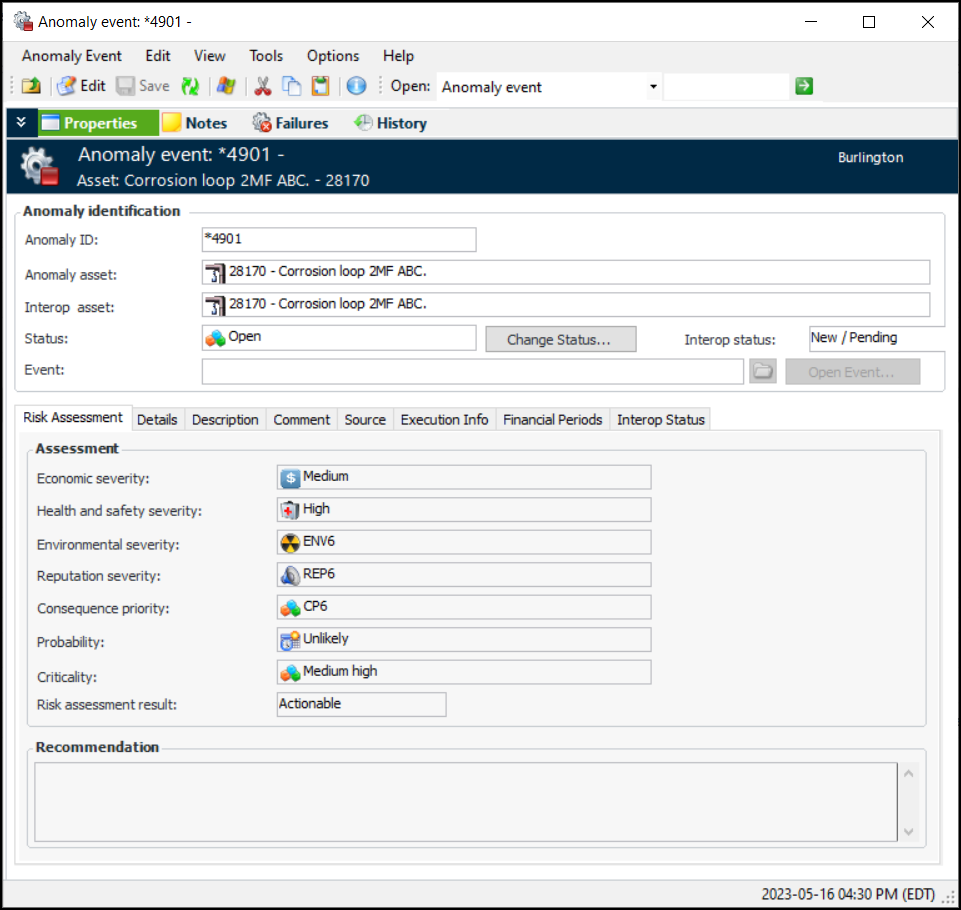
To View an Anomaly Event
1. In the Site or Asset window, select the Performance Management or Work Management view, Anomaly Events tab. For example:
3. Click Edit to open the event for updates.
4. Settings on the anomaly status, in this case “Open”, determine whether the event’s properties can be updated and failure records can be added. If the status allows it, you can modify the risk assessment, anomaly information on the Details tab, and add information in the Description and Comment tabs.
5. Select the Source tab to view the acknowledgment, indicator reading, checksheet, acknowledgment failure, and request for work associated with the event.
6. Select the Financial Periods tab to see the month, quarter, and year in which the event was created and closed.When the anomaly event has been published, Open Event is enabled. Click this button to view the AA&T event. You can view the date on the Execution Info tab and the interop status on the Interop Status tab.
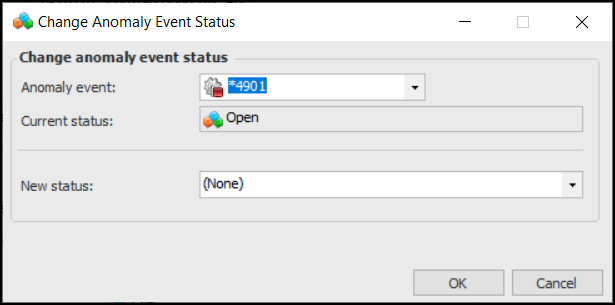
To Change the Anomaly Status
1. As long as the event’s Interop status allows it, you can change the anomaly status. In the Anomaly Event window, click Change Status. The Change Anomaly Event Status dialog appears, for example:
2. Select a status in the New status list. The list includes only statuses that can be set manually.
3. Click OK. The dialog closes and the status is changed in the Anomaly Event window.Note: If you change the status to “Closed”, the Closure Info tab is added to the window. It displays the closure date and the employee who closed it.
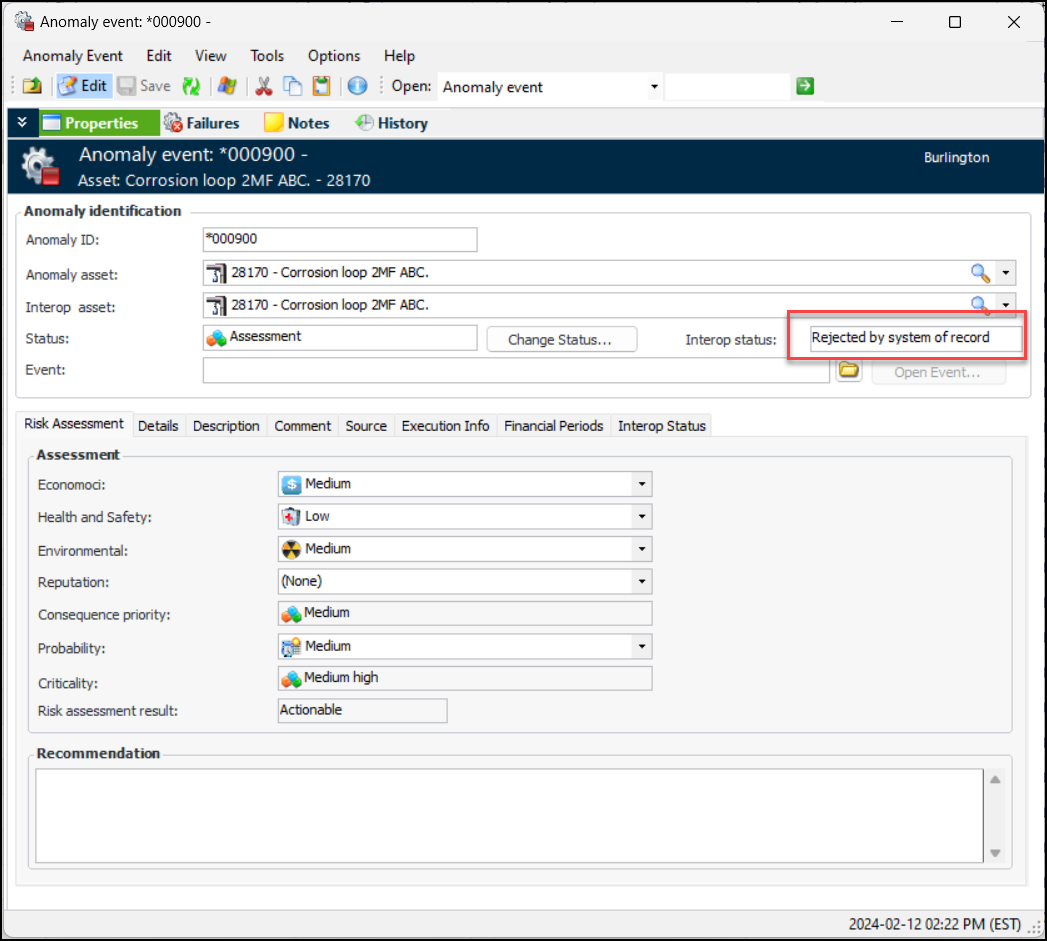
To Override the Risk Assessment Result
1. To change the result from Actionable to Non actionable or vice versa, open the Anomaly event window and select the Properties view and the Risk Assessment tab.
2. Click Edit to open the event for updates. For example:To Add a Failure Record to an Anomaly Event
Tip: You can also add an anomaly event to a failure event. In the Failure event window, select the Anomaly Events view and tab and click New Link at the bottom of the tab to open the New Anomaly Event Link dialog.
1. In the Anomaly Event window, click the Failures view. The New button is enabled if the anomaly status specifies that failures can be created.
2. Click New. The Anomaly Event Failure Creation dialog appears:
3. You can link the anomaly event to a new or existing failure record. If you click Link to existing failure, you can browse a list of failures, select one, and click OK.
4. To create failure, select Create a new failure. Provide the following information:
Occurred on displays the date and time when the anomaly event was created.
5. Click OK. The failure is created and added to the list. If you selected Launch the failure, the Failure Event window opens.To Resubmit an Anomaly Event
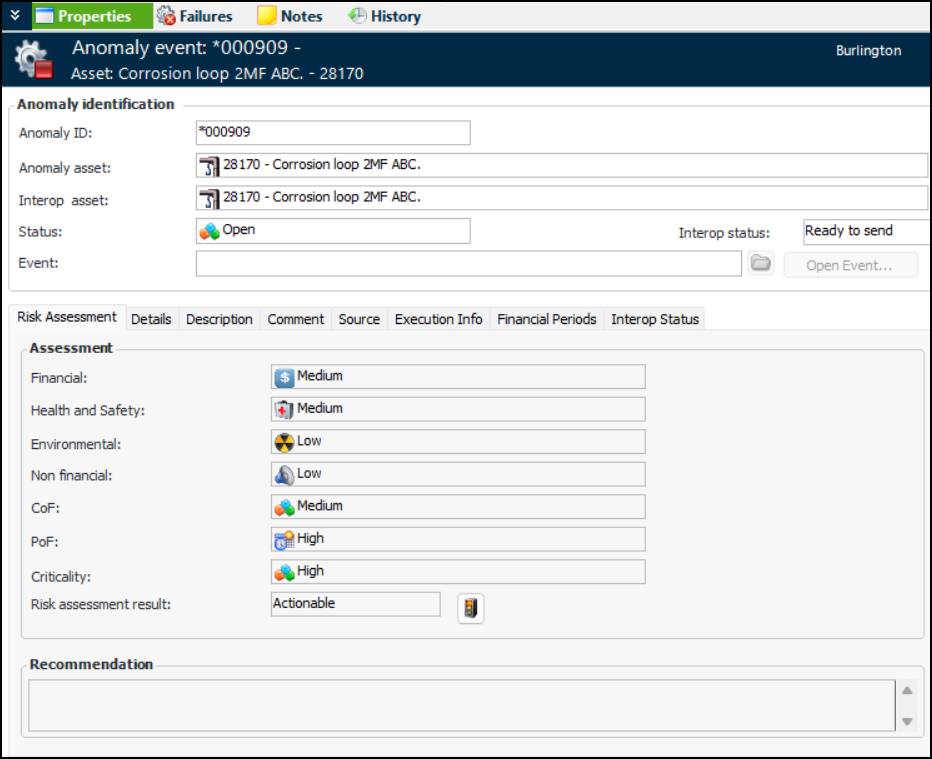
1.
5. When you have finished, click the Tools menu and then Submit. A confirmation message opens to inform you that once the anomaly is submitted, it will only be updated by the AA&T system.
6. Click Yes. The anomaly event’s Interop status changes to “Ready to send”.
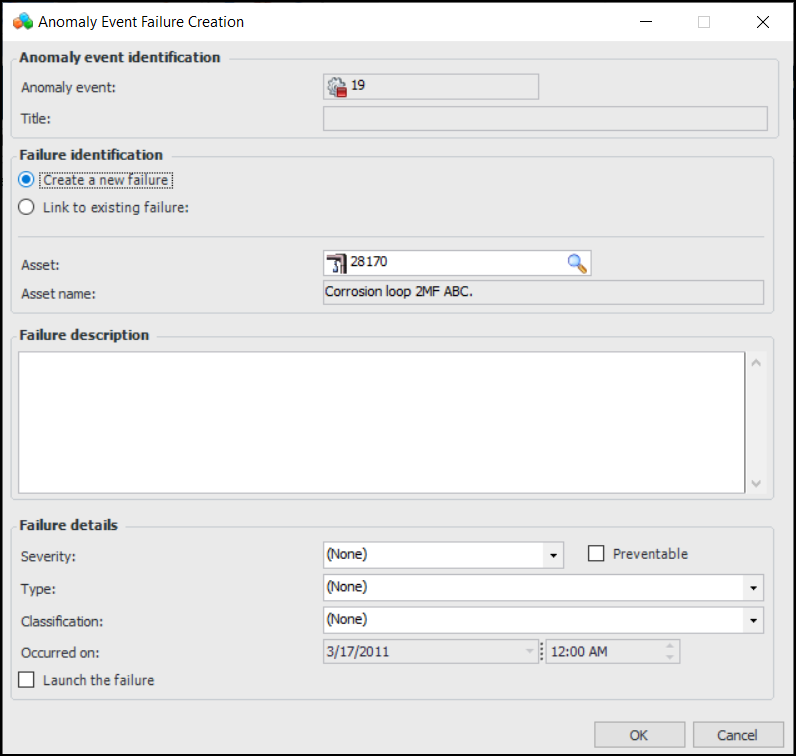