|
|


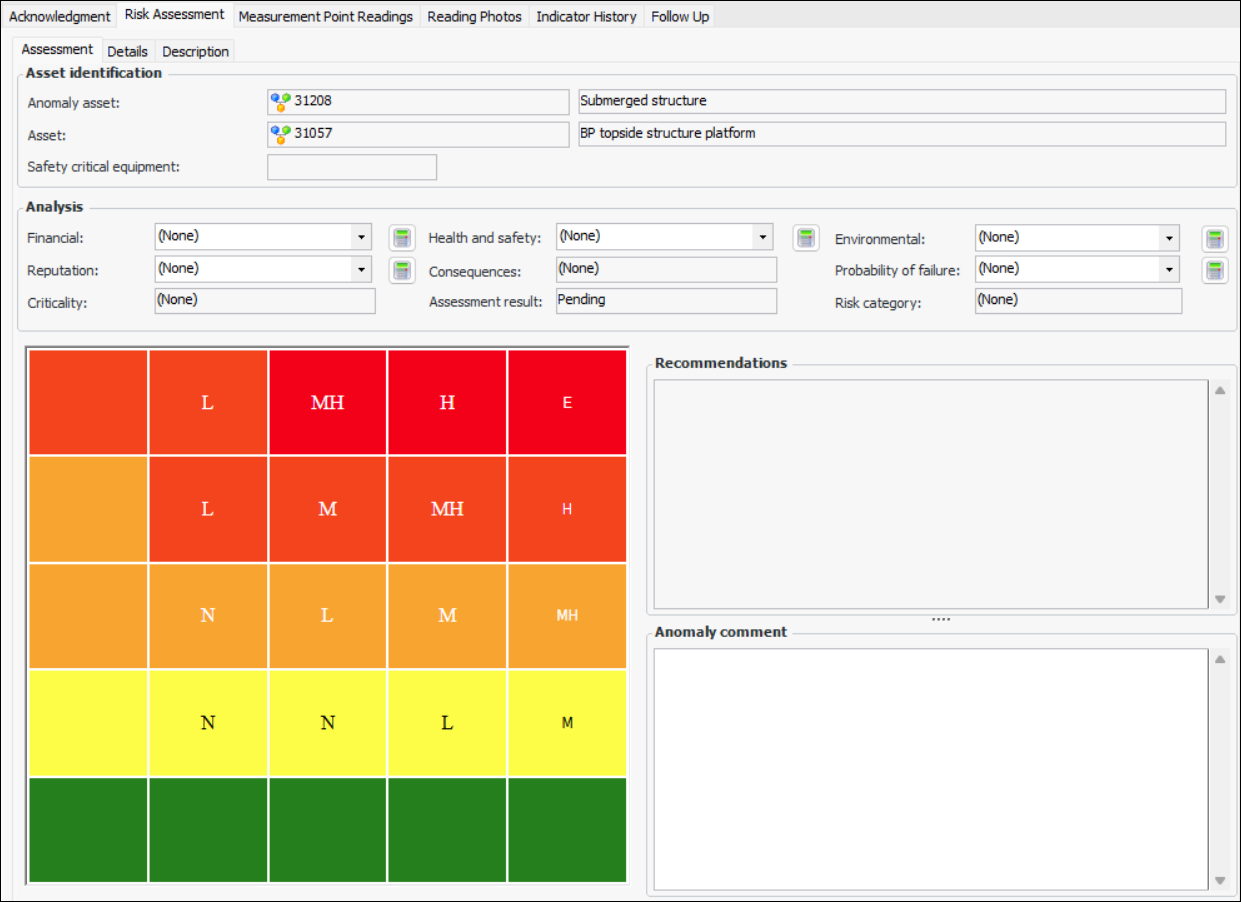
Performing Risk Assessment when Acknowledging an Alarm
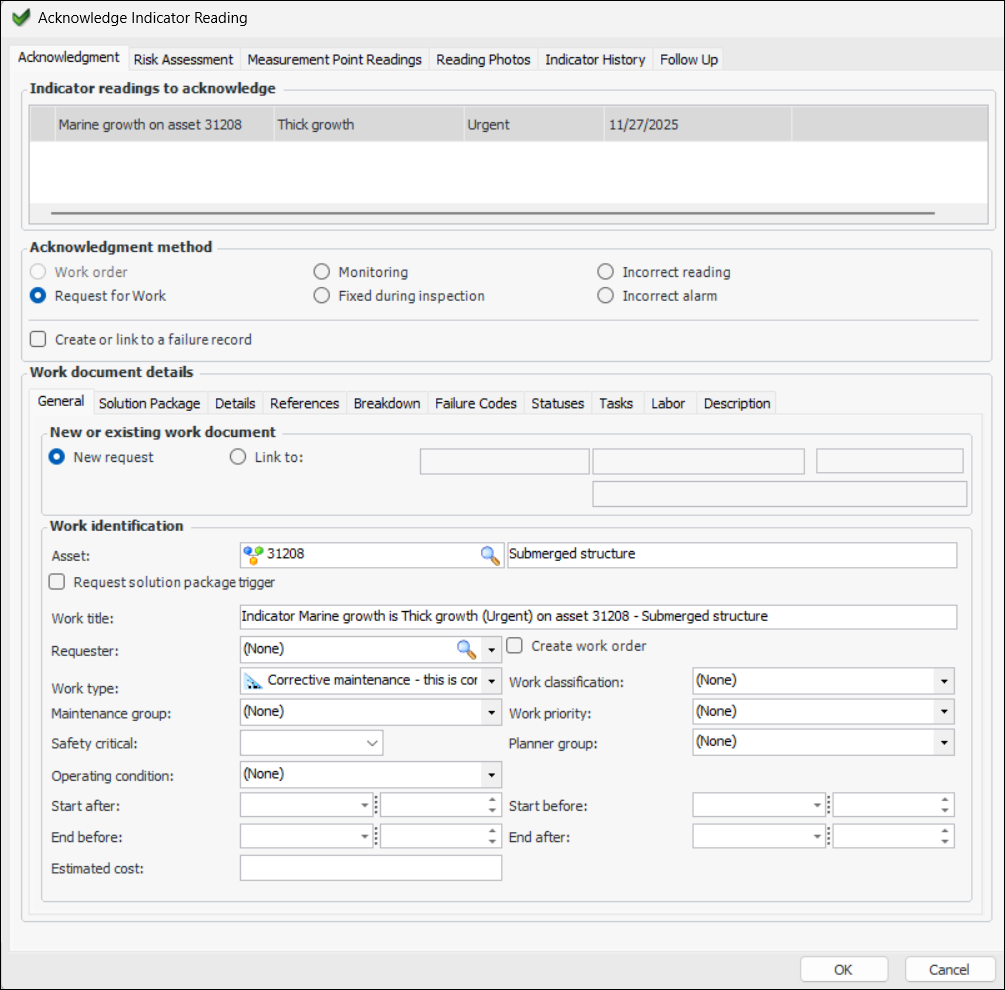
Note: Support for anomaly assessment is generally available. However, you must first enable feature 108 to use the functionality in APM. In the Enterprise window, select the Features view and the Enabled Features tab. Click Browse, select “Anomaly risk assessment” and click OK. If APM is running as a smart client, click Refresh Enabled Features on the server. Then restart the client to use the functionality.Note: The site’s risk assessment settings must require that risk be assessed for alarm acknowledgments. For related information about setting up anomaly risk assessment, see Anomaly Risk Assessment Settings.Note: Depending on settings in the anomaly risk assessment profile assigned to the site, some acknowledgment methods might not require risk assessment. For example, “Fixed during inspection” might not warrant a request for work, in which case, the Risk Assessment tab does not appear in the Acknowledge Indicator Alarm dialog.Tip: After creating an acknowledgment, you can view information about it in the site’s Inspection Management view, Readings tab, Acknowledgments tab. This tab lists the acknowledgments by date and includes columns for asset, indicator, reading date, indicator state, acknowledgment method, and status. Double-click an acknowledgment to open its dialog.Risk Assessment
Anomaly Events
You can view anomaly events in the site’s or asset’s Performance Management view, Anomaly Events tab.Follow-up Readings
Failure Tracking
Escalation and Automatic Acknowledgment of Alarms
Most Recent Reading or Most Severe Unacknowledged Alarm
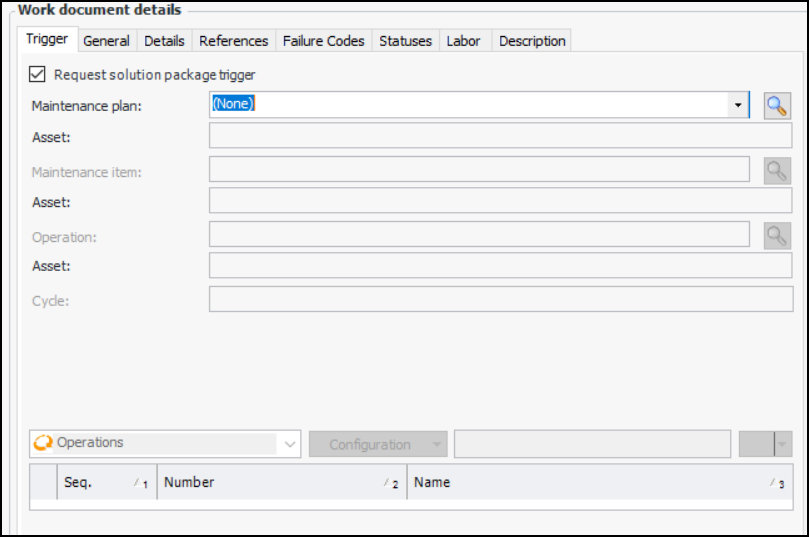
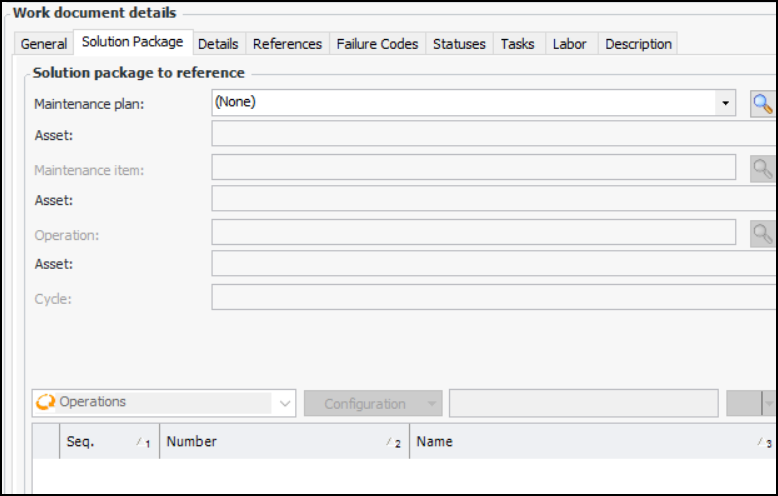
Solution Packages
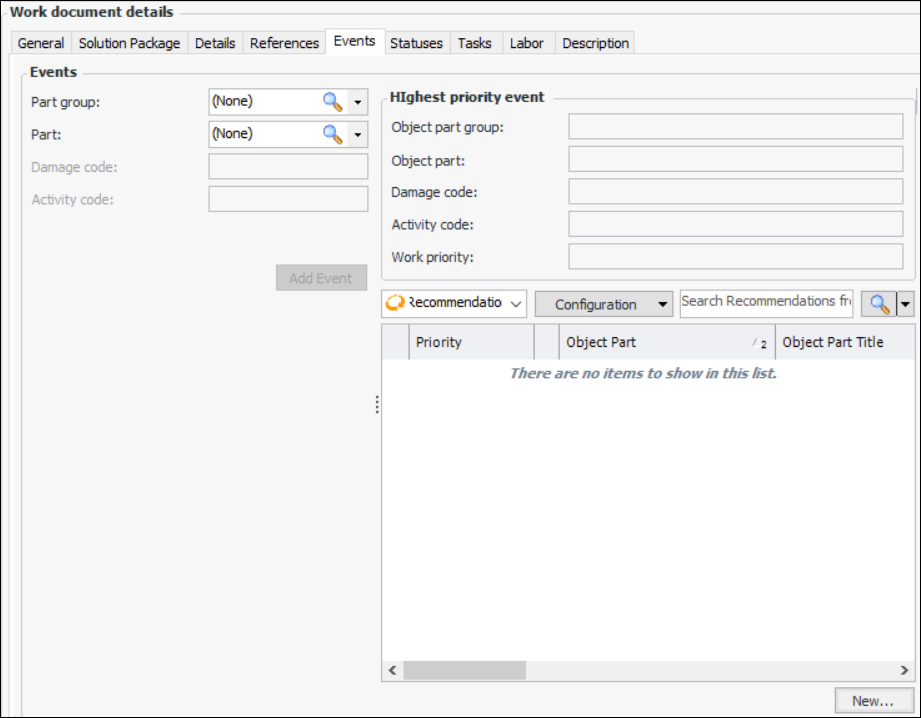
Events or Failure Codes
The Failure code type setting in the site interoperability profile determines whether events or failure codes are available in the request for work. If it is set to Object part, damage and activity codes, the Events tab appears in the Acknowledge Indicator Alarm window.If Failure codes is selected in the site interoperability profile, the Failure Codes tab appears in the Acknowledge Indicator Alarm window. You can select as many as five failure codes from those defined for your organization and enter a description.Note: To use failure codes in APM, you must first enable feature 46. In the Enterprise window, select the Features view and the Enabled Features tab. Click Browse, select “Failure codes support with AssetWise Interoperability”, and click OK. If APM is running as a smart client, click Refresh Enabled Features. Then restart the client to use the functionality.Recommended Tasks
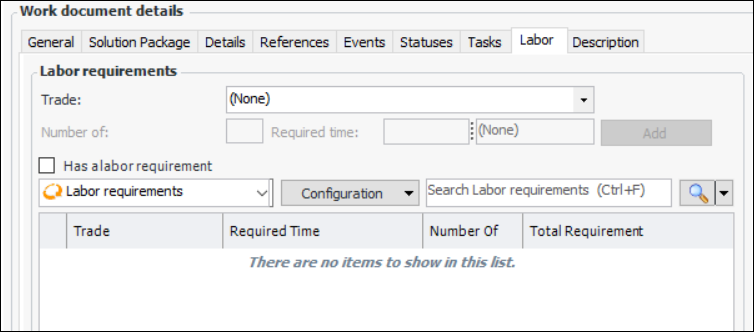
Labor Requirements
Work Document Characteristics
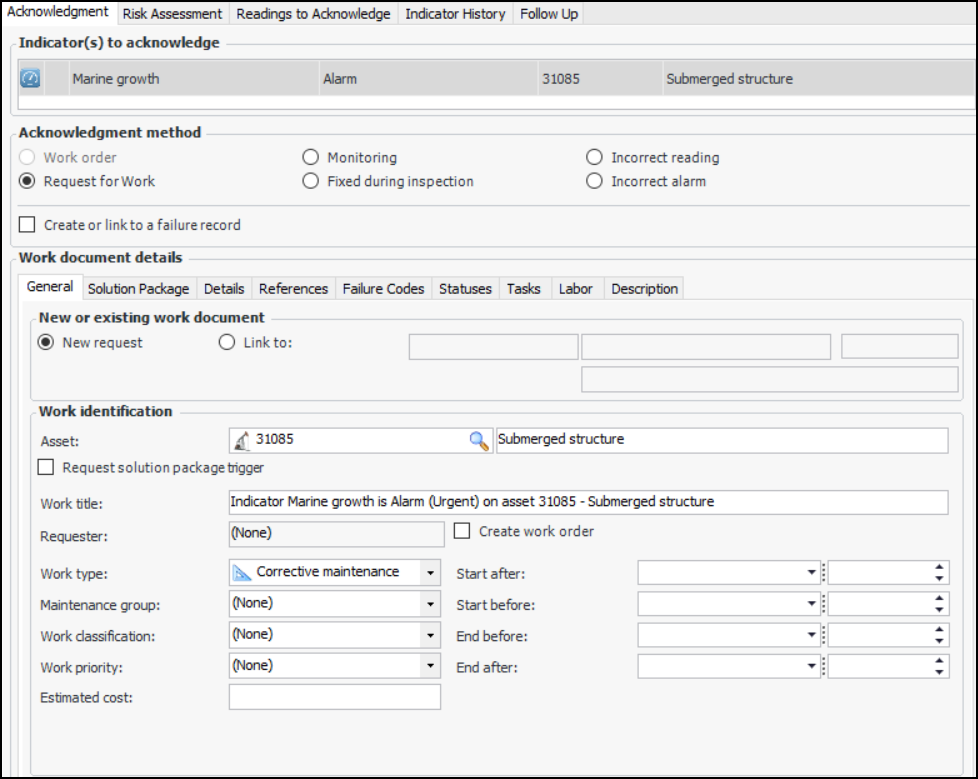
The reference numbers that you enter on the References tab can appear in the Characteristics tab when the request has been submitted. When the external CMMS is SAP, the reference numbers are added to the notification. To prepare for creating requests for work, be sure to set up classification classes and map sets for work documents.To Start the Acknowledgment
To Perform Risk Assessment
To Acknowledge the Alarm
To Add a Solution Package
To Enter Values for User Fields and Reference Numbers
To Select Failure Codes
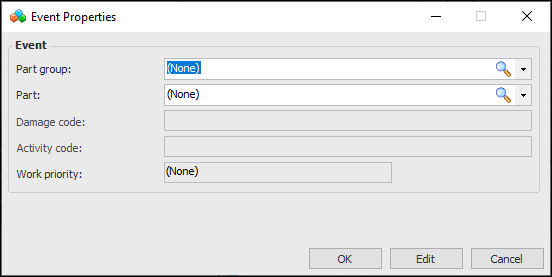
To Add Events
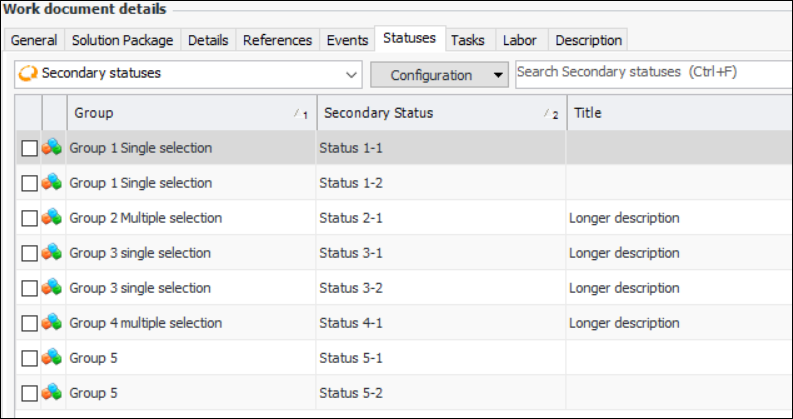
To Select Secondary Statuses
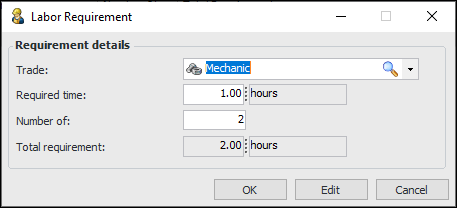
To Add Tasks and Labor Requirements
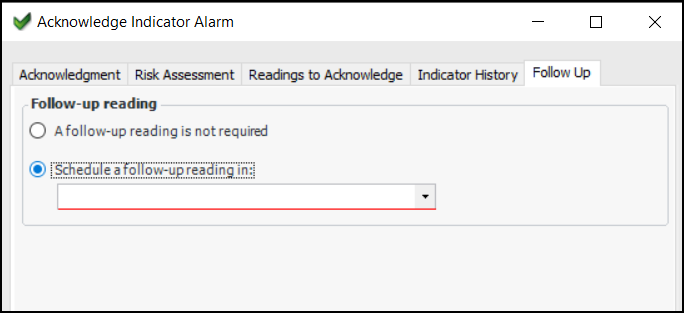
To Request a Follow-up Reading
To Complete the Acknowledgment
 to use the evaluation questionnaire. APM calculates and displays the result in the
 ).
).