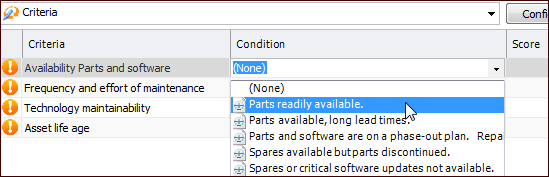
Analyzing Asset Condition

Once you have created the asset condition analysis and selected assets, you can begin analyzing the assets.
The basic steps are:
This topic explains these steps.

To Analyze Assets

1.
From the Site window, select the Asset Health view, Condition Analyses tab, and double-click the analysis. The Asset Analysis window appears, open to the Properties view, General tab.
2.
3.
Select the Worksheet view. For example:
Tip: You can also select the Properties view, Assets tab. Double-click the asset that you wish to analyze. You can then enter scores in the Analysis Asset window.
Note: If editing has not been enabled, the list of examples and scores does not appear.
Tip: You can click 
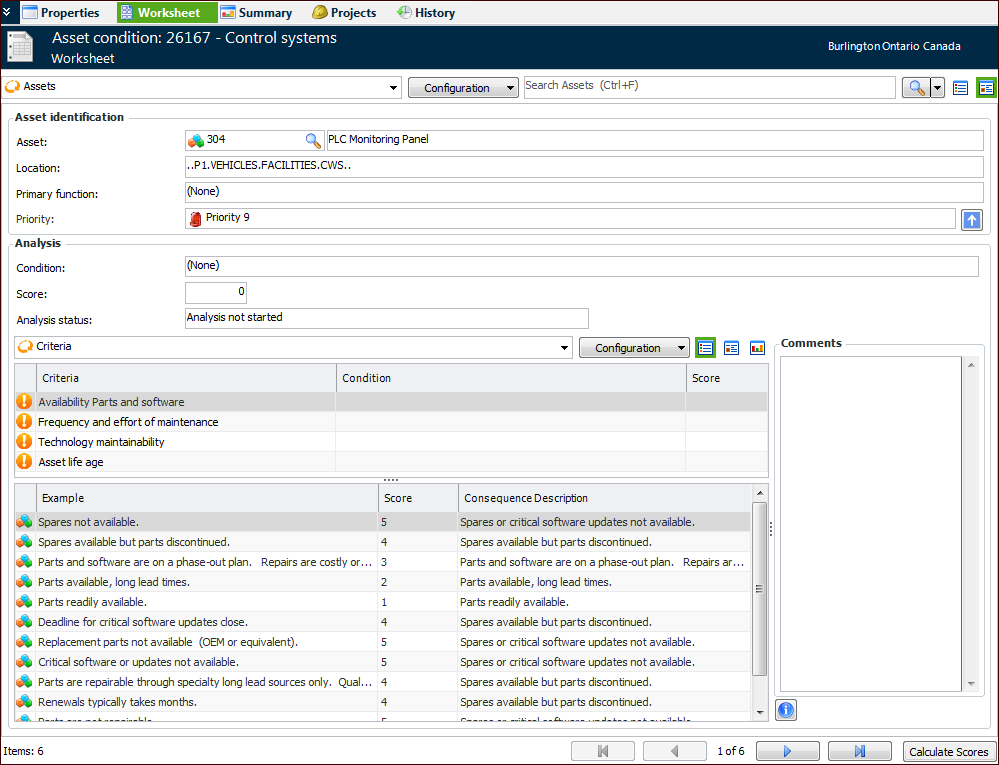
to hide the expanded Asset Information area. Click to show it again.
Tip: When returning to an analysis to complete it, you can select the “Analysis incomplete” configuration in the Worksheet view. The display moves to the first asset for which criteria have not been analyzed.
4.
In the Analysis area, select a criterion in the Criteria table to populate the list of scores and examples.
5.
Tip: You can also select a row in the condition table and press F2. The row is open for editing. For example, select a consequence description:
Press Tab to select a score for the next criterion. When you are finished selecting values, press Enter to close the table to editing.
6.
7.
8.
Click Calculate Scores. The Condition, Score, and Analysis status boxes are populated with values:
9.
Tip: You can also copy an analysis from one asset to another. In the Worksheet view, in the Asset identification area, click the View as Table icon (). The analysis’ assets are listed in a table. Right-click the asset and click Copy Analysis. The Copy Analysis dialog lists the other assets in the analysis. Select the target asset and click OK.
Once you have analyzed the assets, you can view the data in the Summary view. You can also apply the results to the assets and create projects.